How to design a logo for embroidery: 7 key considerations
Are you planning to sell branded merchandise or create t-shirts for a company event? Either way, if you’re looking to add a logo to apparel, custom embroidery is the way to go. But where should you begin? Don’t worry. In this article, we’ll guide you through the process of creating custom embroidery designs. We’ll cover everything you need to know about designing a logo for embroidery, from logo size to thread colors and fonts.
How to design a logo for embroidery
One of the easiest ways to get your logo embroidered is by working with a print-on-demand provider like EmbroInk. Embroidery is more complex than regular printing, so collaborating with a supplier means you don’t have to learn how to operate an embroidery machine or use digitizing software—we’ll handle that for you.
To achieve high-quality embroidery designs, your design file must meet specific requirements. Here are seven key points to remember when preparing your logo design for embroidery.
Logo Size
The embroidery print areas for most products aren’t very large, so your logo needs to look great even in a smaller format. The size of your embroidery area depends on the product you choose and the placement of your logo.
Some products, like the Cuffed Beanie, have a single design placement option. Other products, like caps or t-shirts, offer multiple options. For example, the Unisex Staple T-Shirt has five available design placements for embroidery—left chest, center chest, large center, left sleeve top, and right sleeve top. If you’re looking for products with a large print area, check out our large embroidery collection.
To ensure the final size of your embroidered logo is correct, follow the file guidelines carefully. To download the guidelines, visit the product page and click on “File guidelines” in the right-hand corner. This will take you to the guidelines tab, where you can download information about your chosen placement, including details about sizing, fonts, colors, and more.
Logo file requirements
When designing a logo for embroidery, ensuring your print file meets all necessary criteria is crucial. Let’s review the most important logo file requirements: embroidery file format, print file resolution, and logo digitization.
Embroidery file format
For direct-to-garment (DTG) printing or sublimation, JPG or PNG formats are typically accepted. However, for embroidery files, it’s better to stick to PNG or PDF formats.
While JPG files are accepted, a PNG file is your best option. JPG images will always have a background, which can make the design look awkward and increase the stitch count unnecessarily.
Embroidery File Resolution
Ensuring your print file meets the resolution requirements is essential for a crisp design. Resolution is measured in DPI (dots-per-inch). A higher DPI results in more detailed outcomes, while a low DPI leads to lower quality.
For embroidery products, your DPI should be exactly 300. Going above 300 won’t improve the print outcome and will only increase the file size.
Logo Digitization
Your logo needs to be digitized before it can be embroidered. This process involves converting your design into a file compatible with embroidery machines using digitizing software.
EmbroInk handles the digitization process, ensuring the file is compatible with our machines. The stitch direction determined during digitization affects the final look of the design, and it can vary with each digitization attempt.

Logo colors
Choosing the right colors for your logo is another important aspect. EmbroInk offers two types of embroidery color options: standard and unlimited color embroidery.
Standard Embroidery Colors
For standard embroidery, we offer a range of 15 thread colors. You can choose up to 6 colors for each design placement. While this may seem limiting, it’s necessary because a single embroidery machine can only house a limited number of threads, each with a fixed color.
This also means you can’t achieve color gradients with embroidery, only solid colors. As long as your logo doesn’t require gradients and can work within these color constraints, standard embroidery will be suitable.
Unlimited color embroidery
For more complex designs with intricate color requirements, you can opt for our unlimited color embroidery technique. This innovative method uses a single white thread, which is colored during the embroidery process. While there are additional fees for this technique, it offers greater flexibility in choosing your logo design colors. I’ll discuss more about unlimited color embroidery in the Gradients section.
Level of detail
Embroidery differs significantly from other printing techniques in terms of detail. Intricate logos with small design elements can’t be replicated as precisely by embroidery machines as by DTG or sublimation printers.
When designing your embroidered logo, aim for simplicity and avoid tiny details. Here are some common mistakes to avoid:
Small details
Small letters in your design might become unreadable, and thin lines may appear messy as the embroidery machine uses a single line of stitch. Ensure your design is embroidery-friendly by following our recommendations for line thickness and letter height. Text should be at least 0.25″ in height and 0.05″ in thickness. The minimum recommended line thickness is 0.05″.
Distressed graphics
Designs with a distressed or textured look might not translate well to embroidery. Our machines will use flat embroidery for these logos, and the thinnest parts will be stitched using a running stitch. This may result in loss of detail, and the final product might not achieve the desired textured effect.
Photographic Images
Machine embroidery cannot fully replicate the intricacy of photographic images. You will need to significantly simplify any photo you want to embroider, as the detail level achievable by embroidery machines is limited.
By adhering to these guidelines and understanding the limitations of embroidery, you can create a logo that looks great when embroidered, ensuring a high-quality and professional finish.
Types of stitches in embroidery
Our embroidery machines offer several stitch types, each serving different purposes to enhance your designs. Here’s an overview of each stitch type and how they differ:
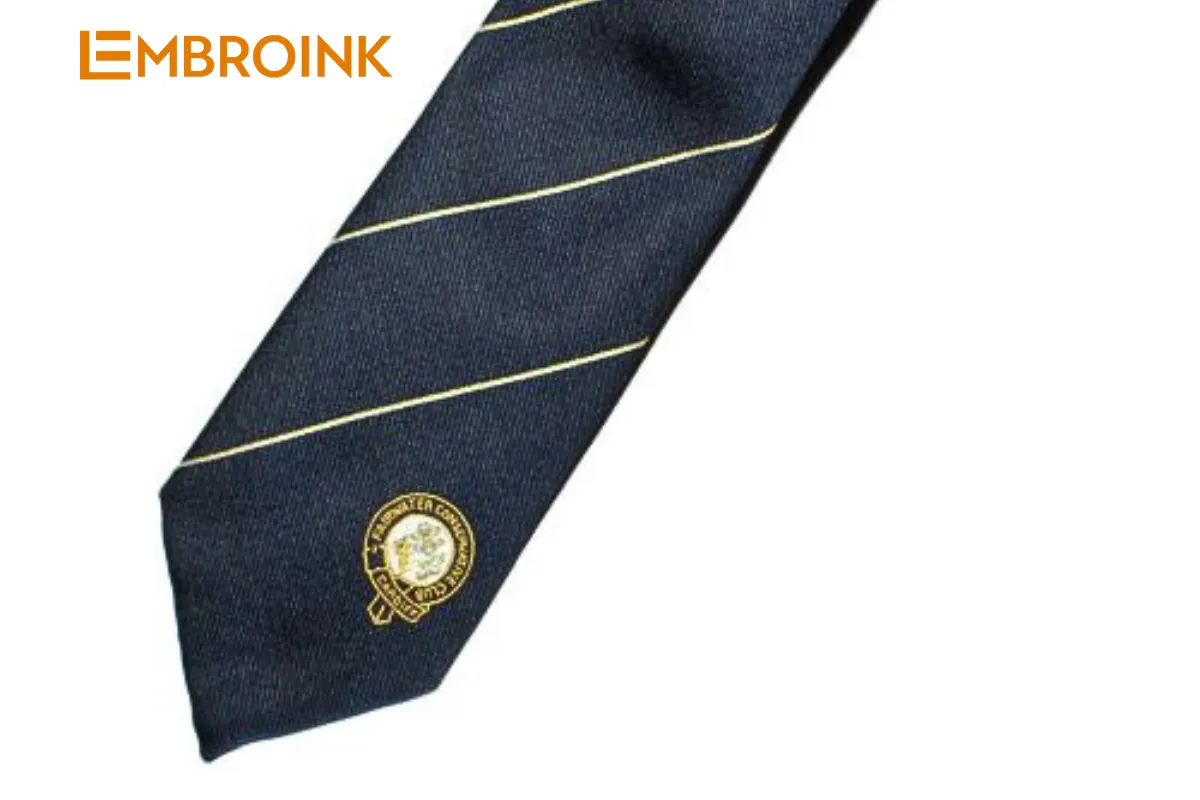
Flat Embroidery
Flat embroidery is a foundational technique in the realm of decorative stitching, meticulously crafting designs that adorn flat surfaces with precision and elegance. This method is especially adept at enhancing logos, imparting a sleek and polished appearance that resonates beautifully on thicker fabrics. The intricate interplay of stitches not only ensures clarity in design but also enhances the durability and aesthetic appeal of embroidered logos. Whether on uniforms, promotional apparel, or custom merchandise, flat embroidery stands as a hallmark of craftsmanship, blending artistry with functionality to elevate the visual impact of any fabric it graces.
Tatami Fill Stitch
The Tatami fill stitch employs short, straight stitches to densely cover large design areas, creating a robust and textured fill. This technique is versatile, often used in combination with other stitch types, such as satin stitches, to introduce varied textures and depth to the embroidery. The interplay between Tatami fill and satin stitches allows for intricate and visually appealing designs, making it a popular choice for detailed and expansive embroidery projects.
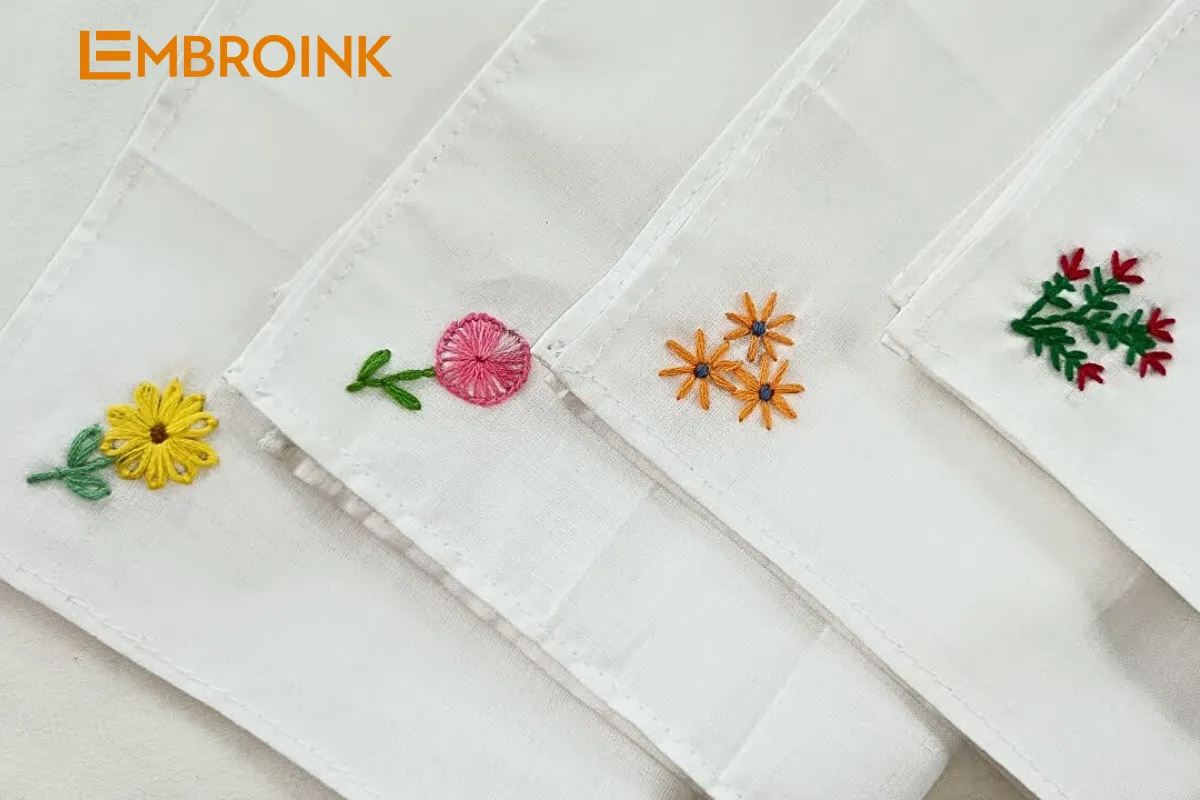
Satin Stitch
Satin stitches are smooth, continuous stitches that produce a polished, seamless appearance, free from gaps or uneven edges. This stitch type is particularly effective for outlining shapes and crafting curved elements like flower petals. By providing a sleek, glossy finish, satin stitches enhance the elegance and clarity of the design. Often, they are combined with fill stitches to add depth and texture, making them a versatile choice for detailed and aesthetically pleasing embroidery work.
Run Stitch
A run stitch comprises straight, linear stitches that are perfect for small details and embellishments, offering both simplicity and precision in design. This basic yet effective stitch type is ideal for outlining and adding fine details, ensuring clarity and sharpness in the embroidered pattern. Its straightforward nature allows for clean lines and subtle accents, making it a versatile choice for enhancing intricate embroidery projects.
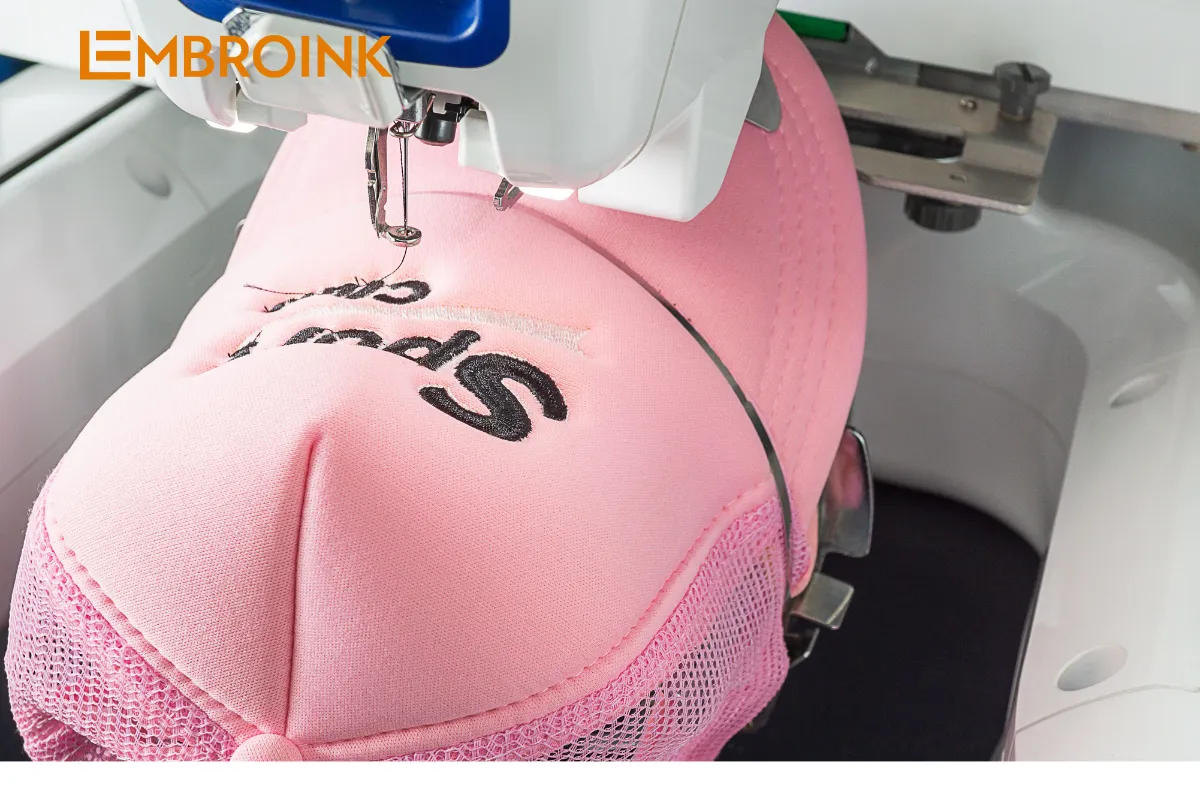
3D Puff Embroidery
Not a stitch type per se, 33D puff embroidery, while not a stitch type per se, involves adding a foam underlay to create a raised, three-dimensional effect. This innovative technique is particularly effective on heavy fabrics like caps, where it significantly enhances logos with added depth and texture. The foam underlay elevates the design, making it stand out prominently and giving it a unique, tactile dimension that adds to the visual appeal of the embroidered item.D puff embroidery involves adding foam underlay to create a raised, three-dimensional effect. This technique works best on heavy fabrics like caps, enhancing logos with depth and texture.
Fonts
Choosing the right font is crucial for legibility and aesthetic appeal in embroidered logos. Here are some guidelines:
- Opt for bold and larger fonts to ensure readability. Avoid delicate and small fonts, as the embroidery process may render them unreadable.
- Recommended fonts include Arial, Helvetica, and Myriad Pro, with a minimum size recommendation of 36 pt to maintain clarity.
Gradients
Standard embroidery cannot replicate color gradients, but our unlimited color embroidery technique offers more flexibility. Here are considerations when using gradients in embroidery:
- Complex designs with drastic color changes may not translate well. Smooth transitions between colors are essential.
- Gradients should be used in larger areas (at least 0.8″ wide) to ensure the transition looks seamless.
- Avoid using run stitches for gradient effects, as color transitions may appear abrupt.
Currently, unlimited color embroidery is available for select products and requires digitizing your logo designs. The process and fees for digitization are similar to standard embroidery. For more details on fees and product availability, learn more about our unlimited color embroidery options.