Print-on-Demand business: 12 T-Shirt design tips for success
Selling t-shirts online is an exciting venture that can grow from a hobby into a successful business. Whether you’re designing t-shirts tips for success in Print-on-Demand business, these design tips are valuable for everyone.
Regardless of your t-shirt-selling goals, your designs should evoke positive emotions and inspire people to wear them repeatedly. To achieve this, you need a strong design idea that resonates with your target audience.
But how can you bring these designs to life effectively and affordably without a significant upfront investment? That’s where the print-on-demand business model comes in. With print-on-demand, you can create unlimited designs and product mockups for your online store without any upfront costs. You only pay when a customer places an order. This model allows you to test various designs and focus on marketing your custom t-shirts.
In this guide, EmbroInk will explore the world of t-shirt design for Print-on-Demand, highlighting common mistakes and offering tips to elevate your designs from basic to exceptional.
Research T-Shirt designs
One of the most common mistakes in t-shirt design—or any product design—is jumping into the process without proper preparation. Before diving into the design phase, it’s essential to conduct thorough market research.
To help you get started, we’ve compiled a list of effective questions that can guide your brainstorming process and help you create outstanding designs.
Why do you want to design t-shirts? What is your cause?
Start by defining your purpose. Perhaps you want to raise awareness about autism or mental health, or maybe you’re a sports enthusiast looking to sell t-shirts to fellow fans. You might even be aiming to launch your own clothing brand. Whatever your goal, it’s crucial to clarify your purpose. Whether you’re designing a company t-shirt, a tank top for surfers, or something else entirely, your design elements should align with your message.
What emotions do you want your t-shirt design to evoke?
T-shirt designs generally aim to evoke positive emotions—such as love, unity, pride, confidence, empowerment, inspiration, excitement, or relaxation. You might also consider humorous designs that use sarcasm or irony or tap into nostalgia with vintage themes.
The emotions you target will significantly impact your design choices. For instance, bold fonts and vibrant graphics convey excitement or empowerment, while pastel tones and nature-inspired themes evoke relaxation and tranquility. We’ll explore fonts, graphic elements, and colors in more detail shortly.
When would people wear your custom t-shirts?
Consider the occasions where your potential customers would feel comfortable wearing your designs. Are they likely to wear them to a birthday party, a networking event, on vacation, to a family dinner, or while running errands?
While it’s not necessary to cater to every situation, the more versatile your design, the better your chances of success. For inspiration, check out these 56 t-shirt design ideas.
Now that you’ve spent time brainstorming, let’s dive into the best tips for t-shirt design success.
Use high-quality graphics
Using low-quality images for your t-shirt design can result in a print that appears cheap and unappealing, unless a distressed effect is intentionally applied. To create crisp, attractive prints that meet your customers’ expectations, it’s essential to use high-quality graphics.
Here’s what you need to know before finalizing your t-shirt design for Print-on-Demand:
- Accepted print file formats: PNG and JPEG are the preferred formats for print files.
- Accepted embroidery file formats: PDF and PNG are recommended. While JPG is accepted, it’s not ideal because it includes a background that can make the design look unprofessional and may increase the stitch count, potentially exceeding limits.
- Maximum print area sizes: Embroidery: The large center placement area is 10″ × 16″. Direct-to-Garment (DTG): The front placement area ranges from 10″ × 12″ to 12″ × 16″.
- Print file resolution (DPI): Your print file should have a resolution of at least 150 DPI but no higher than 300 DPI. Going beyond 300 DPI won’t enhance the print quality, just increase the file size unnecessarily.
- Color profile: Save your final print file in the sRGB IEC61966-2.1 color profile. You can set this profile in your image editing software to ensure color accuracy.
- Acceptable content: Designs deemed hateful, illegal, or in violation of intellectual property rights may be blocked.
By following these guidelines, you can ensure that your t-shirt designs look professional and appealing, providing a high-quality product for your customers.
Design for the garment
When transforming your t-shirt design idea into a reality, it’s crucial to consider whether people will actually want to wear it. A design that looks great on a personalized mug or phone case might not translate well onto a t-shirt.
Here are some specific guidelines for designing t-shirts:
- Make design eye-catching and clear: Your design should be visually appealing and easy to understand. Avoid overly complex or salesy designs, as t-shirts are not meant to be billboards.
- Remove the image background: A design with a background can make the print look like a giant sticker on the t-shirt. To avoid this, remove the background from your design. Most graphic design apps, such as Photoshop, Adobe Illustrator, Canva, and Inkscape, offer tools for background removal. Save your final design as a transparent PNG to ensure it blends seamlessly with the garment.
- Test design: To get a better sense of how your design will look on a t-shirt, print it out at its actual size and place it on a t-shirt you own. Alternatively, have someone model the t-shirt with your design. This simple step allows you to assess the design’s appearance and make any necessary adjustments before finalizing it.
Focus on typography
When your custom t-shirt design features text, readability is key. Choosing the right font and ensuring proper spacing can significantly impact how your message is received. Here’s how to make your typography stand out:
- Choose the right font: Different fonts convey different messages. For instance, academic fonts like Times New Roman, Helvetica, or Arial work well for graduation-themed or philosophical designs. Playful fonts like Aloja or Nafta are great for children’s t-shirts or light-hearted themes, while classic fonts like Graduate or Special Elite suit timeless designs. Explore our list of the best t-shirt fonts for more inspiration.
- Adjust letter and line spacing: Proper spacing is crucial for legibility. Use “optical kerning” or “auto” kerning in your design software to adjust the space between letters. For line spacing, aim for 120–130% of the font size; for example, if your font is 12 points, set the line spacing to 14–15 points.
- Ensure harmonious integration: Your text should work well with the graphic elements of your design. Create a mockup to see how the text interacts with the overall design and make adjustments as needed.
- Typography tips: Emphasize key words by bolding the most important terms and placing them prominently in your design. Use textures and shadows sparingly, as overuse can clutter the design; if applied, keep these effects subtle. Limit yourself to no more than three different fonts to avoid visual clutter. Avoid large block lettering, reserving bold, block letters for advertisements rather than t-shirts. Ensure the main text stands out clearly and isn’t overshadowed by other design elements. Avoid busy backgrounds that make the text hard to read, and pay attention to line breaks, as proper breaks can significantly enhance readability and impact.
With these typography and font tips, your t-shirt text will be both visually appealing and easy to read. Next, let’s explore how to choose the right colors for your design.
Be careful with colors and contrast
Understanding color psychology and color theory is crucial for effective graphic design, especially when selling products online. Research indicates that 92.6% of customers prioritize visual factors in their purchasing decisions, making your color choices particularly important.
Each color evokes different emotions and perceptions. Consider what your color choices convey:
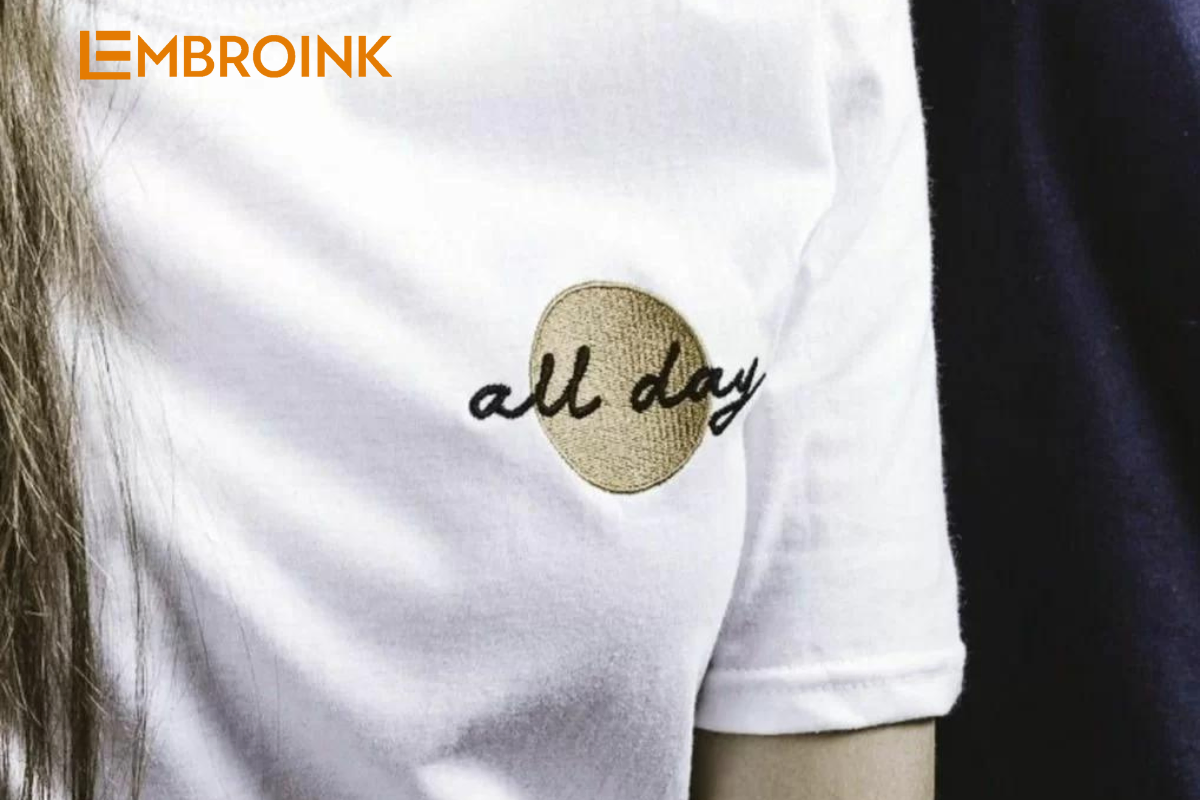
- Luxury vs. affordability: Rich colors like gold or deep purple suggest luxury, while brighter or more basic colors might indicate affordability.
- Calm vs. action: Soft colors like blues and greens can evoke calm and peace, while vibrant colors like red or orange can inspire action or excitement.
Ensure that the colors in your design work well together and complement the t-shirt color. To get this right, refer to our Color Matching Guide for Print-on-Demand and explore our list of popular t-shirt colors for the current year. High contrast makes your design more visible, while low contrast results in a subtler appearance. As a general rule:
- Light clors on dark backgrounds: Light hues stand out more against dark backgrounds.
- Dark colors on light backgrounds: Dark hues are more visible on light backgrounds.
- Black and white: These provide the highest contrast, making your design highly visible.
By carefully selecting and combining colors with appropriate contrast, you can ensure your t-shirt designs are visually striking and align with your intended message.
Don’t copy anyone
Copying designs can lead to copyright infringement and legal disputes. Understanding copyright and trademark laws in printing can help you steer clear of such issues. Unique designs are more likely to resonate with customers. People value originality and are drawn to designs that stand out. Replicating trending t-shirt designs means competing in a saturated market with established designers who already have reviews and sales.
Instead of copying, you can draw inspiration from popular themes but infuse your own creative twist. For example, take a look at different t-rex t-shirt designs—one featuring a t-rex skeleton stealing pumpkins and another with a playful t-rex reveal for kids. Use these as a jumping-off point for your own unique creations.
Find the best design placement
The placement of your design is crucial for visual impact and cost-effectiveness. Here’s what to consider:
1. Popular design areas:
- Front: The most common and versatile area for designs.
- Back: Adds visual interest but increases production costs.
- Sleeves: Offers a unique touch but also affects production costs.
2. Design options:
- Vertical (Full-Torso): Extends from the top to bottom of the shirt, ideal for dramatic effects.
- Horizontal (Chest-Centric): Focuses on the chest area, best for simpler, eye-catching designs.
3. Placement tips:
- Vertical designs: Place lighter colors near the bust line and darker colors below. Light colors near the hips can add visual weight.
- Horizontal designs: Ensure the design starts and ends appropriately—avoid starting above or below the bust line.
4. Fit and flattery: Consider how shapes and colors affect the overall look and fit of the t-shirt. A poorly placed design can detract from the shirt’s appearance and comfort. Make adjustments to ensure your design complements the garment and enhances its appeal.
By focusing on originality and thoughtful design placement, you can create t-shirts that are both visually appealing and distinctive.
Pick the most suitable fulfillment method
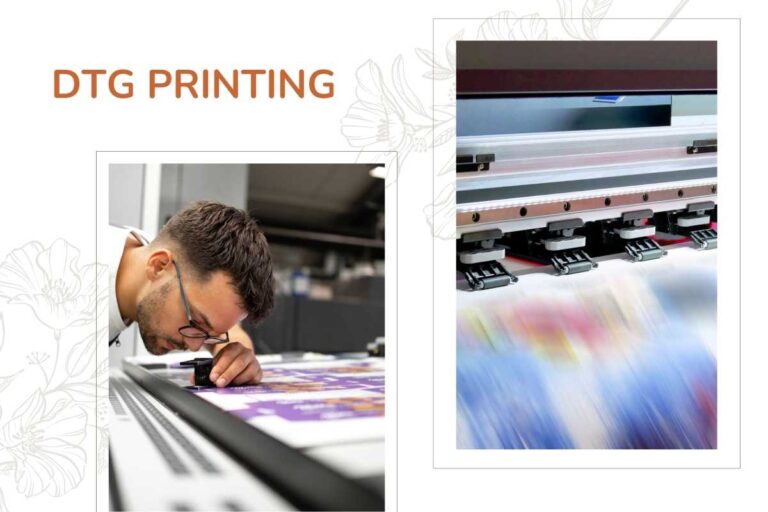
DTG Printing
- How it works: DTG (Direct-to-Garment) printing sprays ink directly onto the fabric, allowing for detailed and photorealistic designs.
- Pros: Ideal for complex and colorful designs with a wide range of colors. Minimal limitations for intricate patterns and images.
- Cons: Semi-transparent elements may not reproduce accurately, as ink tends to spread, causing gaps. It’s best to use solid colors or simulate transparency with halftoning.
- Best practices: Create graphics in the sRGB color profile to match the DTG printer’s color range. This method suits detailed designs and vibrant color patterns.
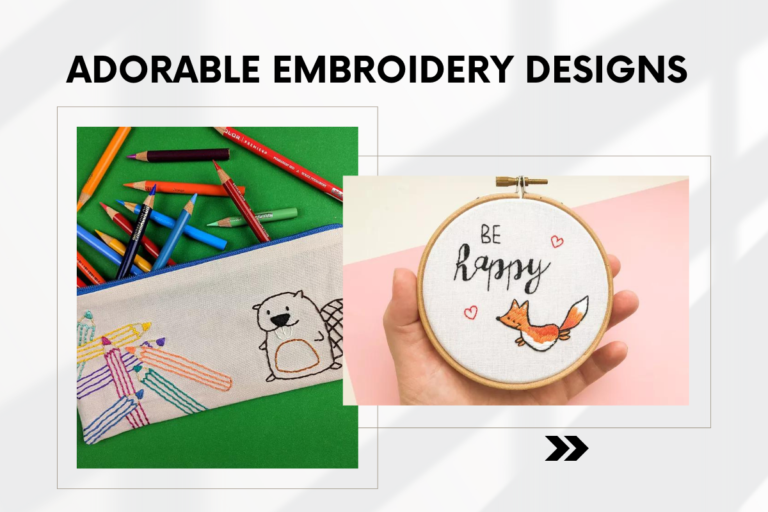
Embroidery
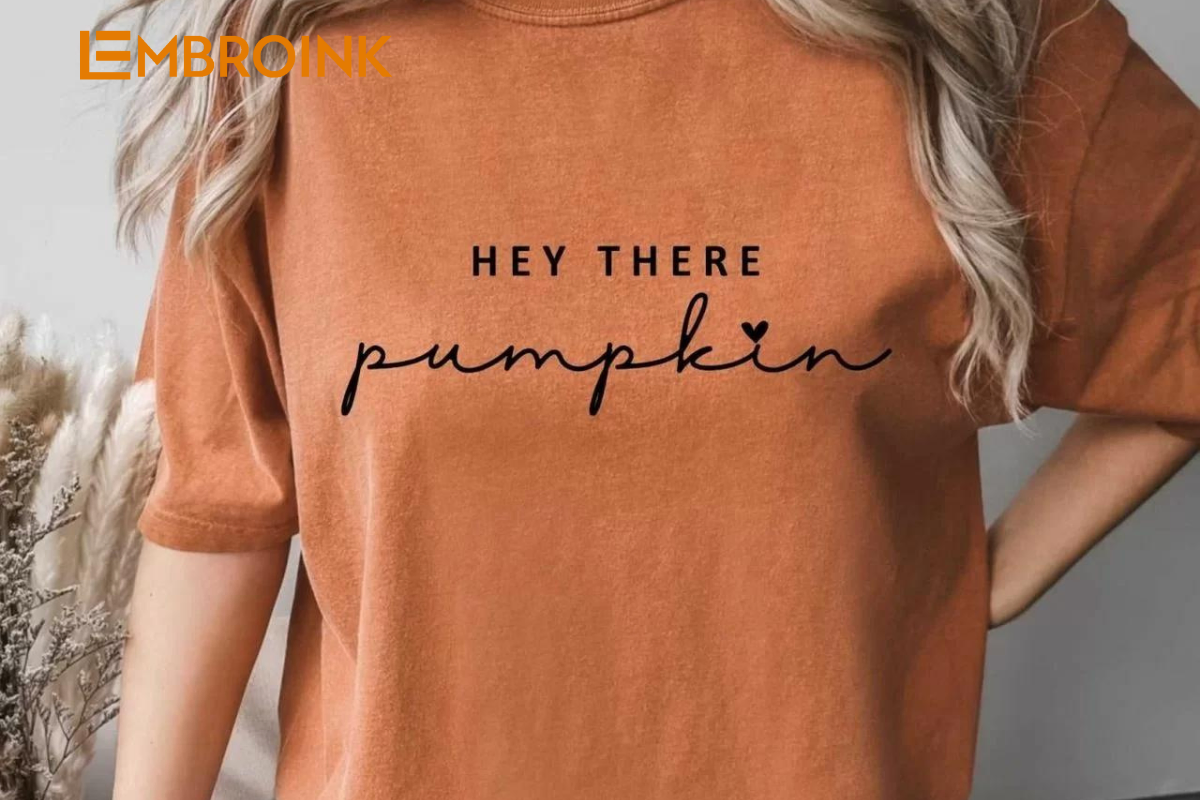
- How it works: Embroidery stitches the design into the fabric, offering a stylish, durable, and luxurious finish.
- Pros: Provides a high-quality, timeless look. Excellent for logos, symbols, or simple illustrations.
- Cons: Best for smaller designs. Large embroidery can cause fabric to scrunch if the stitch count is too high. Choose thicker t-shirts for larger designs.
- Best practices: Keep designs small and simple. Utilize unlimited colors on select products. Check out our guide for creating embroidery designs and ensure you follow the correct print file specifications.
Sublimation
- How it works: Sublimation uses heat and pressure to transfer dye onto the fabric, allowing for full coverage from seam to seam.
- Pros: Ideal for designs that span the entire garment without limits. Perfect for all-over prints.
- Cons: Limited to materials that are polyester or polyester-coated surfaces. Not suitable for cotton or blended fabrics.
- Best practices: Consider sublimation if you want to cover the entire t-shirt with your design. Learn more about sublimation printing to understand its capabilities and limitations.
Additional insights
- Screen Printing vs. DTG: Screen printing is generally not compatible with the print-on-demand model due to its setup costs and minimum order requirements. DTG and sublimation offer flexibility and efficiency for on-demand printing.
By selecting the appropriate printing method based on your design’s requirements and your desired outcome, you can ensure high-quality results and a professional finish for your custom t-shirts.
Add custom branding
Custom branding helps establish your unique identity in the market. Your brand reflects your company’s reputation, values, and beliefs. It’s not just a logo or a name—it’s a representation of who you are and what you stand for. A strong brand identity can differentiate you from competitors and make a lasting impression on customers. It’s what convinces people to choose your products over others and encourages them to return.
Consistent branding across your t-shirt designs and other products fosters customer loyalty. When customers recognize and trust your brand, they’re more likely to become repeat buyers and brand advocates. Custom branding elements like logos, taglines, and unique design features enhance brand recognition. Incorporating these elements into your t-shirt designs helps build a cohesive brand image and ensures that your products are easily identifiable.
How to add custom branding:
- Logos: Place your logo on visible areas such as the sleeve, back, or inside the collar. This subtle branding reinforces your brand identity.
- Taglines: Include a catchy tagline or brand message that complements your design and reinforces your brand’s values.
- Custom labels: Add custom labels or tags to your t-shirts to further personalize the product and enhance brand visibility.
- Brand colors: Use your brand’s color palette to create a cohesive look and maintain consistency across all your designs.
Custom branding transforms your t-shirt designs from mere apparel into a powerful marketing tool that represents your brand and connects with your audience.

