The complete beginner’s guide to embroidery
Embroidery is a timeless craft that blends creativity with tradition, allowing you to transform simple fabrics into stunning works of art. Whether you’re looking to personalize clothing, decorate your home, or simply explore a new hobby, embroidery offers endless possibilities. In this comprehensive beginner’s guide, we’ll walk you through the essential tools, techniques, and tips to get started on your embroidery journey. No matter your experience level, by the end of this guide, you’ll be equipped with the knowledge and confidence to create beautiful, hand-stitched designs. Let’s dive into the world of embroidery with EmbroInk!
What Do I Need to Start Embroidery?
You don’t need much to begin your embroidery journey! Here’s a quick guide to the basics, along with some links to more detailed articles if you’d like further information on specific topics.
Fabric
For beginners, a medium-weight cotton fabric is ideal due to its durability and ease of handling. Fabrics that are too thin or stretchy, like chiffon or jersey, can easily warp, scrunch, or stretch out of shape as you stitch, leading to uneven or puckered designs. On the other hand, thicker or heavier fabrics, such as canvas or denim, can make stitching more difficult, straining your fingers and slowing down your progress, especially if you’re new to the craft.
Some great fabric options to start with include Klona cotton, calico, linen, or thicker polycotton blends. Klona cotton is a favorite among beginners and experienced embroiderers alike because it provides a smooth, sturdy surface for stitching, allowing your designs to hold their shape beautifully. Linen offers a slightly textured surface, adding a rustic charm to your work, while calico and polycotton are affordable and versatile choices that offer stability without being too tough on your hands.
If you’re unsure about which fabric to choose, any medium-weight cotton will serve you well for a variety of designs. For more detailed fabric recommendations and tips on selecting the perfect fabric for your project, be sure to check out my comprehensive guide on the best embroidery fabrics.
Embroidery Hoop
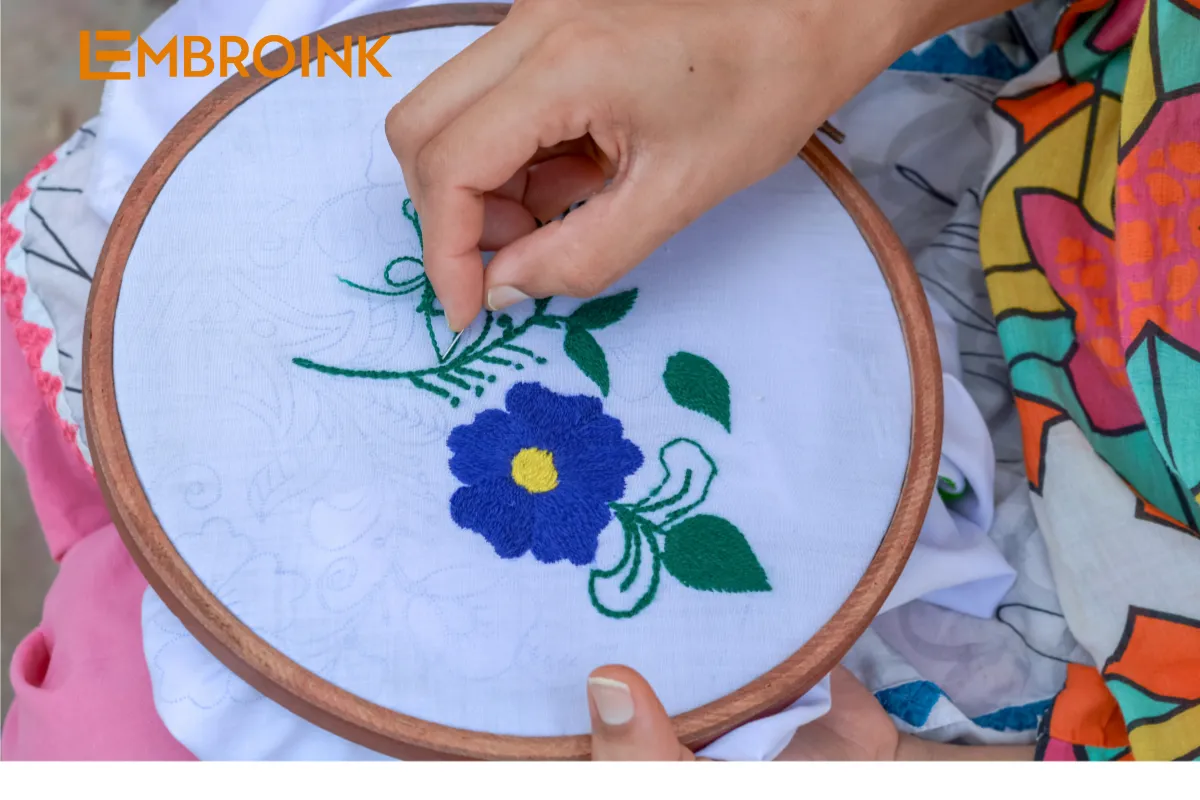
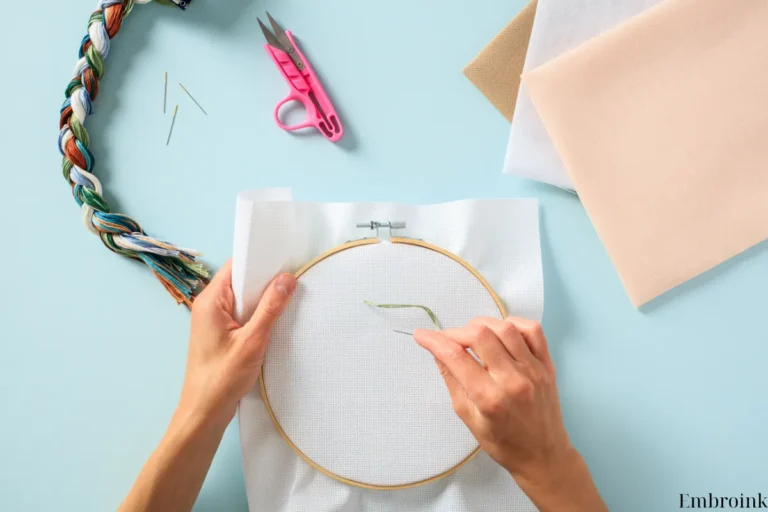
Embroidery hoops come in a variety of styles. For beginners, a simple wooden hoop with a screw top will suffice. Bamboo hoops are a great starting option and are easy to find.
When choosing a hoop, consider its purpose. There are two types:
- Working Hoops: These hold your fabric while you embroider. They should have a screw top so you can adjust the tension and reposition the fabric. Bamboo hoops are common for this type because they are flexible and easy to work with.
- Display Hoops: These are used for framing and displaying your finished work. Display hoops are made from less flexible wood since they don’t need to tighten the fabric. Instead, the fabric is tightened with stitches. Display hoops often feature a metal hanging ring instead of a screw top, giving them a polished look for presentation.
For beginners, a working hoop made from flexible wood, like bamboo, is usually more affordable and practical. If you’re interested in displaying your embroidery, I offer display hoops made from European beech wood.
Embroidery Needle
While it might seem obvious, embroidery needles are specifically designed for embroidery projects, and they’re definitely the best choice! However, if you don’t have one on hand, other types of needles can work too, though they may not provide the same level of precision. Embroidery needles are finer than cross-stitch needles because embroidery fabric, such as cotton or linen, typically has a tighter weave than the aida fabric commonly used for cross-stitching.
For most beginner projects, I recommend using a needle size between 7 and 9. This range works well with 2 strands of embroidery thread, which I suggest starting with to get a feel for the craft. As you gain experience, you can experiment with using more or fewer strands of thread to create different textures and effects in your designs. When you adjust the number of strands, you may also find it helpful to change your needle size to ensure it accommodates the thread comfortably without creating too large a hole in the fabric.
Needles are sold in convenient multi-packs, either in a single size or with a variety of sizes, so you’ll have the flexibility to try different combinations as your skills progress
Embroidery Thread
The best thread for hand embroidery, in my opinion, is DMC stranded cotton. It’s versatile and easy to work with, making it my personal favorite. Embroidery thread typically comes in cotton or silk and consists of 6 strands. You can separate these strands to get the desired thickness for your stitches.
A skein of embroidery thread is usually 8 meters long, and if you use two strands, one skein can cover 24 meters of stitching. Another great brand is Anchor, which also offers quality threads. You can even find handy color charts online that match DMC and Anchor threads. For more details, check out my guide on the best embroidery threads.
Pattern
Your embroidery pattern is essentially the design you’ll be stitching, making it one of the most exciting parts of the project! It’s the creative blueprint that brings your ideas to life through thread and fabric.
I create downloadable patterns for all my designs, making it easy for beginners to get started, and there are many other talented embroidery artists who offer their own patterns online. This provides a wide variety of designs to choose from, whether you’re looking for something simple or more intricate.
If you prefer creating your own unique designs, you can sketch your own pattern, which adds a personal touch to your work. For beginners, I recommend starting with line drawings, as they are easier to transfer onto fabric and simpler to stitch. Line drawings allow you to focus on basic techniques without getting overwhelmed by shading or complex details. As you gain confidence, you can start experimenting with more intricate designs.
If you’re just starting out and need a little inspiration, feel free to download my free beginner embroidery pattern—I’ll be adding more patterns soon to help you continue exploring this beautiful craft!
Transfer Method
Finally, you’ll need a method to transfer your chosen pattern onto your fabric to begin stitching.
My favorite method for this is using dressmakers’ carbon paper, which allows you to trace your pattern directly from paper onto the fabric with ease. This technique is simple and effective, making it perfect for both beginners and experienced embroiderers. You simply place the carbon paper between your pattern and fabric, trace the lines, and the design is transferred to your material.
Although the process is straightforward, there are a few tips to ensure the best results—like using the right pressure while tracing and choosing the correct color of carbon paper for your fabric. To help you get started, I’ve created a detailed tutorial and video that explains how to use carbon paper on fabric, along with some helpful tips and tricks to make the transfer as smooth as possible!
Embroidery Tools for Beginners
Embroidery is a craft that can be as simple or elaborate as you want it to be, and there are plenty of tools to make the process smoother. Here are some essential tools for beginners, plus a few extras to consider if you’re planning to spend more time embroidering.
- Scissors: A couple of good pairs of scissors are must-haves. You’ll need sharp embroidery scissors for precise cutting of thread, and a larger pair for trimming fabric.
- Hoop Stand: One of my favorite tools is a wooden hoop stand. It holds the embroidery hoop in place, giving your hands a break and preventing achy fingers or arms during long stitching sessions.
- Magnetic Needle Minder:
I also love my magnetic needle minder. It’s a small but incredibly useful tool that helps keep track of your needles. No more lost needles—it keeps them safe and easily accessible while you work.
These are just a few tools to get you started. If you’re curious about other handy embroidery accessories, check out my guide to embroidery tools for beginners!
Q&A
How Long Does Embroidery Take?
The time it takes to complete an embroidery project depends entirely on the complexity of the design you choose. For instance, some of my simpler patterns, like a rainbow, take about 4-5 hours to finish. More intricate designs, such as an elephant, might take 9-10 hours because they’re larger but not necessarily more difficult. While the stitches remain the same, bigger designs naturally require more time.
How Long Does It Take to Get Good at Embroidery?
Embroidery is a skill that improves with practice, but it’s not as daunting as it seems! Since embroidery stitches are small and repetitive, it becomes easy to master each one over time. With a bit of patience, you’ll quickly build your confidence and proficiency.
What If I Make a Mistake in My Embroidery?
No worries! One of the best things about embroidery is how forgiving it is. Unless you’re working with a super delicate fabric or accidentally cut a hole in it, mistakes are easy to fix.
If a stitch goes astray, simply unthread your needle and use it to undo the stitches you don’t like. For those pesky knots (yes, they happen!), just snip off the tangled thread and secure it at the back if it’s long enough to prevent previous stitches from loosening. Then, you can pick up right where you left off!
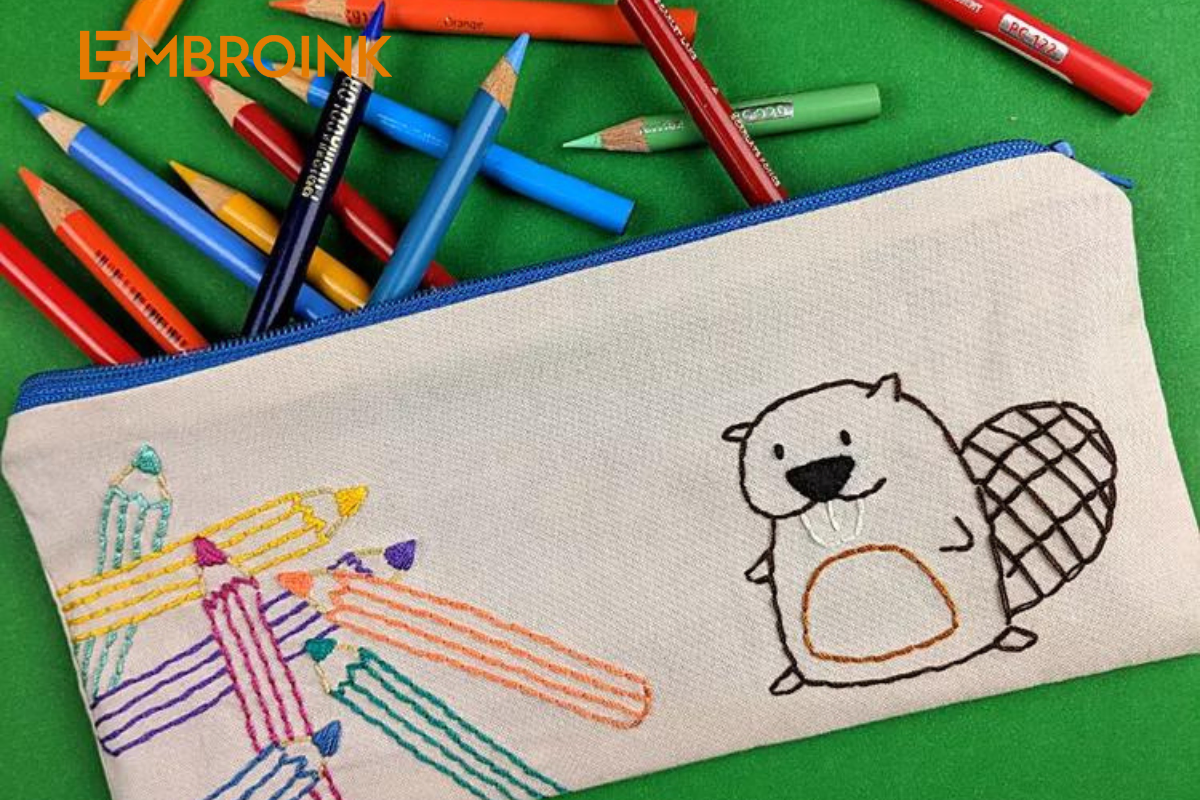
I’ve Only Done Cross Stitch—Can I Try Embroidery?
Absolutely! While cross-stitch and embroidery are different, if you’re familiar with cross-stitch, you’ll find it easy to transition into embroidery. Embroidery offers more freedom with a wider range of stitches, and because it’s less structured, you can start anywhere on your design—no counting required! Plus, if you make a mistake, you can remove just the problematic section rather than undoing an entire row, which makes it more forgiving than cross-stitch.

