The Beginner’s guide to machine embroidery
Embroidery has long been a unique and personal way of customizing all types of fabric, clothing, tote bags, sheets, towels, and much more. In recent years, the art of machine embroidery has opened up new possibilities for both beginners and experienced crafters alike. This guide aims to introduce you to the basics of machine embroidery, helping you unlock your creativity and transform ordinary items into personalized masterpieces. Whether you’re looking to add a special touch to a gift or start a new hobby, this guide will provide you with the essential knowledge and tips to get started with machine embroidery.
Discover machine embroidery
Are you new to machine embroidery or just curious about how it works? In this tutorial, we’ll guide you through the initial steps: downloading a design, importing it into your machine, and stitching it onto fabric. We hope you find this guide helpful—happy crafting!
Each machine embroidery design is unique
As an embroiderer, your design preferences are ultimately a matter of personal taste. However, there are various techniques and approaches available, some specific to certain machines, threads, or fabrics. The more you explore your preferred embroidery style, along with your machine, materials, and threads, the better your results will be. Approach your journey with an open mind, but stick to the style that feels right for you.
Finding a machine embroidery design
The first step in your embroidery journey is to find a design you want to stitch with your machine. If the design you’re looking for isn’t available on your machine, you can easily download one from the web and upload it to your machine. The embroidery library is categorized to suit any occasion, divided into Digitized Embroidery Files and Auto-Digitized Embroidery Files.
Digitized Embroidery Files: These are designs optimized for digital embroidery by the designer. They feature a carefully planned stitching pattern, often resulting in higher quality and better outcomes.
Auto-Digitized Embroidery: These designs are digitized using a computer program. Their optimization for machine embroidery can vary in quality. It’s a good idea to test these files on a piece of fabric before using them on your final project.
To access your embroidery file, simply download and unpack it from the ZIP file.
Note: We recommend using a computer (PC or Mac) for downloading, unpacking, and transferring embroidery files. Embroidery files are large, and phones or tablets may struggle with handling them, potentially causing errors. These devices might also not recognize embroidery file formats, making design work challenging.
Select a design the right size for machine
On product pages, you’ll find essential information about the file, crucial for selecting a suitable design. Each design lists its width and height in inches, indicating its size. Ensure the design size is less than or equal to your machine’s hoop size.
For instance, a 5” x 4” design won’t fit into a 4” x 4” hoop, so you’ll need to choose a different design.
Transferring the design from computer to embroidery machine
Once you’ve selected a suitable machine embroidery file (refer to our list of compatible formats for your machine), downloaded it, and unpacked it on your computer, it’s time to transfer it to your embroidery machine.
Each embroidery machine brand offers different methods for transferring a design. Here, we’ll provide instructions for transferring a design using a USB stick—a method supported by most embroidery machines. If you usually use a different method, feel free to continue using your preferred approach.
Transferring with a USB stick
- Open the folder containing the design on your computer.
- Right-click on the design, choose ‘Send To,’ and then select your USB stick. Alternatively, you can drag and drop the design into a folder on your USB stick.
- Safely eject your USB stick and remove it from your computer.
- Insert the USB stick into your embroidery machine.
Preparing your embroidery design for stitching
Select fabric and thread
Start by choosing the type of fabric you want to stitch your design onto, such as a t-shirt, tote bag, or fabric napkin. Check your embroidery machine’s instruction manual for recommendations on fabric types and thread compatibility with the needles you have. Using a needle or thread unsuitable for your chosen fabric can lead to broken needles or threads. Reading your machine’s instructions beforehand will help ensure a smooth crafting experience.
Some embroidery files come with thread color sequence charts, which indicate recommended threads and often include the manufacturer and product number. These charts can assist you in selecting the right threads for your design.
Hoops suitable for your design
As previously mentioned, it’s crucial to use a hoop that matches the size of your design. Hoops come in various sizes, and your design should be smaller than the hoop to ensure a quality result.
Additional materials needed:
- Iron & Ironing Board
- Fabric marker pen (use one specifically for fabrics; it should wash out and not damage the fabric)
- Small scissors or snip scissors for trimming jump stitches
- Rotary cutter or regular scissors
- Ruler for measuring
- Sewing fabric pins
For smaller pieces of fabric or if your fabric doesn’t fill the hoop (e.g., when stitching in a corner), consider these additional materials:
- Machine embroidery stabilizer
- Temporary adhesive spray
Measure the fabric
Use a ruler and fabric marker pen to outline the area on your fabric where you want the embroidery design to be placed. Marking the center point can also help you visualize the design’s position on the fabric, ensuring precise placement.
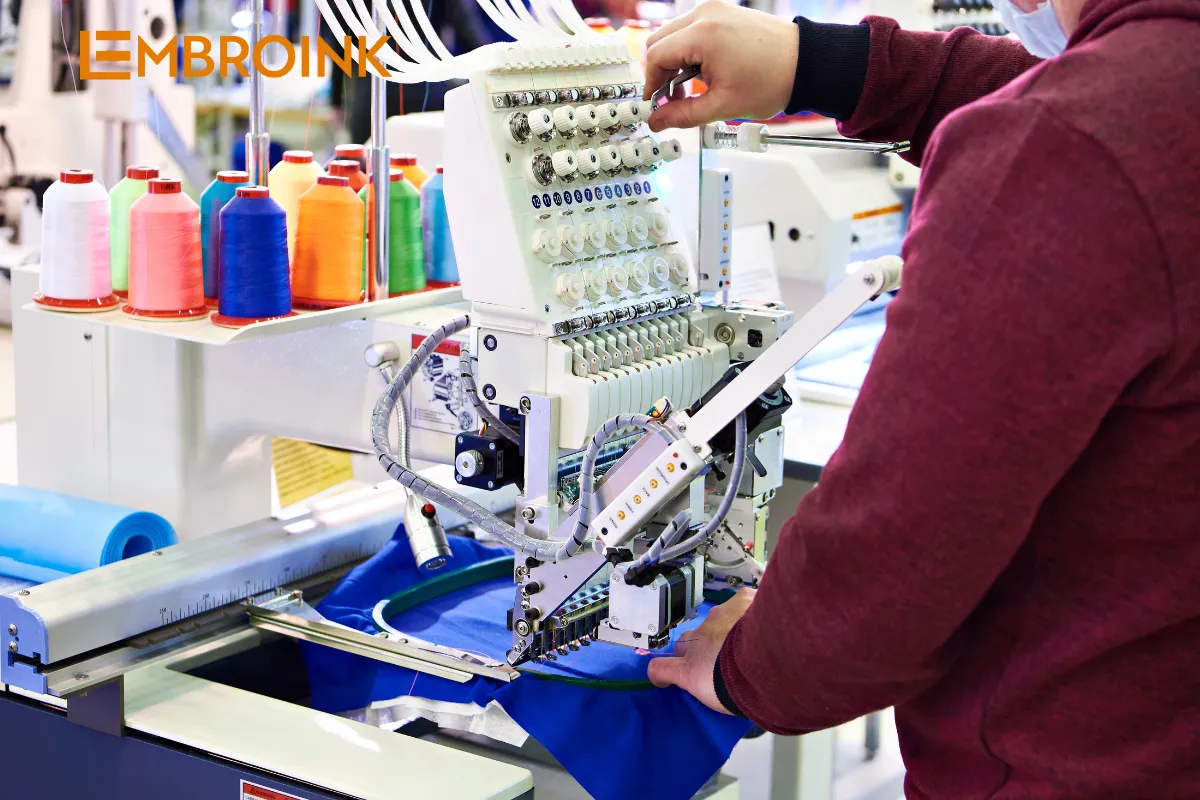
Attaching the fabric to the hoop
Different embroidery machines use various styles of hoops, but they all consist of an inner and an outer hoop that can be separated to place the fabric between them. When attaching the fabric, consider your machine’s design and how the hoop will be installed.
The hoop features a small attachment on one side that connects to the modular arm of the embroidery machine. Ensure that the hoop’s attachment aligns with the fabric placement to avoid misalignment or an upside-down design. Only one layer of fabric should be placed in the hoop to prevent it from being stitched together.
- Place the fabric: Position the fabric on the outer hoop. Align it as straight as possible, using a ruler and the hoop’s center markings for accuracy.
- Attach the hoops: Position the inner hoop over the fabric and outer hoop. Press them together or attach them securely to hold the fabric tightly in place during stitching.
Using machine embroidery stabilizer
For smaller pieces of fabric or when using a stabilizer:
- Prepare the stabilizer: Lay the Machine Embroidery Stabilizer over the outer hoop, ensuring it covers the entire hoop.
- Attach the stabilizer: Place the inner hoop onto the stabilizer and press them together to secure the stabilizer in place.
- Position the fabric: Lay the fabric onto the stabilizer. Align it as straight as possible, using the ruler and hoop markings for guidance.
- Secure the fabric: Lightly spray the back of the fabric with temporary adhesive spray and press it onto the stabilizer to secure it while stitching.
Securing redundant fabric
Before starting to stitch, make sure all excess fabric is neatly secured to prevent interference. Roll any excess fabric toward the hoop and use fabric pins or similar tools to hold it in place.
With the fabric properly attached and secured, you’re ready to begin your embroidery project!
Preparing your embroidery machine for stitching
- Power On the Machine: Turn on your embroidery machine and wait for it to fully start up.
- Prepare the bobbin thread: Follow your machine’s instructions to set up the bobbin thread. It’s important to insert the bobbin now, as it will be covered once the hoop is attached.
- Install the hoop: Attach the hoop onto the modular arm of the machine according to your machine’s instructions.
Load the design onto the machine
- Insert the USB stick: Place the USB stick containing your design into the embroidery machine.
- Load the design: Follow the machine’s instructions to load and stitch out the design. Once you press start, the machine will handle the stitching process automatically.
- Check design placement: Ensure that the machine starts stitching from the center point you marked. You can verify this by lowering the needle to see if it aligns with your center mark. If it’s off, lift the needle and adjust the hoop using the machine’s screen until the needle is correctly positioned.
Thread and color changes
Many designs use multiple thread colors. Check the product information for a PDF that indicates the number of color changes needed. The machine will display which color to thread first. Once it finishes with a color, it will pause, allowing you to change the thread.
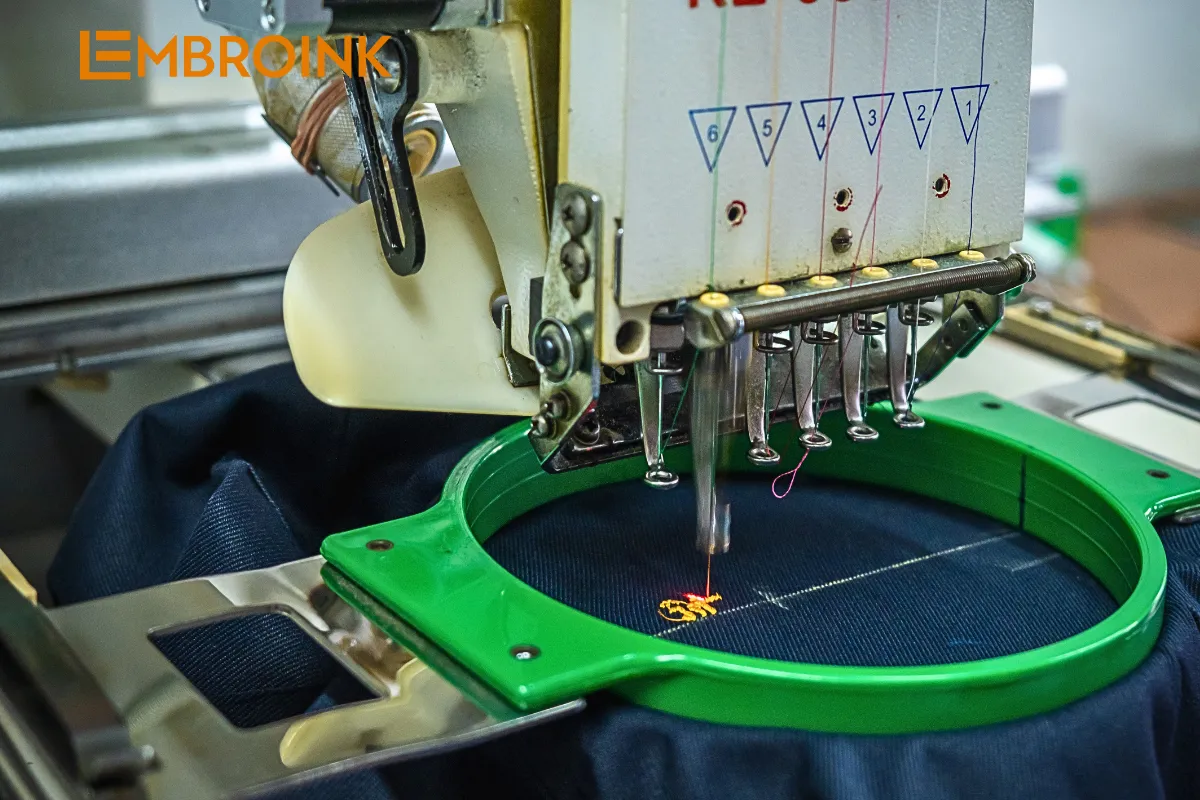
Start stitching!
- Final preparations: Ensure the hoop is installed, thread is in place, the presser foot is down, and the design is loaded.
- Begin stitching: With everything set, start the stitching process.
Monitor the process
Even though the machine does the work, keep an eye on its progress to ensure everything runs smoothly. If you notice any unusual sounds, fabric catching in the needle, or irregular stitching, pause the machine. Once resolved, press start again to resume stitching from where it left off.
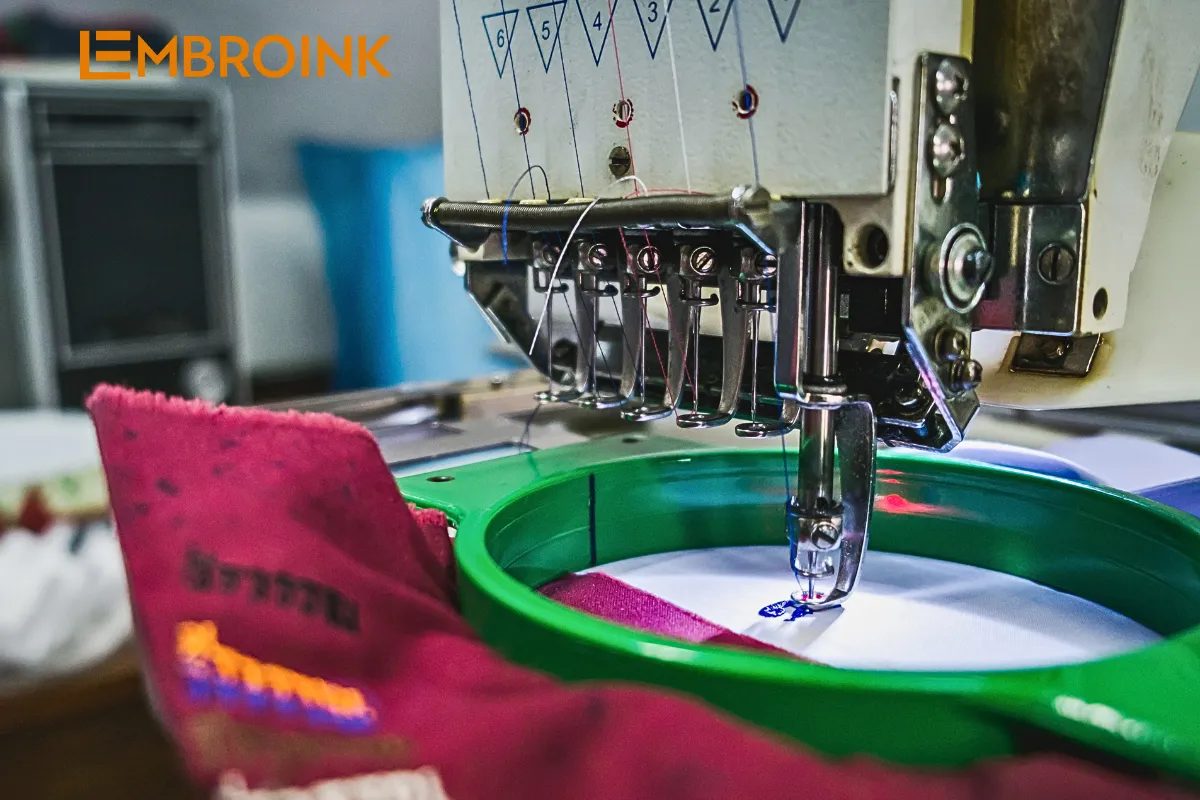
Jump stitches
During the embroidery process, you may notice your machine making a ‘jump’ to another area of the fabric. This is known as a ‘jump stitch.’ Jump stitches occur when the machine needs to move between different elements of the design. They result in loose threads that can be trimmed away using snip scissors. You can remove these threads either during the stitching process (after pausing the machine) or once the design is complete. Don’t worry; removing jump stitches won’t affect the final design as they are meant to be trimmed.
When the stitching is done
Once your design is fully stitched onto the fabric, follow these final steps to complete the project:
- Check completion: Ensure the machine has finished the design. Lift the presser foot and carefully remove the hoop from the machine.
- Remove jump stitches: Use small or snip scissors to cut away any jump stitches or extra threads.
- Take out the fabric: Remove the sewing needles and take the fabric out of the hoop. If you used a stabilizer, turn the fabric upside down and peel it away from the stabilizer.
- Remove guide marks: Erase any guide marks you made to center the design. Most fabric marker pens will dissolve when you iron over them. Gently iron the fabric, ensuring the iron is not too hot, to remove the marks without damaging the stitches.