Compile 3 simple embroidery techniques for T-shirts
Embroidering names on shirts is increasingly popular for personalization, adding uniqueness to everyday attire. Here are three extremely simple techniques for embroidering names on shirts that you can easily apply. Let’s explore them with EmbroInk!
3 simple embroidery techniques for T-shirts

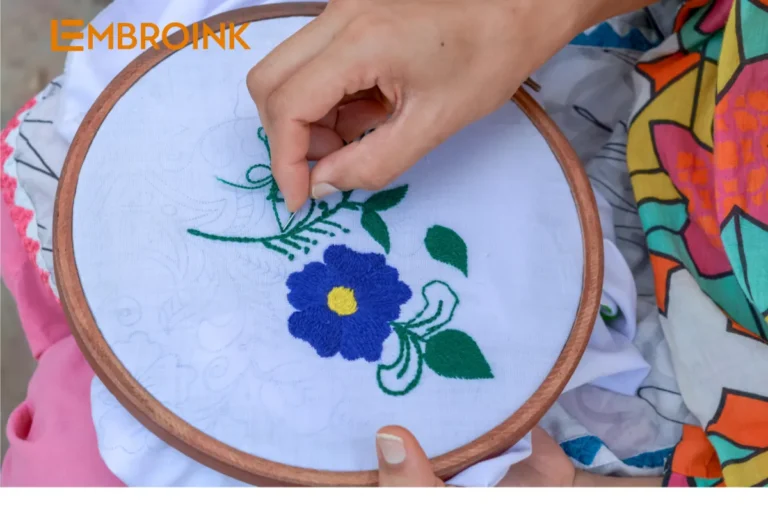
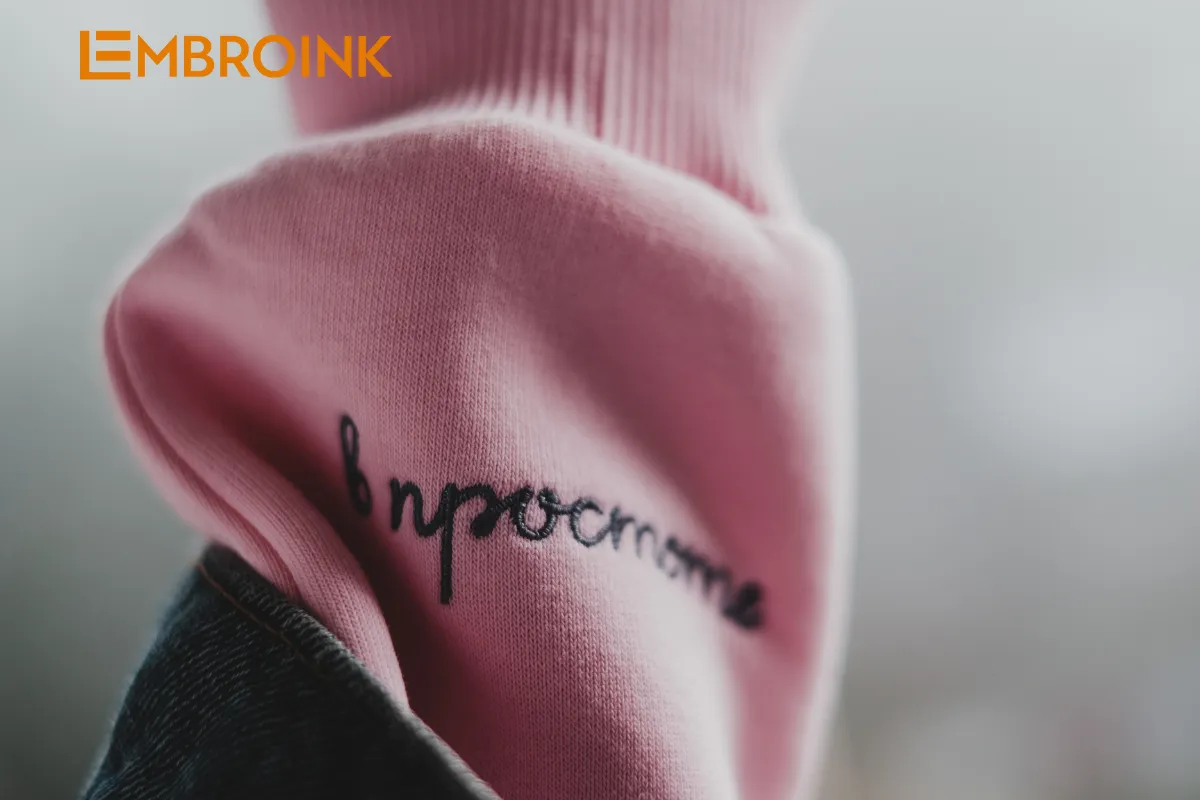
Hand embroidering directly on shirts
Hand embroidery directly on shirts is a manual stitching method that creates unique designs and patterns, personalized for uniforms or everyday clothing. Here are the basic steps to hand embroider directly on a shirt:
- Gather Materials: First, gather your materials including the shirt to be embroidered, embroidery needle, embroidery thread (usually embroidery floss or thread), the name pattern or design sketch, and an embroidery pen (if needed).
- Mount the Fabric on an Embroidery Hoop: To ease stitching and prevent fabric wrinkles, you can mount the shirt fabric on an embroidery hoop or use clips to secure the fabric on a flat surface.
- Draw the Name Pattern: Use an embroidery pen or a light pencil to draw the name pattern or design directly onto the shirt fabric. Ensure the name pattern is accurately drawn and will be easy to follow during stitching.
- Embroider the Name: Using the embroidery needle and thread, stitch along the drawn name pattern or design on the shirt fabric. Start from a point and bring the needle through the fabric from underneath to create the necessary letters or shapes.
- Finish: Once the embroidery is complete, inspect to ensure all stitches are neat and securely fastened to prevent unraveling.
Embroidering separate letters and then sewing them onto a shirt
Embroidering separate letters and then sewing them onto a shirt is a straightforward and popular method for personalizing garments. This approach is ideal for complex or detailed designs, or when the name is particularly long. Here’s a guide on how to embroider and sew names onto a shirt using the basic appliqué technique:
Preparation:
- Shirt Selection: Choose a suitable shirt fabric, typically cotton or linen.
- Embroidered Letters: You can either purchase pre-made embroidered letters or create them yourself from fabric.
- Embroidery Needle and Thread: Use a sharp embroidery needle and thread that matches the color of the shirt.
- Embroidery or Fabric Marker: Use an embroidery pen or fabric marker to mark the position for embroidery.
Marking the Position:
- Use an embroidery pen or fabric marker to write the name or letters on the shirt where you want to embroider. Ensure the letters are evenly spaced and aligned for a uniform appearance.
Embroidering the Name:
- Using small embroidery stitches, meticulously and precisely embroider each letter following the marked guide. Stitch each letter individually, ensuring they are evenly spaced and aligned on the same straight line.
Sewing the Name onto the Shirt:
- Once you have finished embroidering the name or letters, you can sew them securely onto the shirt using a sewing machine or hand sewing. Use regular sewing thread to sew around the edges of the letters, ensuring they are firmly attached to the fabric.
Finishing Touches:
- After sewing the name onto the shirt, carefully inspect to ensure the embroidery and sewing are neat and uniform, without any misalignment or tears.
- Clean and iron the shirt to ensure it looks neat and is ready to wear.
This method allows for intricate and personalized designs, making your garment stand out with a customized touch.
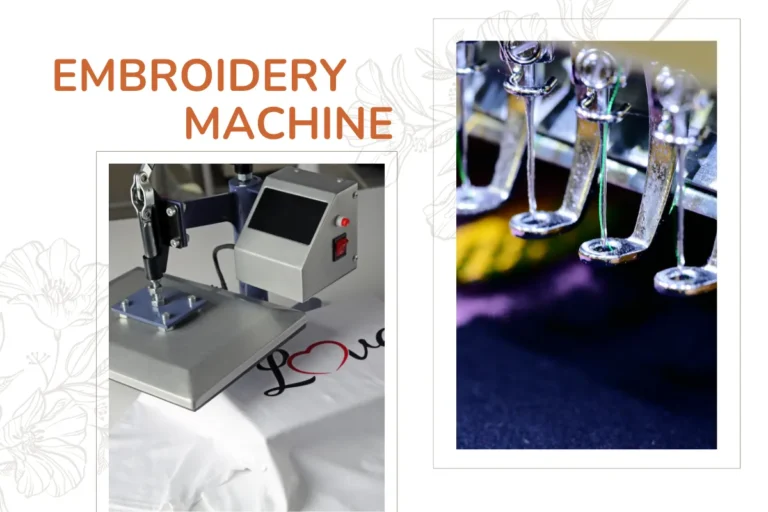
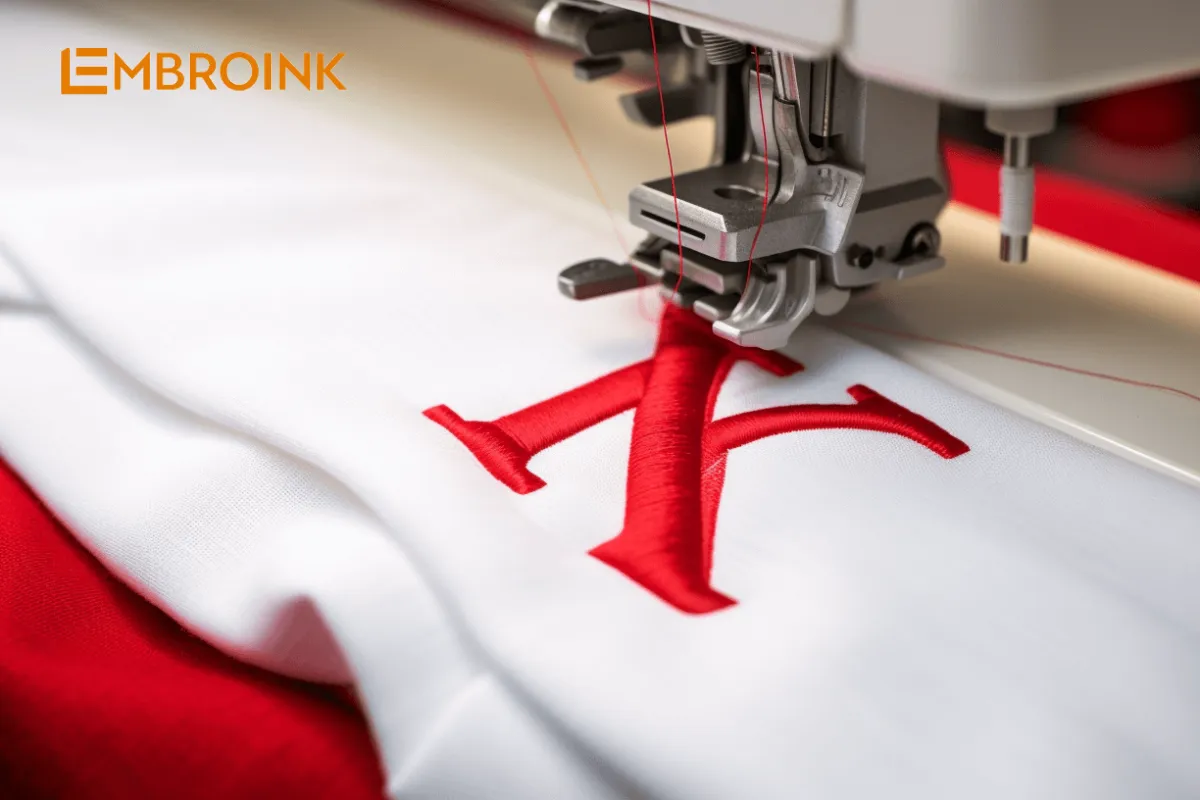
Fast and accurate computerized embroidery of names onto shirts
Computerized embroidery technology, ushered in by Industry 4.0, has elevated the method of embroidering names on shirts to new heights, offering near-perfect accuracy and high aesthetic appeal. With the assistance of machines and modern technology, computerized embroidery ensures precision, sharpness, and durability, ensuring garments remain intact and aesthetically pleasing over extended periods of use.
To embroider names on shirts using computerized methods, you’ll need an embroidery machine (automated embroidery machine) and embroidery design software. Here’s a basic guide:
Preparation:
- Embroidery Machine: Ensure your embroidery machine has the necessary features to embroider names on shirts.
- Embroidery Design Software: Use embroidery design software to create the embroidery pattern with the desired name or letters.
- Shirt Selection: Choose a suitable shirt fabric, typically cotton or linen.
- Embroidery Materials: Select embroidery thread colors that match the shirt’s color.
Design Phase:
- Open the embroidery design software and create the embroidery pattern with the name or letters you want to embroider on the shirt. Choose the font, size, colors, and position that best suit the shirt.
- Ensure the embroidery pattern is meticulously designed and accurate to ensure beautiful and high-quality embroidery results.
Preparing the Embroidery Machine:
- Connect the embroidery machine to your computer and upload the embroidery pattern.
- Choose appropriate embroidery thread colors and load them into the embroidery machine.
Embroidering the Name on the Shirt:
- Place the shirt on the embroidery machine, ensuring it lies flat and securely on the machine’s work table.
- Power on the embroidery machine and select the uploaded embroidery pattern.
- Proceed with embroidering the name on the shirt using the computerized embroidery machine. The machine will execute the embroidery stitches according to the pattern you designed.
Finishing:
- After the embroidery machine completes the embroidery process, carefully inspect the embroidered name to ensure it’s beautiful and of high quality.
- Clean and iron the shirt to ensure it looks neat and is ready for use.
It’s important to work carefully and meticulously to ensure a beautiful and high-quality embroidered result. If you do not have access to a computerized embroidery machine or are not confident in performing this task yourself, professional embroidery services can be sought. Especially for bulk uniform production for companies or schools, computerized embroidery has proven to be a cost-effective and efficient choice.
Embroidery services at Embroink
Embroink is a reputable provider specializing in high-quality embroidery services, catering to a wide range of customer needs. The embroidery services at Embroink include:
Embroidery from existing designs
- Traditional Designs: Embroink offers traditional embroidery patterns that reflect the rich cultural heritage of various regions. These designs can be applied to items such as áo dài (traditional Vietnamese dress), scarves, and other decorative objects.
- Modern Designs: For customers who prefer a youthful and contemporary style, Embroink provides modern embroidery patterns suitable for fashionable clothing, handbags, and accessories.
Custom embroidery services
- Exclusive Designs: Embroink creates unique embroidery designs based on customer requests. You can submit your ideas or images, and the design team will transform them into distinctive embroidery patterns.
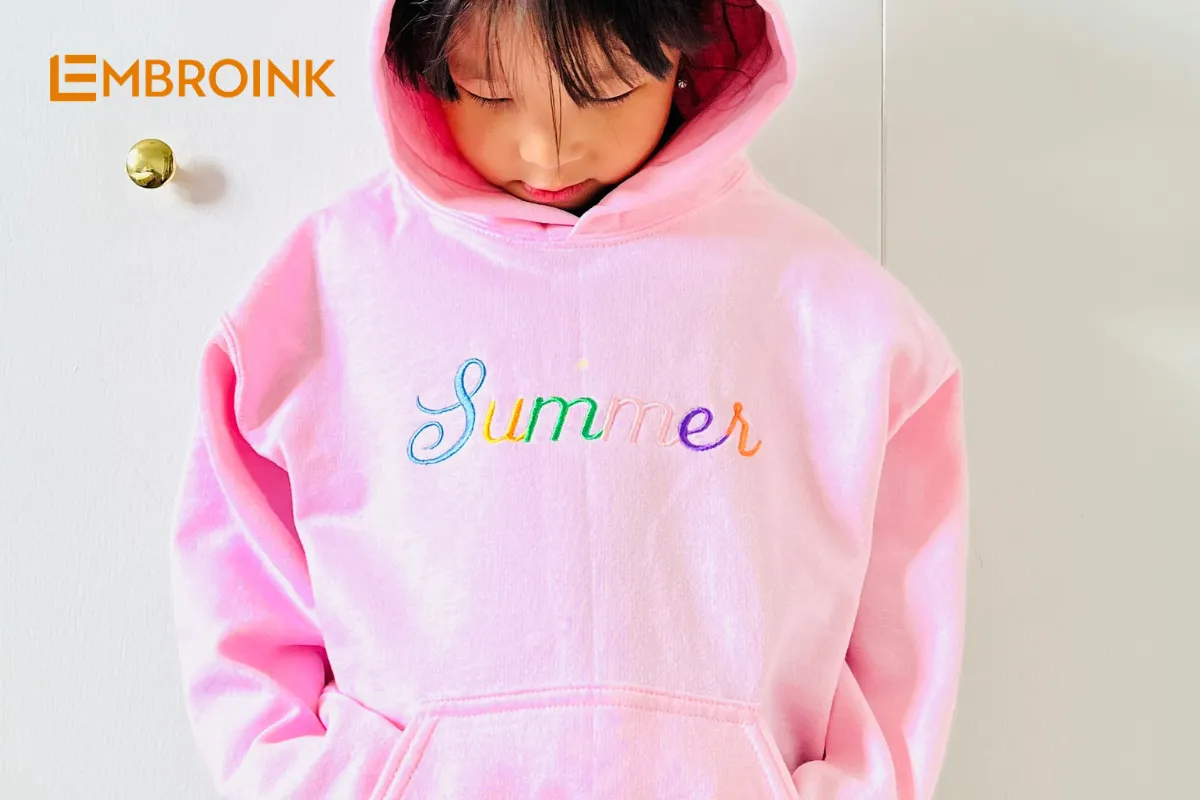
- Personalized Products: Customers can request personalized embroidery, such as names, initials, or personal symbols, to create unique and customized items. This is an ideal option for special gifts like group t-shirts, scarves, or household items.
Types of products embroink embroiders
- Apparel: Shirts, t-shirts, dresses, skirts, children’s clothing, company uniforms.
- Accessories: Handbags, shoes, hats, caps, scarves.
- Household Items: Tablecloths, pillows, curtains, towels, washcloths.
- Gifts and Decorations: Embroidered paintings, embroidered cards, souvenirs.
With its wide range of services and commitment to quality, Embroink is not just a provider of embroidered products but a reliable partner in creating items that reflect your personal style and preferences.
Custom embroidery ordering process at Embroink
Here are the steps for updating orders according to the provided Google Sheet:
Step 1: Fill in the order information in the designated Google Sheet.
Step 2: Contact support to push the order, or after 1 hour of filling out the form, the order will be synchronized to EmbroInk’s system and sent to production (it will be in On Hold status waiting for Payment in the internal system).
Step 3: After support or the system automatically updates the Price to the Google Sheet (you can check after 1 hour of filling out the form on this Google Sheet).
Step 4: Proceed to pay for orders that need to be paid through the provided payment channels. To avoid errors, fixed information will be provided in a Google Sheet (View Only). Use the following syntax for payment:
- For single orders: Customer Code – Order Code (e.g., EI111-E458168, where EI111 is the customer code and E458168 is the order code to be paid).
- For payment of multiple orders at the same time: Customer Code – Order Quantity – Date (dd/mm/yy) (e.g., EI111-5-010124, where 5 is the order number paid on day 010124).
- For multiple payments on the same day for multiple orders: Customer Code – Order Quantity – Date (dd/mm/yy) – Time (hhmm) (e.g., EI111-3-010124-1830, where 3 is the order number paid on day 010124 at 18:30).
Step 5: Video or photo production will be added to the order information in the Google Sheet. The tracking number will be updated to the corresponding Google Sheet within 1-2 working days.
Step 6: Take care of any related issues after shipping, such as common shipping errors or necessary changes related to payment or design.