How to embroider photos for anniversaries?
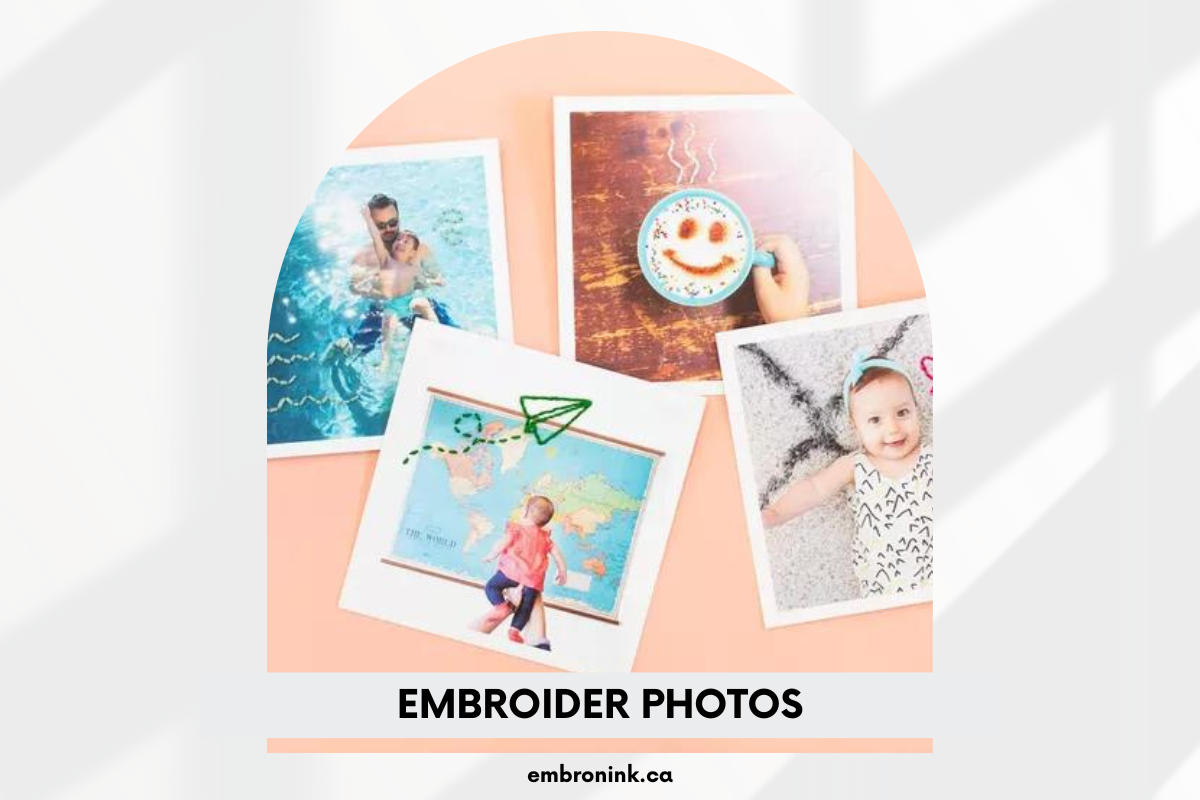
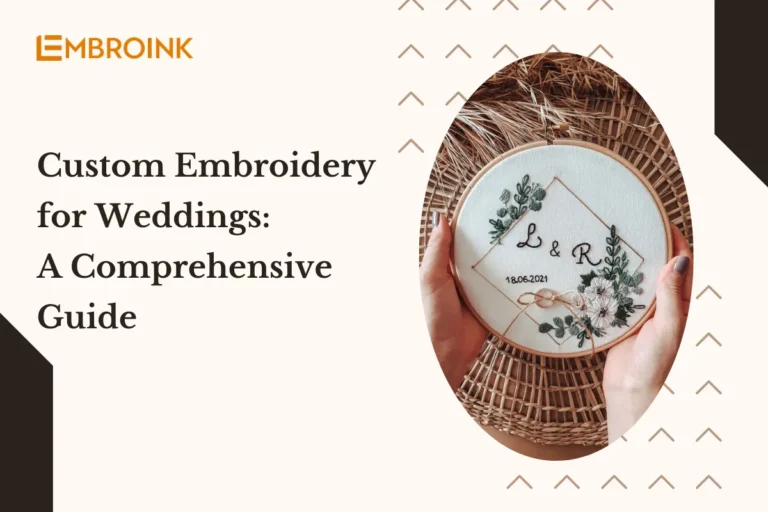
Embroidering photos for anniversaries is a creative and heartfelt way to capture cherished memories in a unique, handcrafted form. Unlike traditional photo gifts, embroidered portraits add a personal, artistic element that turns a simple image into a meaningful keepsake. Whether you’re commemorating a wedding, a special milestone, or a beloved family moment, embroidery offers a timeless way to preserve and celebrate those memories. In this guide, EmbroInk will explore the steps involved in transforming a treasured photo into a beautiful embroidered piece, perfect for gifting or incorporating into anniversary décor.
The significance of embroidering photos for anniversaries
Embroidering photos for anniversaries holds deep sentimental value, transforming cherished memories into lasting, personalized keepsakes. Unlike traditional gifts, embroidered photos are handcrafted, making them unique and thoughtful. This method allows individuals to commemorate special moments, such as weddings, anniversaries, or family gatherings, in a creative and artistic way.
Each stitch symbolizes time, care, and effort, reflecting the love and appreciation for the relationship being celebrated. The tactile nature of embroidery also adds a personal touch, turning a simple photograph into a work of art that can be passed down through generations as a meaningful heirloom.
Preparation Before Embroidering
Choosing the Right Photo
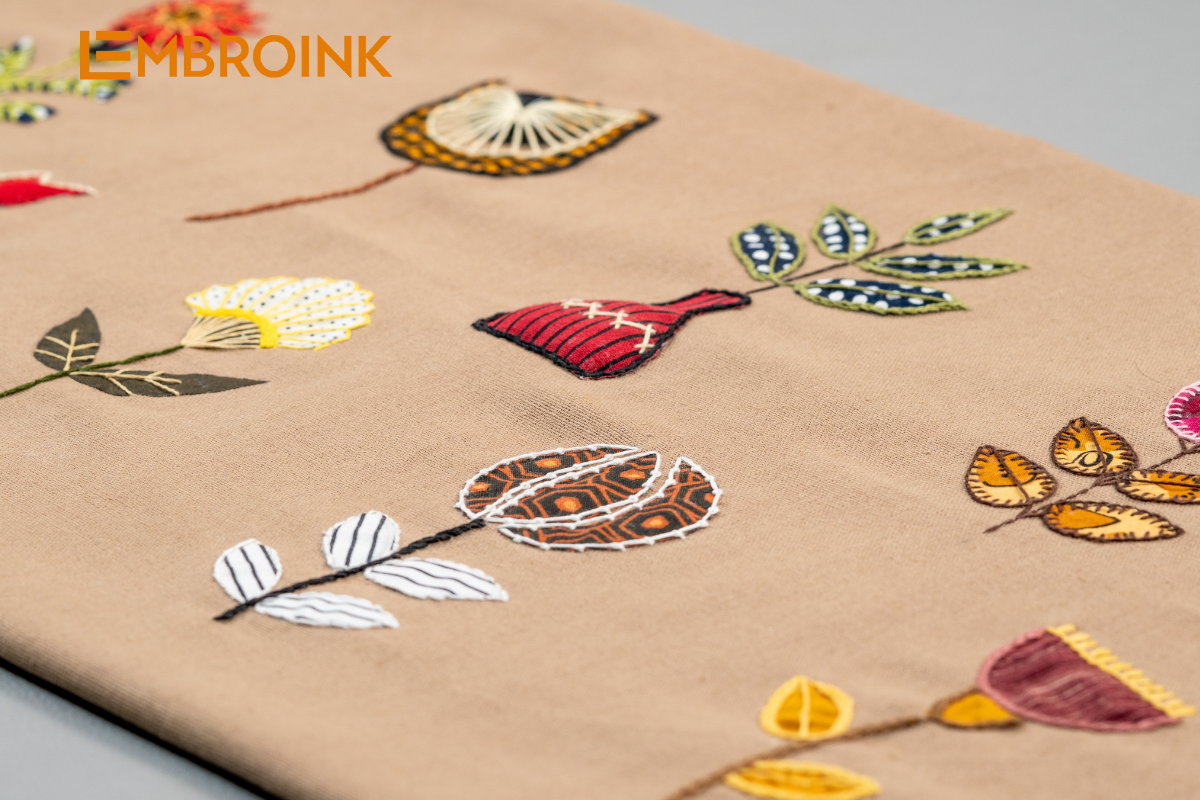
When selecting a photo for embroidery, it is important to choose one with high clarity and resolution to ensure that all the intricate details are accurately captured in the final design. A clear, high-quality image will make it easier to transfer the photo into a stitchable pattern, allowing for greater precision in depicting facial features, clothing, and other fine elements. In addition to technical quality, the photo should hold special personal significance, such as capturing a memorable event or an important moment.
Choosing a meaningful image adds emotional depth to the embroidery, transforming it from a simple craft project into a heartfelt keepsake. Whether it’s a wedding, an anniversary, or a family reunion, the emotional value of the photo will enhance the sentimental impact of the final embroidered piece, making it not only a beautiful work of art but also a cherished memory.
Preparing Materials
Choosing the right fabric is a crucial step in ensuring a successful embroidery project. Opt for fabrics like cotton or linen, which are not only durable but also easy to work with. These fabrics provide a stable base for your stitches and hold the embroidery well over time, making them ideal for detailed work. Along with fabric, selecting the right embroidery threads is equally important.
Match the thread colors as closely as possible to those in the original photo to create a vibrant and accurate representation of the image. The more precise the color match, the more lifelike and impactful the final piece will be. Additionally, gather essential tools such as an embroidery hoop to keep the fabric taut, needles of various sizes for different stitch techniques, sharp scissors for trimming threads, and any other necessary equipment to ensure the embroidery process goes smoothly from start to finish.
Having the right materials and tools on hand will make the entire process more efficient and enjoyable, resulting in a high-quality embroidered photo.
Embroidery Process
Converting the photo into an embroidery pattern
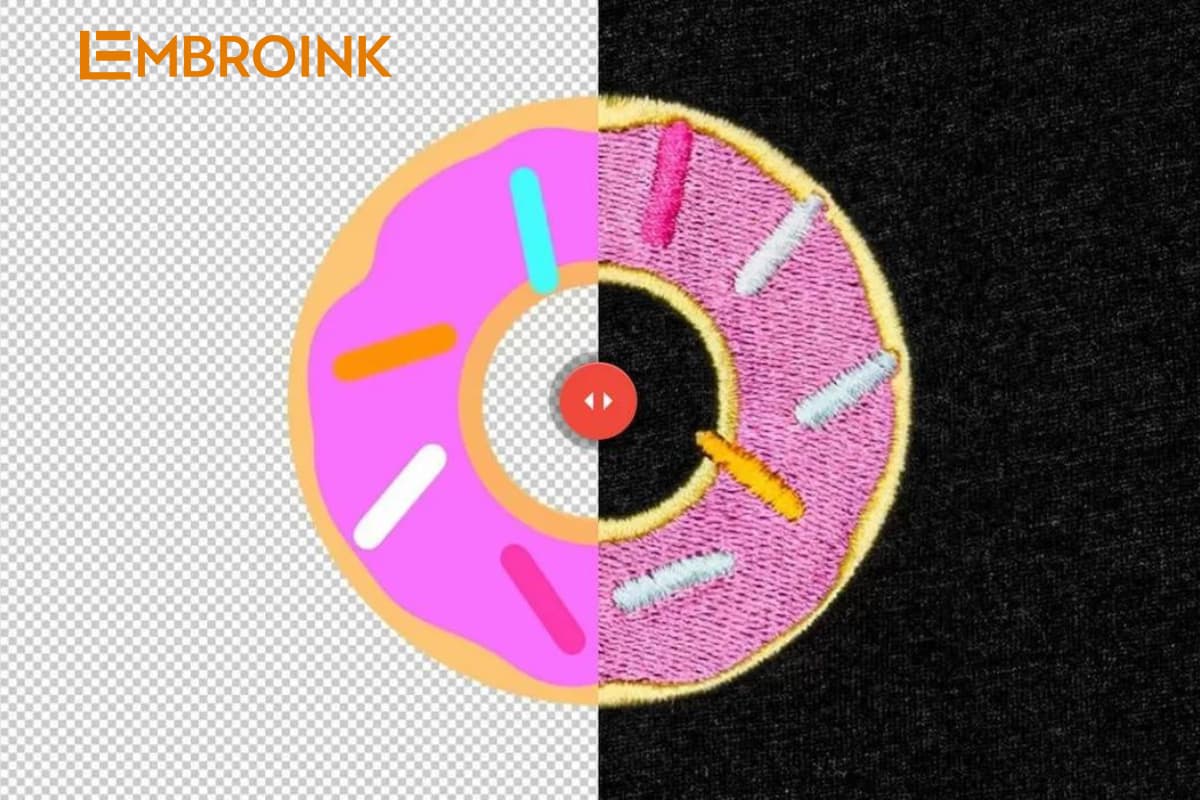
To begin the embroidery process, use software like SewArt to convert your chosen photo into an embroidery pattern. This software simplifies the image by breaking it down into stitchable segments, making it easier to follow. The conversion process reduces complex details while maintaining the integrity of the original image, ensuring a clear and manageable design for embroidery.
Once the pattern is created, you can either print it onto paper to use as a reference or transfer it directly onto the fabric. This allows you to follow the design with precision throughout the stitching process. By having the pattern ready, you can ensure that the final embroidered piece stays true to the photo and reflects all the important details in an organized and artistic manner.
Positioning the pattern on fabric
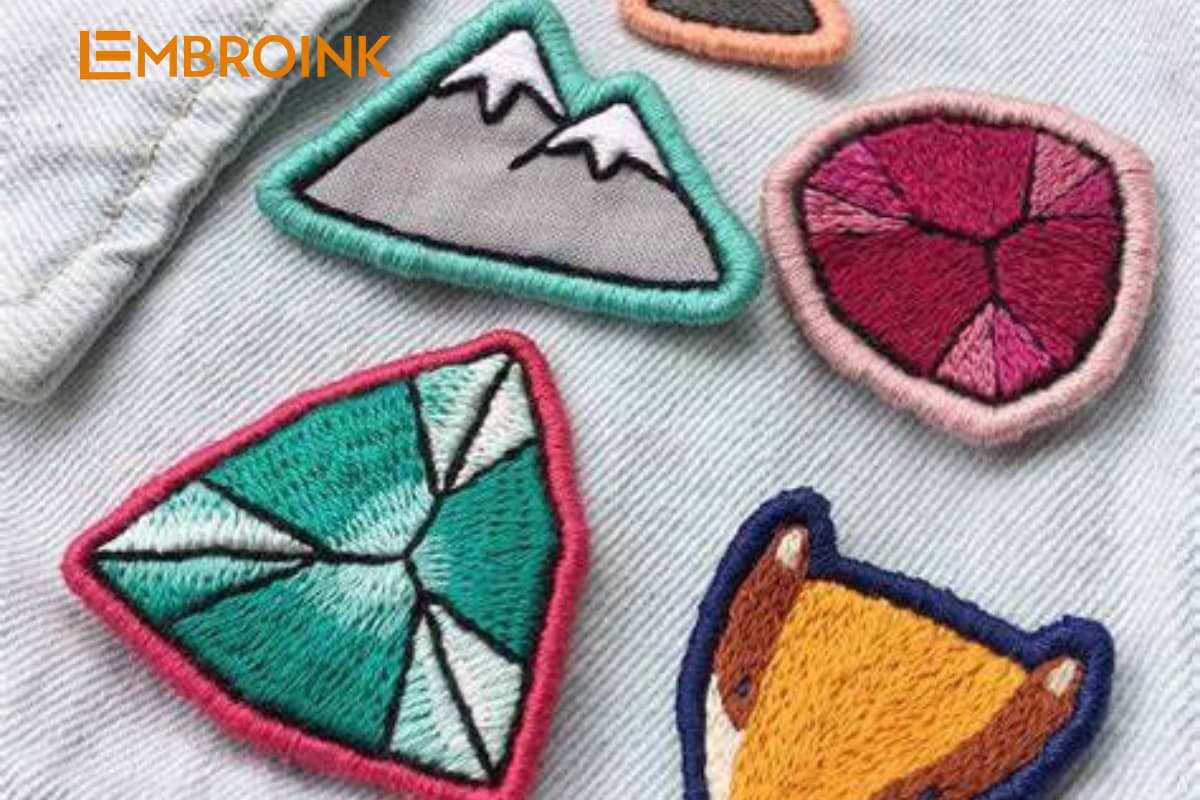
To begin embroidering, it’s important to securely attach the pattern onto the fabric using pins or tape. This will hold the pattern firmly in place while you work, preventing any shifting that could distort the design. Properly securing the pattern is especially crucial when working on detailed images, as even slight movements can cause misalignment, affecting the accuracy of the stitches.
Take extra care to align the pattern precisely on the fabric before starting, ensuring that the key elements of the design are positioned correctly. Accurate alignment will ensure that the final embroidered piece remains true to the original pattern, resulting in a polished and professional-looking outcome.
Embroidering the photo
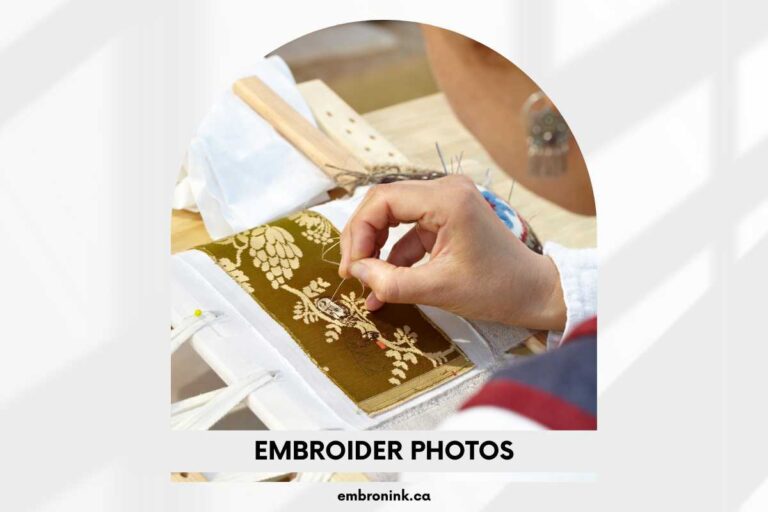
When beginning the embroidery process, it’s best to start with the larger areas of the design, focusing on basic shapes and key sections. Tackling these broader sections first helps establish a strong foundation and gives the piece structure. Once the larger areas are complete, gradually move on to the smaller details for greater precision. These finer elements require more careful attention and will bring depth and clarity to the design.
To enhance the overall texture and visual appeal, incorporate various embroidery techniques, such as cross-stitch, flat stitch, or satin stitch. These techniques can be used strategically to add dimension and contrast, making the image more vivid and lifelike. The combination of different stitches allows for a dynamic representation of the photo, turning it into a rich, textured work of art.
Finishing the embroidery
Trimming and cleaning the edges
After completing the embroidery, carefully trim any excess fabric or stray threads around the edges of the design to give it a clean and polished finish. This step is crucial for refining the overall appearance of the piece, ensuring that no loose threads detract from the final presentation.
Use sharp scissors to make precise cuts, being mindful not to accidentally cut any stitches. Neat, well-trimmed edges contribute to a professional and organized look, enhancing the beauty and craftsmanship of the embroidered design. This finishing touch helps the piece look more refined, whether it’s framed, gifted, or displayed as part of a larger project.
Flattening and cleaning the embroidered fabric
To give your embroidered fabric a polished and professional appearance, gently press it with an iron after trimming. Set the iron to a low heat setting to avoid damaging the stitches or the fabric itself. To protect the delicate embroidery, place a thin cloth or pressing cloth between the iron and the embroidered design. This barrier helps prevent direct contact, reducing the risk of flattening or scorching the stitches.
Carefully glide the iron over the fabric to remove any wrinkles, ensuring that you maintain the integrity of the embroidery. This step not only enhances the overall presentation of your work but also prepares it for framing or display, making it look its best.
Preserving the Embroidered Product
To preserve your embroidered piece for years to come, store it in a clean, dry place away from moisture and dust. If you choose to frame or display the embroidery, take additional steps to protect it. Ensure the frame is sealed properly to keep out dust, and consider using UV-filtering glass to shield the embroidery from direct sunlight, which can cause colors to fade over time.
By maintaining the right conditions for storage or display, you can help maintain the quality and vibrancy of your embroidery, allowing it to remain a cherished keepsake or decorative piece for future generations. Taking these precautions will ensure that your hard work and creativity are beautifully preserved.
Ideas for using the embroidered product
Create a wall art piece
Framing your embroidered piece is an excellent way to showcase your artistry and create a unique decorative item that adds a personalized touch to any space. Choose a frame that complements the colors and style of the embroidery, enhancing its visual appeal. Once framed, hang the artwork in a prominent location, such as a living room, bedroom, or hallway, where it can be appreciated by all.
This not only elevates the aesthetic of your home but also transforms the embroidery into a focal point that sparks conversation and evokes memories. Displaying your work in this manner allows you to celebrate the significance of the piece, turning it into a cherished part of your home decor.
Design a memorable gift
An embroidered photo makes a thoughtful and personalized anniversary gift, combining the sentimental value of a cherished memory with the unique craftsmanship of hand-stitched art. This special gift goes beyond store-bought presents, as it reflects the time, care, and effort put into creating something truly one-of-a-kind. By transforming a significant photo—whether from a wedding, a favorite vacation, or another memorable moment—into an embroidered work of art, you create a lasting tribute to the relationship being celebrated.
This handcrafted piece becomes a meaningful keepsake that the recipient can treasure for years to come, symbolizing the love and memories shared throughout the journey together.
Incorporate into event decorations
Incorporating the embroidered piece into the anniversary event décor adds a deeply personal and artistic touch to the celebration. Displaying it as part of the decorations—whether framed on a table, hanging on a wall, or used as a centerpiece—creates a focal point that beautifully reflects the couple’s shared memories.
This custom piece can enhance the atmosphere, serving as a meaningful tribute to their journey together while also highlighting the craftsmanship of the embroidered design. By featuring the embroidery in the décor, you not only elevate the aesthetics of the event but also infuse it with a unique sentimental value that guests can appreciate and celebrate.

