How do you start an embroidery stitch?
Embroidery, a timeless and versatile craft, has captivated people for centuries with its intricate designs and expressive possibilities. Whether you’re a seasoned artisan or a curious beginner, starting an embroidery stitch can seem daunting at first. However, with a bit of guidance and practice, you’ll soon discover the joy and creativity this art form offers. In this guide, we’ll walk you through the essential steps to start an embroidery stitch, ensuring you have the foundation to create beautiful and personalized pieces. Let’s thread the needle and embark on this artistic journey with EmbroInk.
Basic stitches of hand embroidery
Embroidery is a craft that looks deceptively simple, but if you take a peek at any stitch sampler, you’ll find that it can quickly result in complex techniques. While that sounds intimidating, have no fear—many patterns can be completed by having knowledge of the most basic embroidery stitches.

Knowing a variety of stitches isn’t a requirement for embroidery. Artist Sarah K. Benning, for instance, creates her visually complex compositions using variations on the satin stitch. Keep in mind that though you might pick your favorite technique (or two), it’s always best to have at least a few stitches up your sleeve. In doing so, you can use them as a way to build texture and visual interest in your embroidered composition.
To further illustrate this point, think about your fabric as you would a drawing. Creating a compelling artwork often requires you to use multiple drawing techniques; you might drag your pen back and forth over the paper as well as use cross-hatching and stippling (dots) to help build form. If you were to only use the back-and-forth technique, chances are your image might feel a little stale. It’s the same with embroidery. Coupling the satin stitch with tiny French knots is sure to excite the eye more than the same straight stitch over and over again.
Here are some essential stitches to get you started:
- Running Stitch: Simple and versatile, great for outlining shapes.
- Backstitch: Ideal for creating strong, continuous lines.
- Satin Stitch: Perfect for filling in areas with solid blocks of color.
- French Knots: Adds texture and visual interest, often used for details like flower centers.
- Chain Stitch: Useful for creating bold, decorative lines.
- Stem Stitch: Commonly used for outlines and stems, offering a smooth and even appearance.
- Lazy Daisy: Great for creating flower petals and simple motifs.
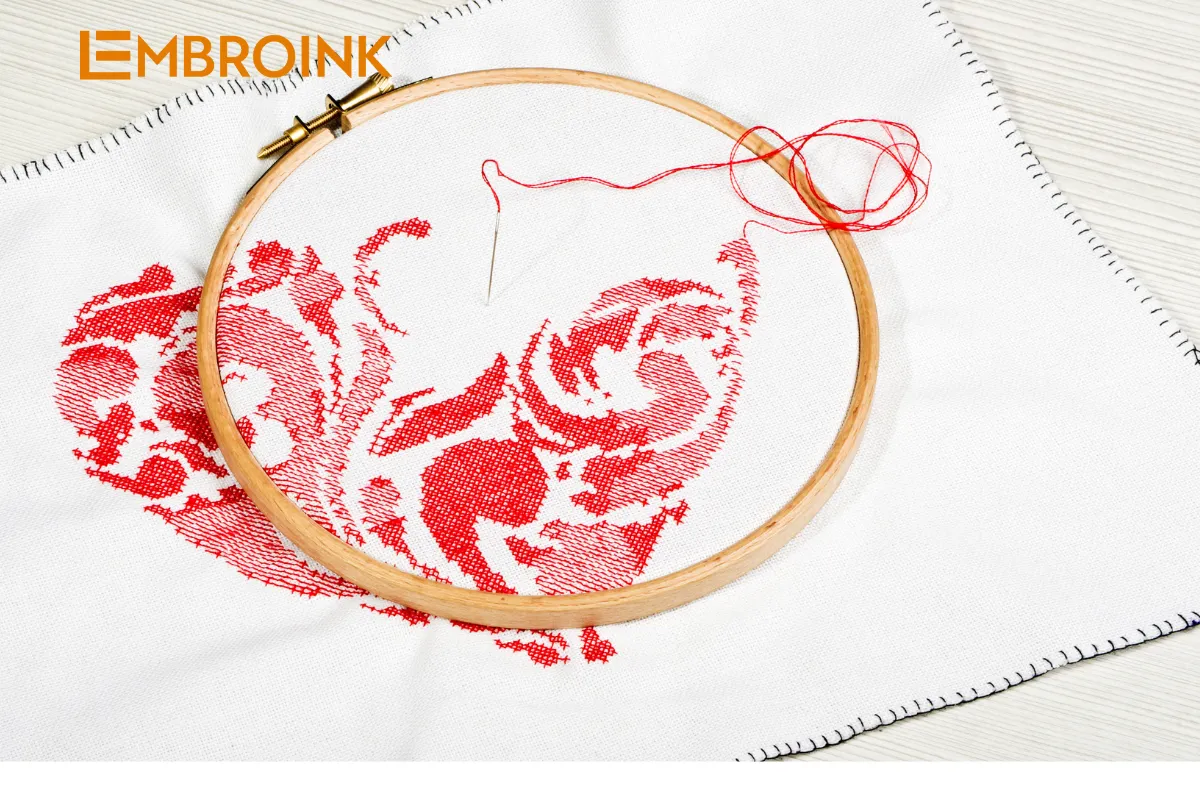
Running stitch
The running stitch is one of the simplest and most versatile stitches. It’s created by weaving the needle in and out of the fabric in a straight line. This stitch is often used for outlining shapes or adding subtle texture.
Backstitch
The backstitch creates a continuous line that’s stronger than the running stitch. It’s perfect for outlines and details. Start by making a single stitch, then bring the needle up ahead of your first stitch and go back down into the end of the previous stitch.
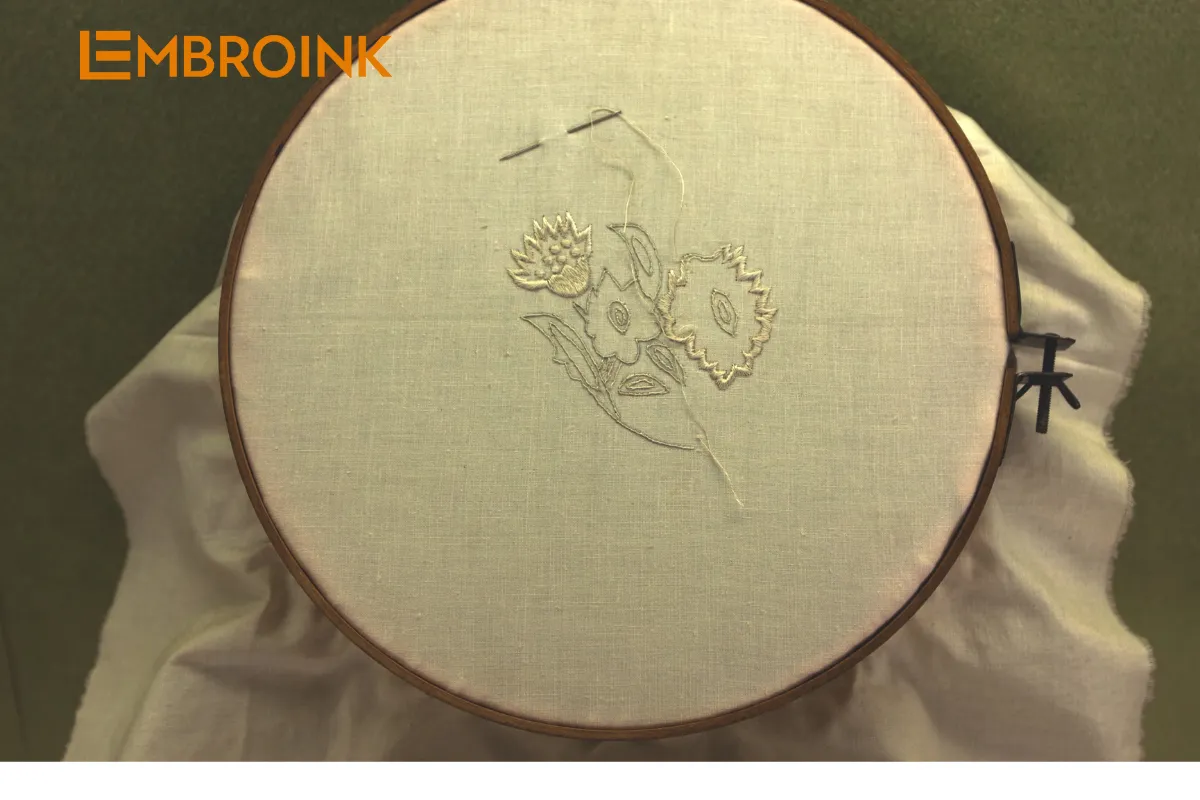
Satin stitch
The satin stitch is used to fill in areas with a solid block of color. It involves making a series of straight stitches close together to cover the fabric completely. This stitch is ideal for creating bold, colorful sections in your design.
French knots
French knots add texture and interest to your embroidery. They are created by wrapping the thread around the needle and pulling it through the fabric to form a small, raised knot. These are often used for flower centers or other small details.
Chain stitch
The chain stitch is used for creating bold, decorative lines. It involves making a series of looped stitches that resemble a chain. This stitch is great for outlines and decorative elements.
Stem stitch
The stem stitch is commonly used for outlines and stems. It offers a smooth and even appearance. This stitch is created by making a series of overlapping diagonal stitches along a line.
Lazy daisy
The lazy daisy stitch is perfect for creating flower petals and simple motifs. It involves making a loop and anchoring it with a small straight stitch. This stitch adds a delicate, decorative touch to your embroidery.
By mastering these basic stitches, you’ll be well-equipped to start your embroidery projects and add a variety of textures and details to your work.
How do you start an embroidery stitch?
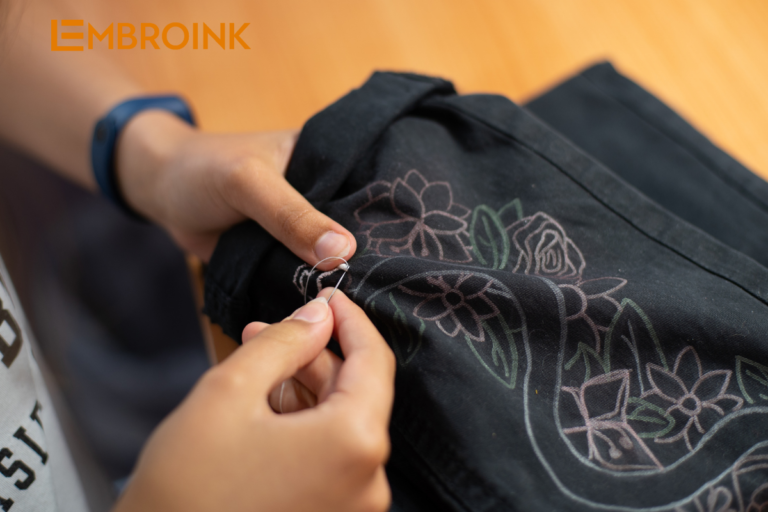
No matter which type of embroidery stitch you plan to create, each begins the same way—with a threaded needle passed through your chosen fabric. The thickness of your stitch will depend on the thread you use. For instance, DMC thread, a popular choice among embroidery artists, comes in skeins of floss made up of six smaller strands. You can sew with all six strands for an ultra-thick stitch or separate them into smaller portions. Using between two to four threads is common, but it’s ultimately up to your personal preference and the effect you’re aiming to achieve. Some artists use a single strand of thread to add fine accents to their designs, similar to delicate line drawings.
What are the basic hand embroidery stitches?
There’s no governing body that decides on the most basic hand embroidery stitches, but several are commonly recommended for beginners. Amanda Rolfe demonstrates seven essential stitches in an easy-to-follow tutorial. Here are the stitches she covers:
- Backstitch: As the name suggests, the backstitch involves working backward. Start by pulling the thread from the back of your fabric to the front. Move your stitch behind the hole you just made and poke it through to the opposite side. Then, bring the needle up in front of the previous stitch and insert it into the previous stitch when pulling the needle to the back of the fabric.
- Split stitch: After creating one full stitch, bring the needle through the fabric and insert it in the middle of the stitch you just made. This will “split” the stitch, giving a decorative, chain-like effect.
- Stem stitch: The stem stitch resembles a plant stem. Start by making a backstitch. For the second stitch, bring the thread up halfway between the previous stitch and take your needle to the front of the line. Each stitch will be slightly angled inward, making the stem stitch ideal for curved outlines.
- Chain stitch: This stitch requires a few steps to create a single link in the chain. Bring the thread through the back, insert the needle next to the stitch you just made, and angle it so that it goes in and comes out in front of the two stitches. Pull the needle through, ensuring the thread runs under it to form a link in the chain.
- Blanket stitch: Start by bringing the thread through the back of your fabric and making a new stitch to the right. Insert the needle so that it goes into the fabric and then out again without pulling the thread all the way through. Pull the needle, ensuring the thread runs under it to create an L-shaped stitch, perfect for finishing edges.
- Satin stitch: This stitch is used to fill areas of a design. Start from one end of the shape, pull your needle to the front of the fabric, find the other end of the shape, and insert the needle, moving toward the back.
- French knot: This basic knotted stitch starts by bringing your needle through the fabric. Wrap the thread around the needle once, guide the needle next to the hole you just made, and pull slowly to avoid pulling the entire knot through to the back.
For extra guided practice, Dropcloth Samplers sells a cloth sampler that allows you to practice more than a dozen basic embroidery stitches. Once you’ve mastered these stitches, books like DK’s Embroidery can help you take your skills even further, with more than 200 stitches presented in step-by-step instructions.