The process of embroidering a company logo onto uniform clothing
Embroidering a company logo onto uniform clothing involves precision, craftsmanship, and attention to detail. This process not only enhances the professional appearance of the garments but also ensures durability and brand visibility. From selecting the right embroidery technique to choosing suitable thread colors and positioning, each step plays a crucial role in creating a distinctive and long-lasting uniform emblem. Let’s delve into the intricate journey of transforming plain garments into branded apparel through embroidery.
Machine Embroidery of Logos
Machine embroidery is commonly used to embroider logos or brand names onto shirts. It is particularly popular for smooth fabrics that are difficult to print on or for dress shirts. Embroidery designs have very high durability, but they are limited in color and image sharpness.
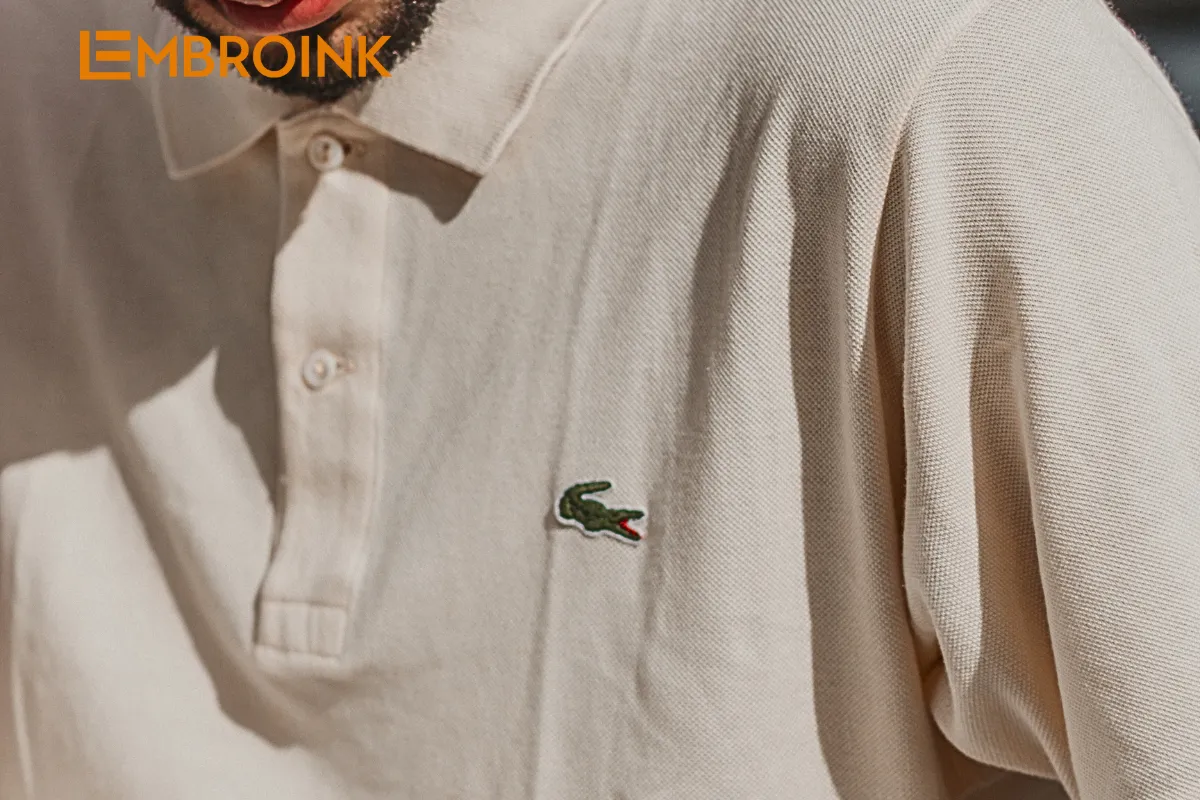
Today, logo embroidery remains the top choice for office uniforms, soccer uniforms, and worker uniforms due to its superior durability.
The logo embroidery samples at Logan are crafted with high precision, cutting the connecting threads between components to ensure the product’s aesthetics. Additionally, we help you choose the appropriate size for the embroidery design, and logos can be adjusted to enhance the appearance of the embroidery.
Some cases where logos cannot be embroidered on uniforms clothinh
- Cases Where Embroidering Logos on Uniform clothing is Preferred: Light or white embroidered designs on dark fabric: For dark fabric backgrounds such as black, burgundy, or navy blue, using bright ink for printing can result in significant color deviation. In such cases, embroidery is the preferred option.
- Cases Where Embroidering Logos on Uniform clothing Should Be Limited: Large designs: Embroidering large designs can cause the fabric to become bulky and heavy. The cost of embroidery for large designs is also higher compared to printing. Additionally, designs with too many small details or colors are difficult to execute with embroidery.
If you are unsure, the article “Should You Choose Printing or Embroidery?” can provide more useful information. Furthermore, when you place an order at Logan, we will advise you on the best option for your specific case.
- Cases Where Embroidery is Not Feasible: Fonts that are too small (thickness < 2mm), straight lines, designs with too many colors or gradient effects, and large designs are challenging to embroider.
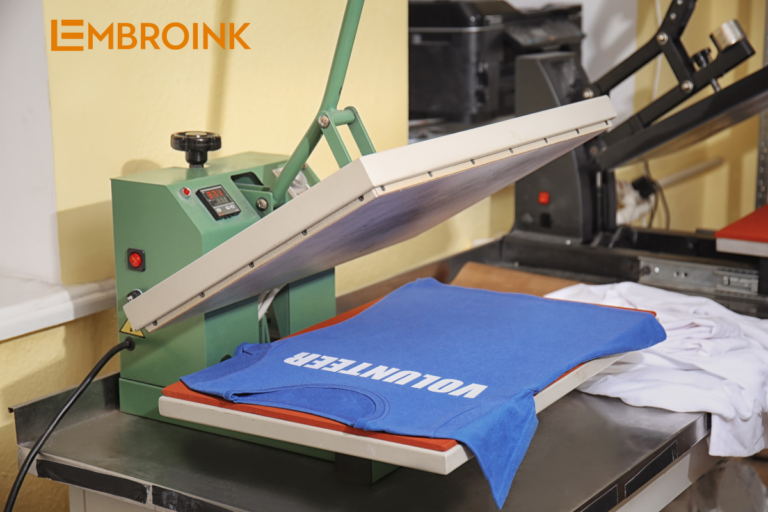
A popular alternative to computerized embroidery is plastisol high-density printing. This method has a comparable or lower cost and offers similar durability (see illustration below):
Combining Printing and Embroidery on the Same Uniform:
Many cases at Logan utilize this approach with embroidered logos on the front chest and printed designs on the back of the shirt.
Adjustments for Better Embroidery: Logos or designs can be slightly adjusted to enhance the embroidery quality. These adjustments do not significantly alter the design/logo, ensuring brand recognition and compliance with brand standards.
The process of embroidering a company logo onto uniform clothing
The process of embroidering a company logo onto uniforms typically involves the following steps:
Logo Design
To embroider a company logo onto uniforms, the process begins with obtaining the logo design from the customer or creating it according to specific requirements. Customers typically provide their logo in digital formats like JPEG or AI files. If needed, the logo is then refined or designed from scratch using graphic design software to ensure it meets embroidery specifications, such as simplifying intricate details or adjusting colors for optimal thread representation.
All order information, including customer details, addresses, phone numbers, and design files, is treated with the utmost confidentiality.
In cases where an embroidery file is not readily available for an order, we collaborate with a digitizing service provider to create the highest quality embroidery file. The cost for this service ranges from $5 to $25, depending on the complexity of the embroidery pattern.
For orders with existing embroidery files, we utilize those files and may make minor adjustments as needed to ensure compatibility with our production machines. Typically, these files are compatible with Brother and Tajima machines, ensuring stable and direct usage.
We accept popular file formats such as .DST, .EMB, .EXP, .JEF, and .OFM.
It’s important to note that the size of the design file directly impacts the quality of the final product. Therefore, it’s advised not to resize the design file by more than 20%, as doing so may result in design errors or the final product not meeting the highest standards.
Prepare Materials
When selecting fabric for embroidering company logos onto uniforms, it’s crucial to opt for materials that balance durability with aesthetic appeal. The chosen fabric should withstand regular wear and washing while maintaining comfort for the wearer. Additionally, ensuring the fabric matches the desired colors and textures of the logo is essential for achieving a cohesive and professional look.
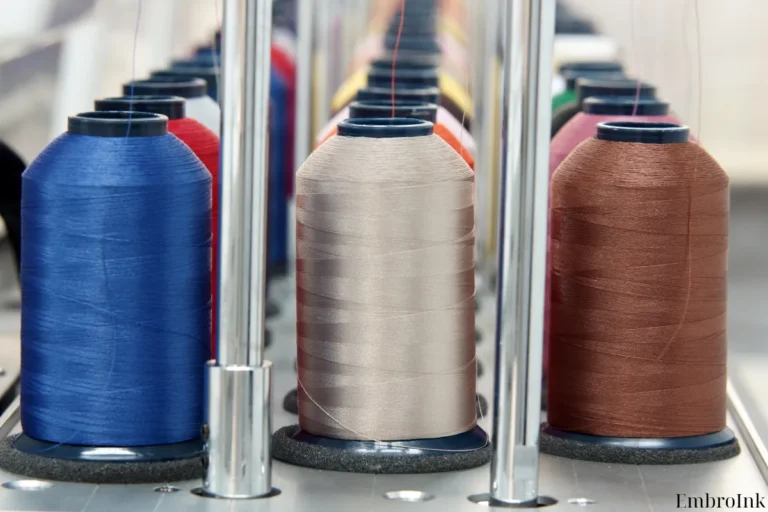
In parallel, selecting the right embroidery thread is equally important. High-quality threads are chosen based on their color accuracy and ability to withstand the demands of embroidery stitching. Matching thread colors precisely to the logo design ensures that the embroidered logo appears vibrant and true to the original artwork. Technical considerations, such as thread thickness and type, are also taken into account to achieve optimal stitching results that enhance the overall quality and longevity of the embroidered uniforms.
Embroidery Planning
In the embroidery process for uniforms, precise positioning of the logo plays a crucial role in achieving a professional appearance. The logo’s placement on the garment—whether on the chest, sleeve, back, or elsewhere—impacts visibility and brand recognition. Factors such as garment size, design aesthetics, and customer preferences influence this decision. Once the positioning is determined, the next step involves programming the embroidery machine.
This includes inputting the digitized design into the machine’s software, setting technical parameters such as stitching speed, needle tension, and thread density. These settings ensure that the machine embroiders the logo accurately and consistently, adhering to the quality standards required by the customer. This meticulous approach guarantees that the embroidered logos are not only visually appealing but also durable and well-suited to their intended placement on the uniforms.
Embroidery Execution
After determining the precise placement of the logo on the uniform, the next steps involve preparing the fabric and starting the embroidery process:
Hooping fabric
To ensure the fabric is properly prepared for embroidery:
- Select the embroidery hoop: Choose an appropriate-sized hoop that matches the placement and size of the logo on the garment.
- Prepare the fabric: Place the selected section of the uniform into the embroidery hoop, ensuring it is positioned securely and flat. Tautly stretch the fabric across the hoop to prevent any wrinkles or shifting during the embroidery process.
- Secure the hoop: Tighten the hoop’s adjustment screw to firmly hold the fabric in place. This step is crucial for maintaining consistent tension throughout the embroidery.
Begin embroidery
Once the fabric is securely hooped:
Load the design: Load the digitized logo design into the embroidery machine’s control panel or software interface.
Set up the machine: Check and adjust settings such as stitching speed, needle tension, and thread color as programmed during the machine setup phase.
Start the embroidery: Initiate the embroidery process by pressing the start button on the machine. The machine will automatically begin stitching the logo according to the programmed sequence, following the precise paths and colors defined in the digitized design.
These steps ensure that the embroidery is executed accurately and efficiently, resulting in a high-quality, professionally embroidered logo on the uniform. Regular monitoring during the process helps maintain consistency and address any issues that may arise, ensuring the final product meets the desired standards of appearance and durability.
Quality Control
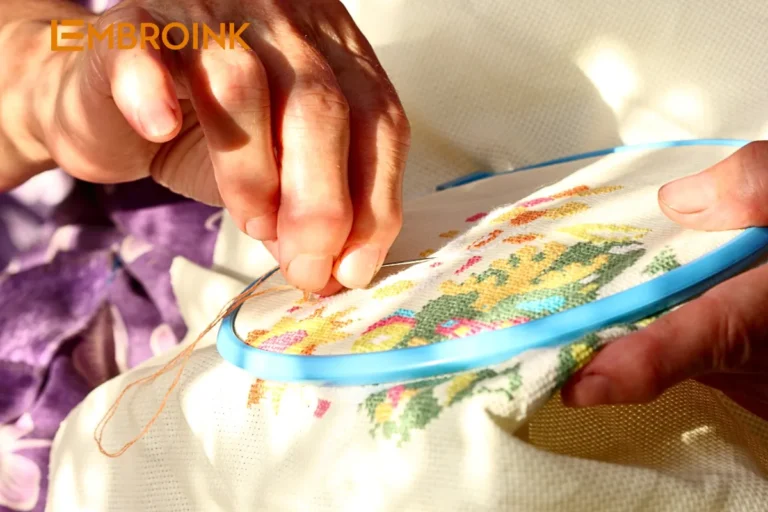
Embroidery inspection: The embroidered logo undergoes a detailed examination to ensure all details are clear and accurately rendered from the digitized design. This inspection focuses on identifying and correcting any defects such as skipped stitches, thread breaks, or uneven stitching density. Maintaining consistency in thread color and alignment is crucial to achieving a polished appearance that aligns with the brand’s image.
Fit check: Following the inspection, the placement, size, and color of the embroidered logo are meticulously verified against the specified requirements. This involves confirming that the logo is positioned correctly according to the garment’s design, ensuring it fits seamlessly within the designated area, such as the chest, sleeve, or back. Size verification ensures the logo dimensions meet the customer’s expectations, while color validation ensures that the thread colors match the original design specifications accurately.
Finishing Touches
After completing the embroidery process and ensuring the quality of the logo, the final steps involve preparing the uniforms for delivery:
Carefully inspect the embroidered area for any loose threads or excess stitching left from the embroidery process. Using sharp embroidery scissors, trim these threads close to the fabric without cutting into the stitches or damaging the garment. This step ensures a clean and polished final appearance of the embroidered logo.
Once the excess threads are trimmed, the uniforms are prepared for presentation. Each garment is carefully pressed using an iron to remove any wrinkles and ensure a neat, professional look. Proper folding techniques are employed to maintain the integrity of the embroidered logo and prevent creasing during transportation or display.
Delivery
EmbroInk goal is to process your orders promptly and efficiently:
- Production Time: 1 to 2 business days depending on the product and order complexity.
- Tracking Information: Tracking numbers are provided within 2 days of receiving payment for that orders. Tracking becomes active once the shipment reaches the destination country.
Estimated Shipping Time:
- US: Approximately 3 to 9 business days.
- UK & EU: Approximately 10 to 14 business days.
- *Orders to the EU that want to include tax will add $7 (orders need to have the consignee’s phone number and email)
- Other Countries: Approximately 21 to 30 business days.
Please note that delays may occur due to factors beyond our control such as customs delays or logistical issues. In such cases, while we will assist in resolving the issue with the carrier, we cannot guarantee immediate resolution.
This process ensures that the company logo is beautifully embroidered and durable on the uniforms, creating a professional image for the business.