Creating custom patches from scratch: A Step-by-Step Guide
A few years ago, embroidered patches were seen as nostalgic relics, mainly cherished by travelers and vintage enthusiasts who added them to their jackets and clothing. Recently, however, these patches have made a strong comeback, offering a distinctive way to personalize and enhance outfits.
Custom embroidered patches have become increasingly popular, drawing attention from businesses and fashion-forward individuals alike. Their versatility, durability, and ease of use make them a sought-after accessory. Whether you want to elevate your wardrobe or expand your store’s offerings, this simple yet impactful accessory is the perfect addition.
If you’re unsure where to start with creating custom patches, don’t worry. This guide will take you through every step, so you can begin designing your own patches today.
How to Make Custom Patches: A Step-by-Step Guide
Creating custom patches is easier than you might think. You don’t need to worry about stitching, sewing, or even owning an embroidery machine. By partnering with a print-on-demand and dropshipping company like EmbroInk, you can leave the manufacturing, inventory management, and delivery to the experts. However, to ensure your patches turn out perfectly, there are a few key steps to follow.

Define Your Style and Aesthetic
Before you dive into designing, take some time to think about your target customers and how your patches will stand out. Consider what niche you want to serve, whether it’s hikers, bikers, sports enthusiasts, nature lovers, or businesses looking for logo patches and souvenirs. Defining your brand and signature style will help guide your design choices.
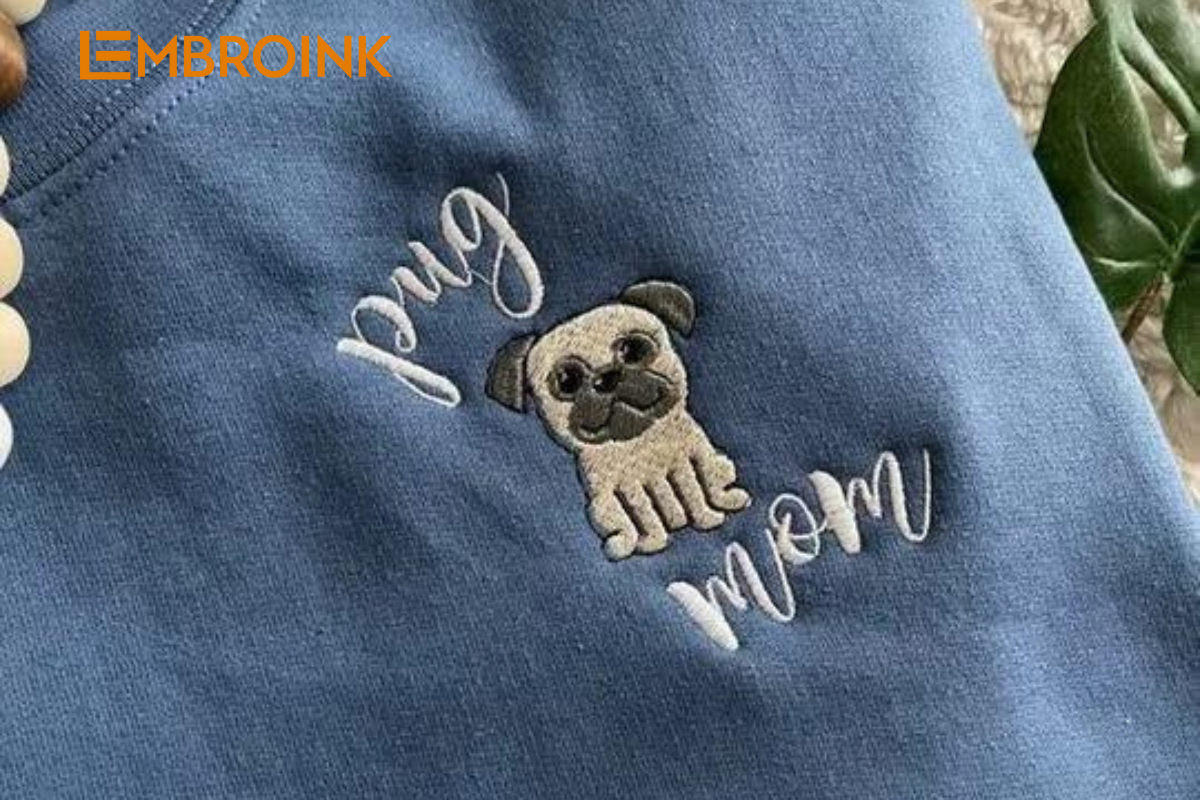
Embroidered patches are the most popular type, known for their thick, textured threading and fabric foundation. They’re versatile and can work with a variety of styles and colors. If you’re looking for inspiration, platforms like Pinterest or Etsy can be great resources. Search for keywords related to your chosen theme, like “nature patches” or “funny patches,” to see what’s trending. Patch Collection is another excellent resource for exploring a wide range of patch styles.
Understand Embroidery Guidelines
With a vision for your patch collection, it’s time to focus on the technical aspects of embroidery. Each technique, such as flat embroidery or 3D puff embroidery, has specific standards that must be met to ensure your design translates well onto the patch.
To avoid issues and ensure your patches look their best, EmbroInk recommends following these embroidery guidelines:
- Use large letters and thick fonts: Small, thin lines can make text and intricate details hard to read.
- Avoid gradients and textured graphics: These elements are difficult to replicate in embroidery and may not look as expected.
- Simplify photos into graphic images: Only solid shapes and colors work well in embroidery.
- Steer clear of neon and metallic colors: Just like gradients, these colors are challenging to achieve with embroidery.
- Remove unnecessary background colors and add an outline: This will help your patch look cleaner and prevent exceeding the maximum stitch count of 15,000.
If you’re unsure whether your design is ready, use the design file templates available in the File Guidelines section on the embroidered patches catalog page. By adhering to these guidelines, you’ll ensure your custom patches are produced exactly as you envisioned, with minimal issues during production.
Create Your Patch Design
Now that you’ve established your signature style, target market, and are familiar with the technical requirements, it’s time to start designing your custom patches.
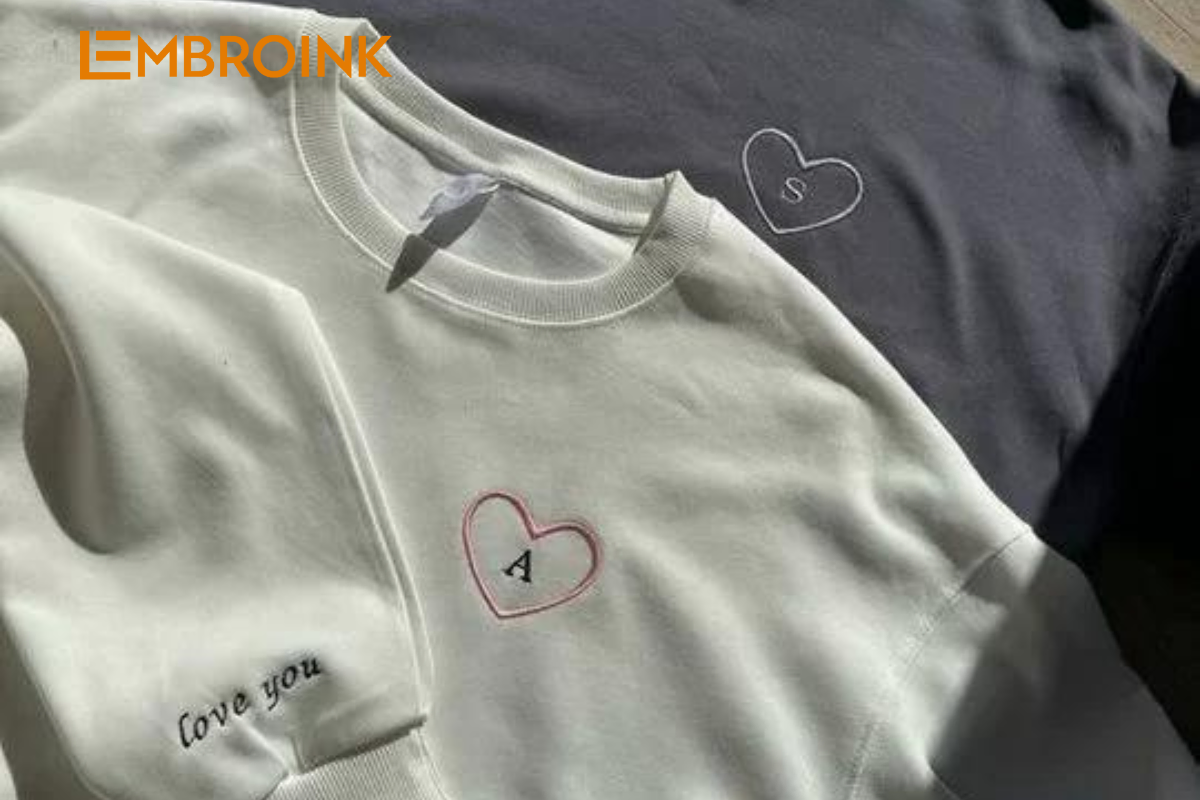
When designing a patch, consider three key elements: fabric color, embroidery outline color, and shape. With us, you can choose between a black or white background and select from five different shapes: rectangle, heart, square, oval, and circular, each available in various sizes.
Think about where your custom patches will likely be placed. You might want to create the same design in multiple shapes and sizes, as patches for caps should be smaller than those for jackets or backpacks.
To create your design files, begin by sketching your ideas in Canva, Photoshop, or another design software.
When designing, prioritize clarity and simplicity to ensure that your text and illustrations are clearly legible, even on a small patch. Choose your color palette wisely—do you prefer a minimalist and elegant design with a few sophisticated colors, or a bold, vibrant design that grabs attention from afar?
Whichever direction you choose, don’t hesitate to refine your design through several iterations until you achieve visually striking patches that convey your intended message.
Make an Order
With your patch designs finalized, it’s time to bring them to life by placing an order.
If you’re creating patches for a group of friends, a club, or a special event, consider ordering in bulk to take advantage of discounts on orders of 25 items or more. You can also create a personalized gift by having the patches delivered to a different address.
If you plan to sell custom patches, start by ordering a few samples to evaluate the embroidery quality and see if any adjustments are needed.
Keep Your New Patches in Place
Once you’ve received your patches and ensured they’re in perfect condition, it’s important to know how to properly attach them to your items for lasting use.
EmbroInk provides iron-on patches, so the first key step is to select a fabric that’s at least as sturdy as the patch itself. Denim and cotton are excellent choices for the best adhesion results.
Here’s how to attach your patch:
- Prepare the Fabric: Lay your item on a flat surface and iron the spot where you plan to attach the patch. Set your iron to the highest heat level the fabric can handle.
- Position the Patch: Place the patch on the heated area with the adhesive side facing down. Cover the patch with a thin cloth to protect it from direct heat.
- Iron the Patch: Firmly press the iron on the covered patch for about 25 seconds on each side.
- Cool and Secure: After ironing, allow the patch to cool down. If the edges of the patch start to lift, repeat the ironing process or sew the patch onto the fabric for extra security. The adhesive will reach its full strength within 48 hours.
To ensure your patches stay in place, wash the item as infrequently as possible. Frequent washing can cause the patch to gradually come off. If washing is necessary, opt for hand-washing in cold water to preserve the patch’s adhesion.
Closing Remarks
Custom embroidery patches offer a unique way to express creativity and provide a lucrative business opportunity. With the convenience of print-on-demand services, bringing your designs to life and having them proudly displayed on your favorite items or customer clothing has never been easier.
Take the time to define your style, familiarize yourself with embroidery guidelines, and experiment with various shapes, colors, and design elements. Embrace the process of trial and error, and don’t hold back on your creativity—you’ll soon be crafting eye-catching patches that stand out.