Guide to teaching simple and easy machine embroidery
Machine embroidery is a wonderful art that requires patience, dexterity, and high skill. For beginners, learning machine embroidery might seem quite challenging. However, nothing is impossible if the instructor has enough patience and dedication to guide the learners. In this article, EmbroInk will provide you with essential information on how to teach machine embroidery in an effective and easy-to-understand manner for beginners. Check it out now.
Basic information on machine embroidery techniques
First, introduce the students to some basic information about fabric embroidery techniques as follows:
- Machine embroidery originated in ancient China and is now a highly popular technique worldwide.
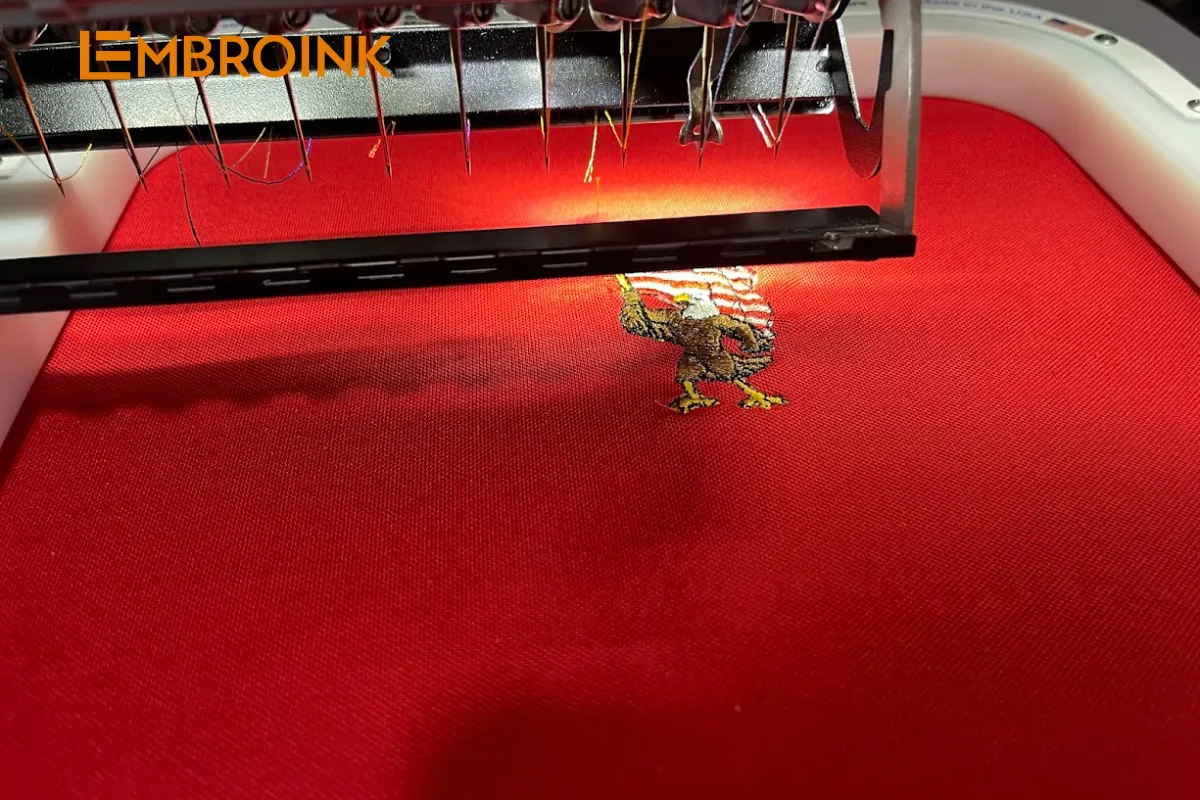
- Machine embroidery is an art that creates images or patterns on fabric using various stitches with the help of modern equipment known as computerized embroidery machines.
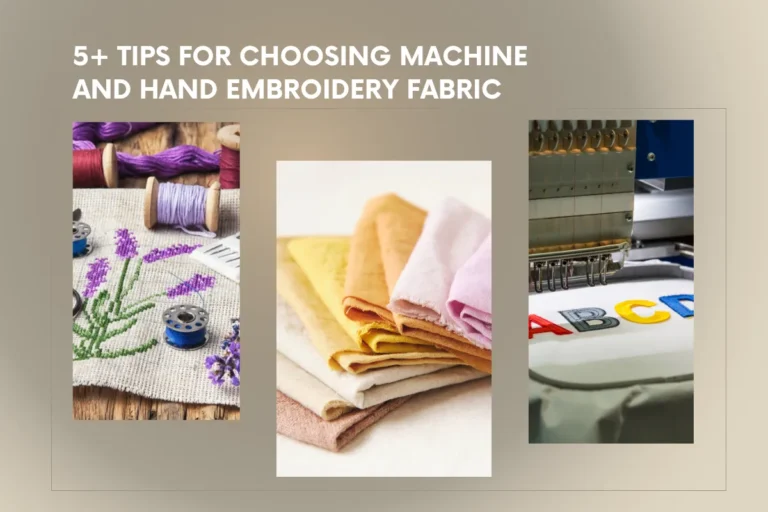
- Common fabrics for machine embroidery include linen, wool, cotton, and silk. Some industrial embroidery machines can even embroider on leather.
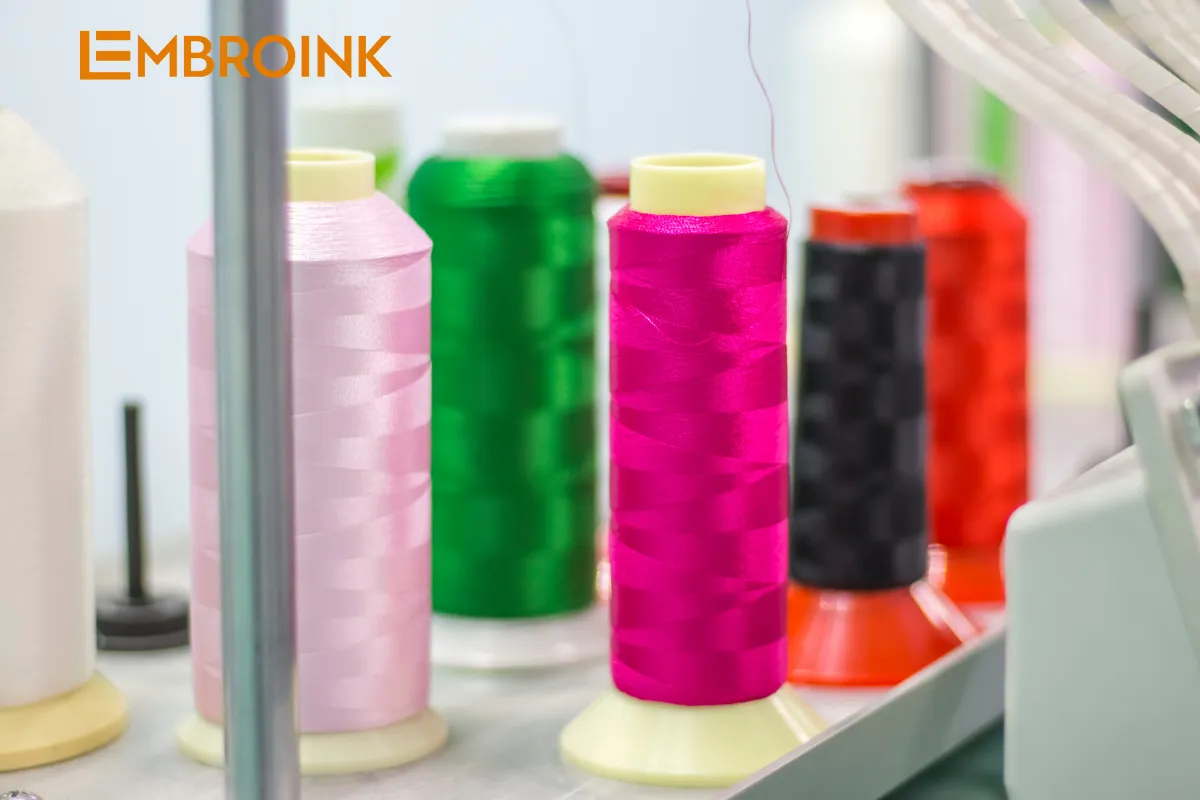
- The essential tools for machine embroidery include needles, thread, embroidery hoops, and design templates.
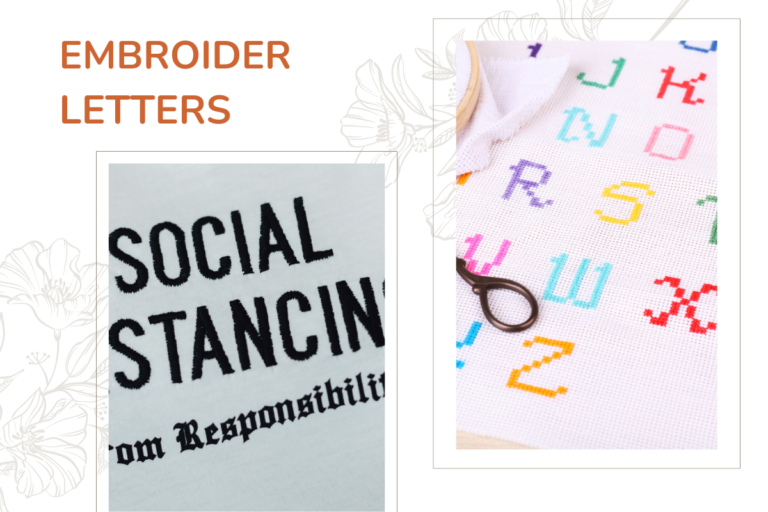
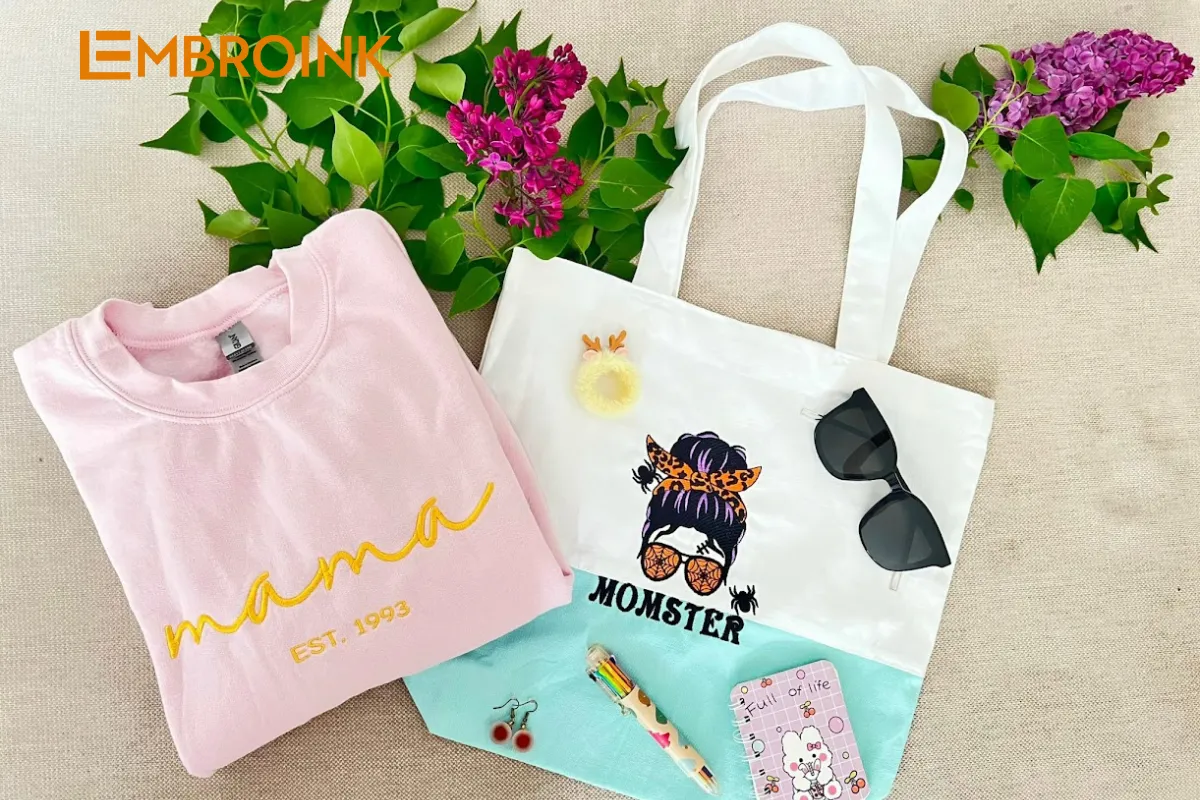
There are many different types of stitches in machine embroidery, including cross stitches, satin stitches, and chain stitches. - Machine embroidery can be used to create beautiful handcrafted items such as embroidered shirts, scarves, hats, bags, backpacks, and embroidered pictures.
- Machine embroidery is not only an art but also a great recreational activity for relaxation and stress relief.
Guide to teaching simple and easy machine embroidery
To ensure the embroidery teaching process is smooth and easy to understand, you should follow the steps in the following order:
Prepare necessary tools
To start learning machine embroidery, ask the students to prepare essential tools such as needles, thread, embroidery hoops, and design templates. These tools are fundamental for achieving precise and beautiful embroidery work.
- Needles: Different types of needles are used for various fabrics and threads. Ensure students have a selection of needles suitable for their projects. New, sharp needles are crucial for clean, smooth stitches and preventing fabric damage.
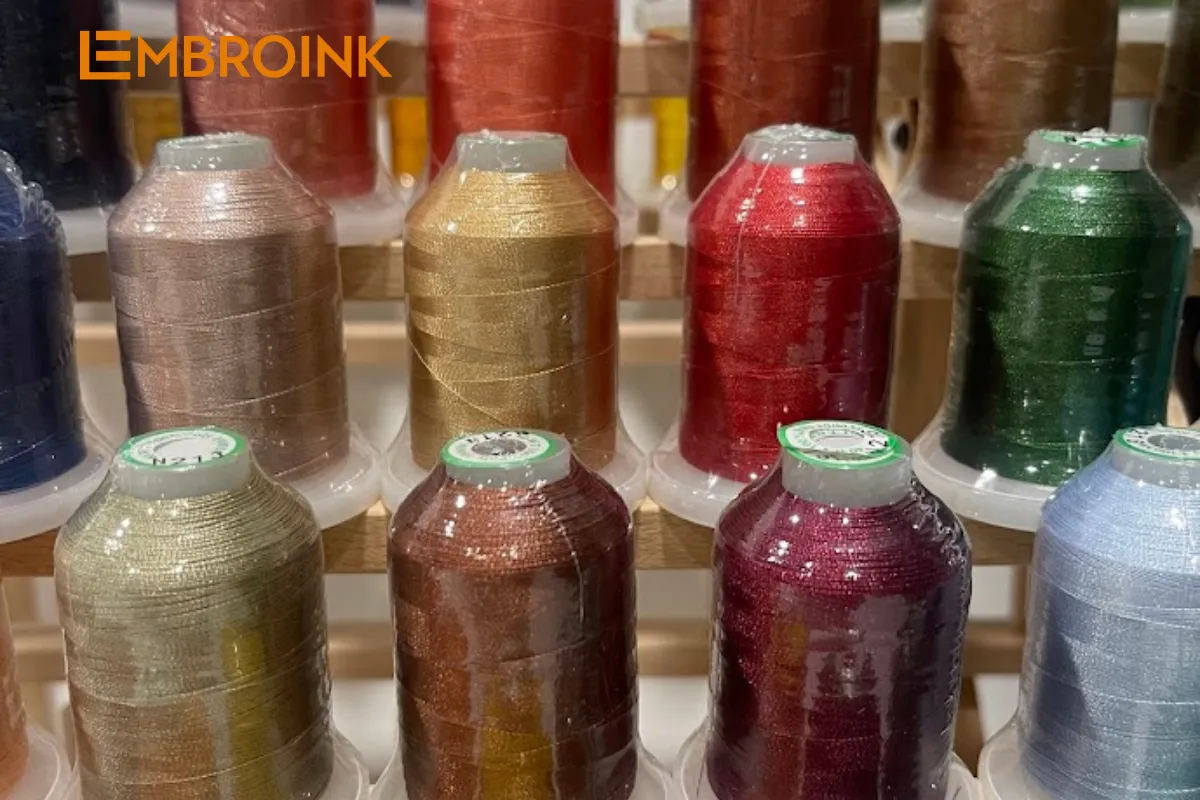
- Thread: High-quality embroidery thread is essential for vibrant and durable designs. Advise students to select threads that are appropriate for the fabric they will be working on. Ensure the threads are new to avoid breakage and ensure smooth operation during embroidery.
- Embroidery hoops: Embroidery hoops keep the fabric taut, which is vital for even stitching and preventing puckering. New, sturdy hoops provide better tension and are easier to handle.
- Design templates: Having clear and well-printed design templates helps students follow patterns accurately. Encourage students to start with simple designs to build their confidence and skill level before moving on to more complex patterns.
Additionally, ensure that all tools and materials are clean. Dust and dirt can interfere with the embroidery machine’s operation and affect the final appearance of the project. New and clean materials not only enhance the precision and beauty of the embroidery but also contribute to a more enjoyable learning experience for the students. Emphasize the importance of preparation, as it sets the foundation for successful and attractive embroidery projects.
Learn about different stitches
There are various types of stitches in machine embroidery, each with its own unique method and application. It is essential to explain and thoroughly introduce the students to these stitches to build a solid foundation in their embroidery skills.
- Cross stitches: Cross stitches are commonly used in counted-thread embroidery and create a grid-like pattern. Demonstrate how to make precise and even cross stitches, which can be used to form detailed and intricate designs.
- Satin stitches: Satin stitches are used to fill areas with a smooth, shiny finish. Teach students how to control the length and direction of satin stitches to achieve a polished look. This stitch is ideal for creating bold and eye-catching designs.
- Chain stitches: Chain stitches form a series of looped stitches that resemble a chain. Explain the technique for making consistent and even chain stitches. This stitch is versatile and can be used for outlines and decorative elements.
Encourage additional research
To deepen their understanding and mastery of these stitches, encourage students to engage in further research. Suggest the following resources:
- Instructional books: Recommend books that provide detailed explanations, illustrations, and step-by-step guides on various stitches. Books often include practice exercises that students can follow to improve their skills.
- Online videos: Online tutorials and videos are valuable resources for visual learners. Videos can demonstrate the nuances of stitch techniques and provide tips from experienced embroiderers. Encourage students to watch multiple videos to see different approaches and tips.
- Embroidery workshops and forums: Encourage participation in online workshops and embroidery forums where students can interact with other enthusiasts, ask questions, and share their progress. These communities can offer support and inspiration.
- Practice projects: Assign small practice projects focusing on each stitch type. This hands-on practice will help students gain confidence and proficiency in using different stitches.
By thoroughly teaching these common stitches and encouraging additional research, students will develop a strong foundation in machine embroidery. This foundation will enable them to create beautiful, intricate designs and continue to grow their skills over time.
Practice simple patterns
Initially, guide to practice with simple patterns before moving on to more complex designs. This helps them become familiar with different stitches and improve their skills.
Emphasize regular practice
Finally, to become proficient in embroidery, encourage to practice regularly. Advise them to frequently use the embroidery machine to build confidence and patience, ultimately producing beautiful embroidered pieces.
Detailed and easy-to-understand guide for teaching machine embroidery
Teaching machine embroidery is a relatively complex process that requires patience, dedication, and basic sewing skills. Below is a comprehensive guide and curriculum for teaching machine embroidery:
Prepare materials
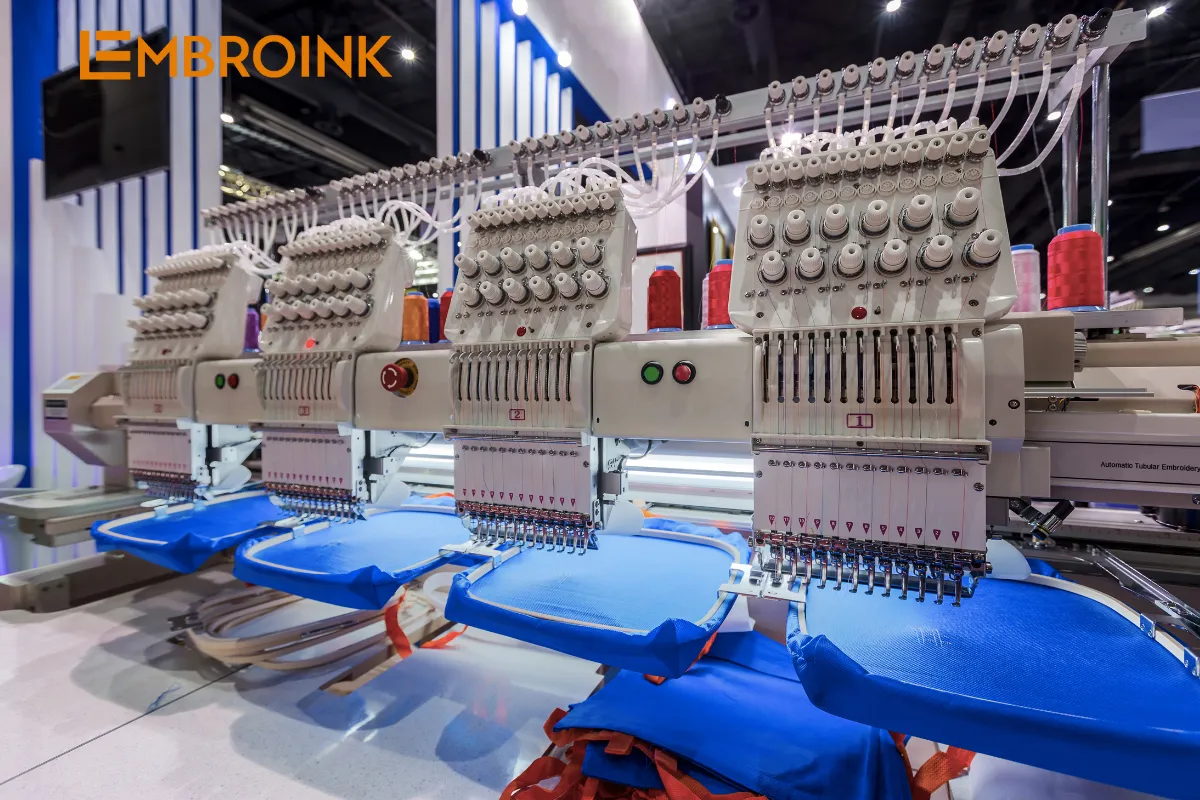
- Prepare the embroidery machine: Choose an embroidery machine that matches the skill level of the students.
- Embroidery materials: Gather various fabrics, embroidery threads, thread scissors, and embroidery needles.
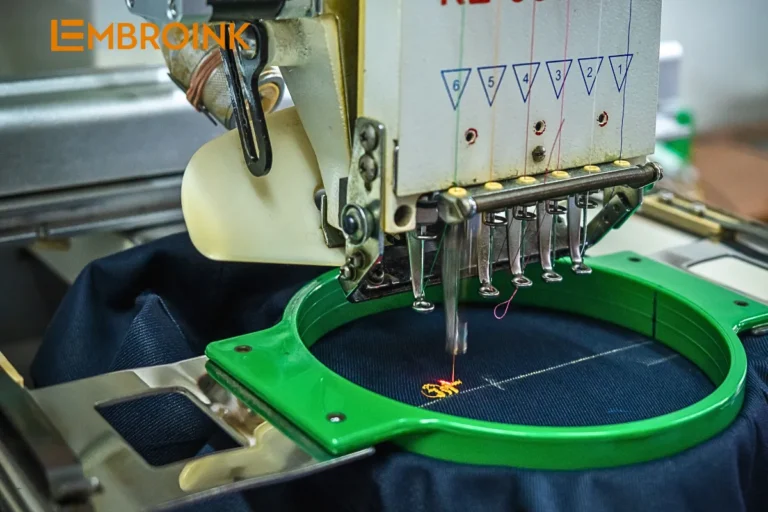
Overview of the embroidery machine
- Introduction to the machine’s structure: Explain the main parts of the computerized embroidery machine.
- Basic and advanced functions: Introduce the basic and advanced functions of the embroidery machine.
Basic techniques
- Using needles and threads: Teach how to properly use embroidery needles and threads.
- Setting up materials on the machine: Guide the students on how to correctly place materials in the embroidery machine.
- Basic embroidery techniques: Practice basic stitches such as running stitch, zigzag stitch, and satin stitch.
Practice with simple patterns
- Select a simple pattern: Choose a basic embroidery pattern for students to practice.
- Step-by-Step guidance: Provide detailed step-by-step instructions for applying the pattern on their embroidery machine.
Design on the machine
- Creating or using designs: Teach how to create embroidery designs or use pre-existing patterns.
- Choosing colors and materials: Explain how to select appropriate colors and materials for each design.
Personal design practice
- Practice personal designs: Allow students to practice embroidering a design of their own choice, starting with simple patterns.
- Support and adjust techniques: Offer support and make adjustments to their techniques throughout the practice.
Machine maintenance
- Cleaning and maintenance: Teach students how to clean and maintain their embroidery machine regularly.
- Changing needles and basic maintenance functions: Guide them on how to change needles and perform basic maintenance functions.
Enhancing creative skills
Encourage creativity: Motivate students to create new and innovative designs. Observe and assist them in perfecting their work until they achieve a beautiful final product.
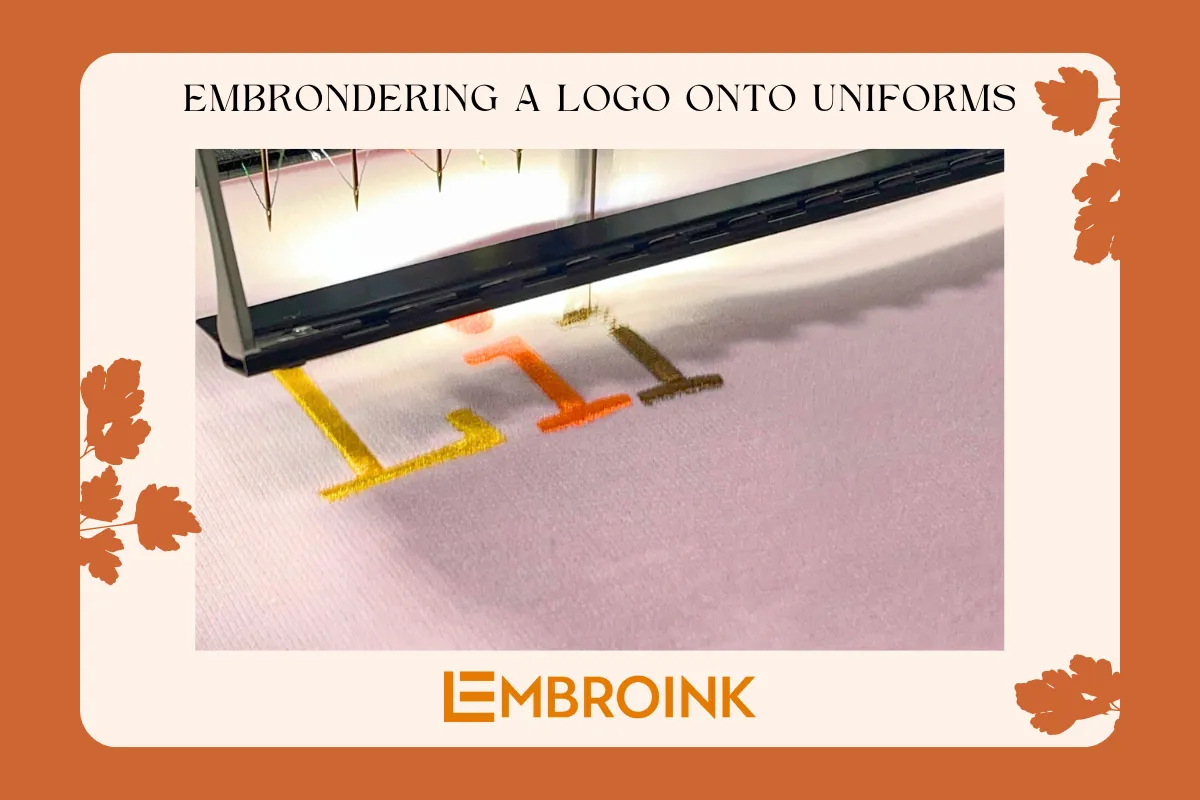
Embroidery on various materials
- Different fabrics: Teach how to embroider on various types of fabrics, from thick to thin materials.
- Special materials: Instruct on working with special materials like leather, lace, or metallic fabrics.
Organize practice sessions and projects
- Group practice sessions: Arrange group practice sessions to foster interaction and experience sharing among students.
- Large embroidery projects: Assign large embroidery projects to give students the opportunity to apply all the skills they have learned.
Remember, the teaching process should be flexible to meet the needs and skill levels of each student. This approach helps them stay engaged and confident in using the embroidery machine.
Tips and tricks for teaching machine embroidery
When teaching machine embroidery, there are several useful tips and tricks to share with students to help them achieve the best results:
- Check thread length: Always check the thread length before starting to embroider to avoid thread breakage midway through the project.
- Start with small details: When creating a complex embroidery design, begin with small details and gradually build up. This helps prevent getting lost in the design process.
- Use an embroidery hoop: Use an embroidery hoop to keep the fabric taut and prevent it from wrinkling or puckering.
- Alternative to embroidery hoop: If an embroidery hoop is not available, use double-sided tape to secure the fabric on the worktable.
- Choose harmonious colors: To create an attractive embroidery pattern, select colors that complement each other and blend them harmoniously.
- Enjoy the art: Machine embroidery is a wonderful art form that can bring joy and relaxation. As an embroidery instructor, start teaching now and remember to use the teaching methods shared by Toptek in the article to guide your students.
By incorporating these tips and techniques, you and your students will be well on your way to creating beautiful embroidered pieces. Good luck and success to you and your students in your embroidery journey!