How to create an embroidered patch
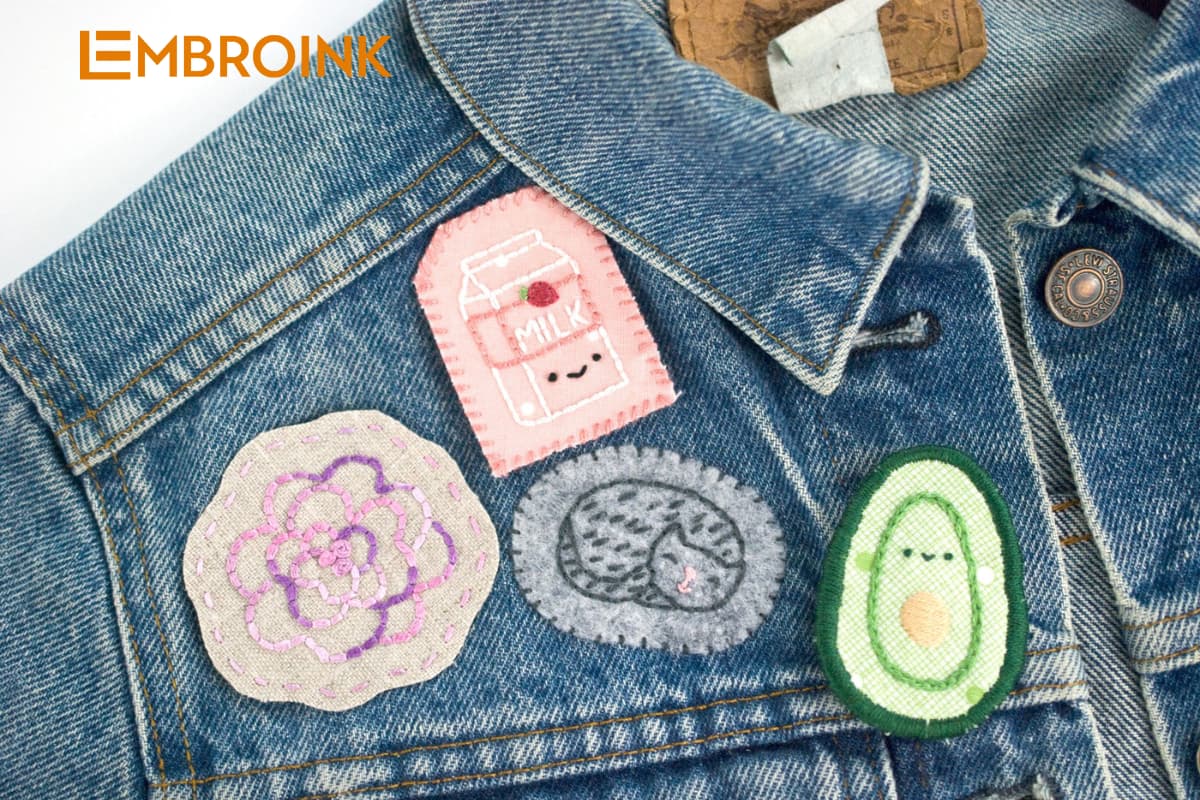
Creating an embroidered patch is a creative and satisfying way to express your personal style or add a custom touch to clothing, bags, or accessories. Whether you’re looking to design something for a specific event, personalize a gift, or simply try your hand at a new craft, making your own patch allows you to bring your ideas to life in a unique way. In this guide, we’ll walk you through the steps to create a professional-looking embroidered patch from start to finish, whether you’re using hand embroidery or a machine. Ready to get started? Let’s dive in with EmbroInk!
Creating your own embroidered patch is not only a practical skill but also a fun and creative way to express your individuality. Whether you’re personalizing your clothing, accessories, or even home decor, the process of making a patch allows you to bring your ideas to life in a truly unique form. It combines art and craftsmanship, giving you the opportunity to experiment with colors, designs, and textures that represent your personal style.
The beauty of DIY embroidered patches lies in their versatility. You can create a simple design for beginners or dive into intricate patterns as your skills progress. Best of all, the materials required are minimal, and the process is straightforward, making it an accessible craft for anyone. The basic steps include choosing the right fabric, transferring your design, stitching the pattern, and finishing the edges before attaching the patch to your desired item.
With each patch you create, you not only develop your skills but also produce something meaningful and entirely your own. Whether you’re making patches for yourself or as gifts, the results are always rewarding.
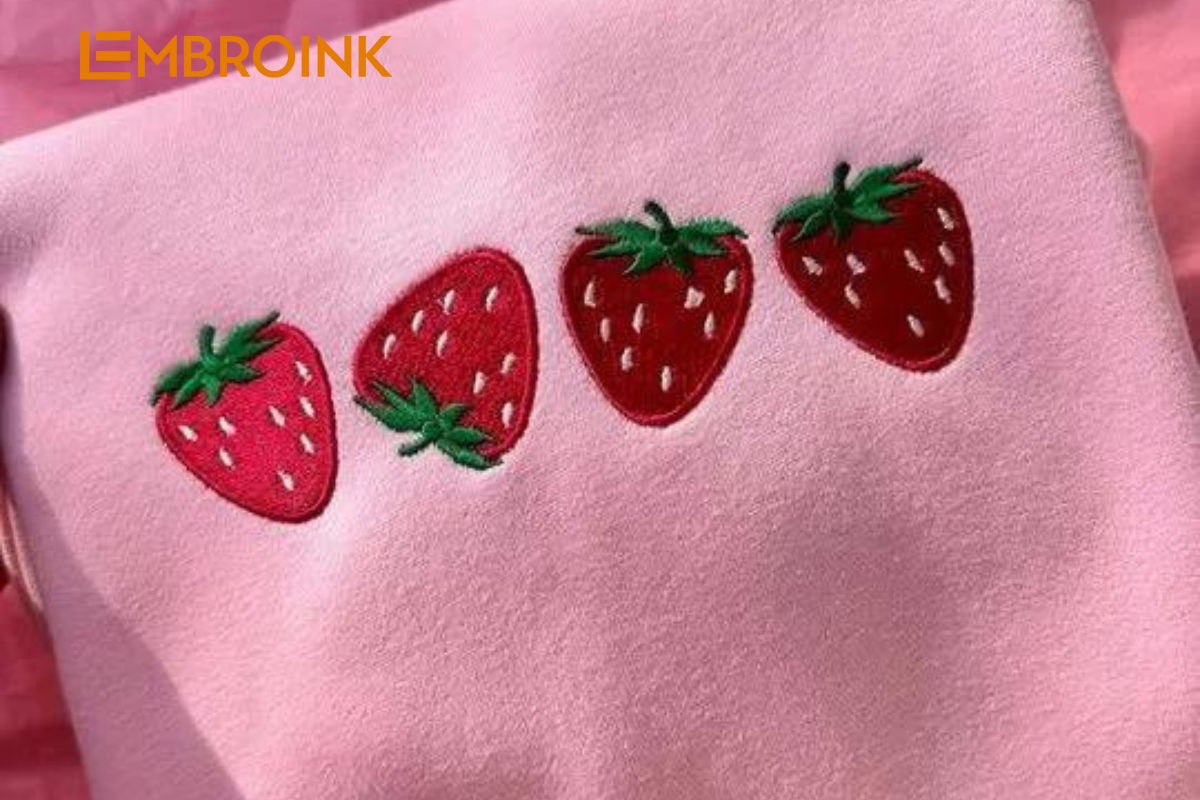
Which fabric should use for embroidering patches?
When choosing fabric for embroidering patches, it’s important to pick a material that is both sturdy and easy to work with. Most medium-weight, non-stretchy cotton fabrics are ideal for this purpose. However, one of the best options for patch-making is felt. Felt doesn’t fray like other fabrics, which makes it perfect for keeping the edges of your patch neat and tidy without the need for extra finishing.
For a seamless, subtle look, you can match the fabric color to the item you’ll be attaching the patch to. On the other hand, if you want your patch to stand out, opt for a contrasting color to create a bold effect!
To make an embroidered patch, you’ll need the following materials:
- Fabric – Choose felt or medium-weight, non-stretchy cotton for a sturdy base.
- Embroidery Pattern – Use a printed pattern on water-soluble, adhesive paper for easy transfer to your fabric.
- Embroidery Hoop – Keeps the fabric taut and helps ensure even stitching.
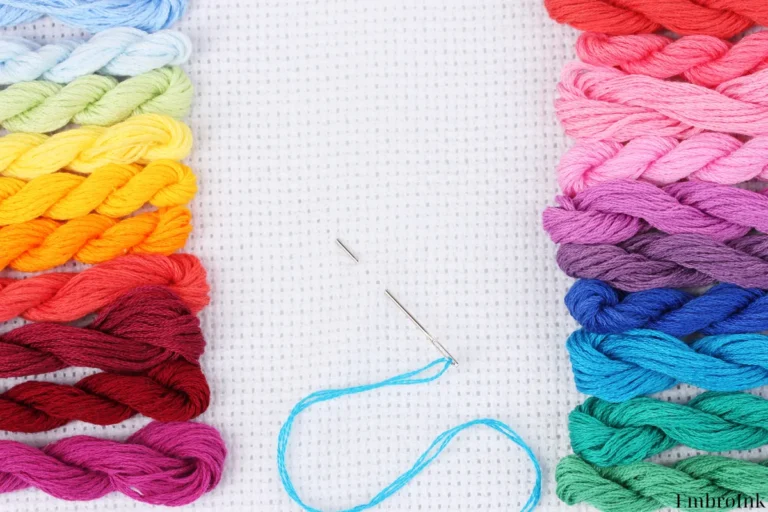
- Thread – Select embroidery thread in colors that match your design.
- Needle – A sharp embroidery needle suited for the type of fabric you’re using.
For added convenience, themed transfers, needles, and threads can be found in handy Customise Kits, which include everything you need to get started!
How to Make an Embroidered Patch
There are many ways to make an embroidered patch, but this method uses the fewest extra materials. Feel free to experiment with other techniques as you go!
Prepare Your Design
Begin by selecting the design you want to embroider. If you’re using transfer paper, carefully cut out your chosen design. For this example, we’ll use a hummingbird from the Tropical Customise Kit. Ensure the design is the right size for your patch and can fit within your fabric and hoop. You can also sketch your own design or use a printed pattern if you’re feeling more creative.
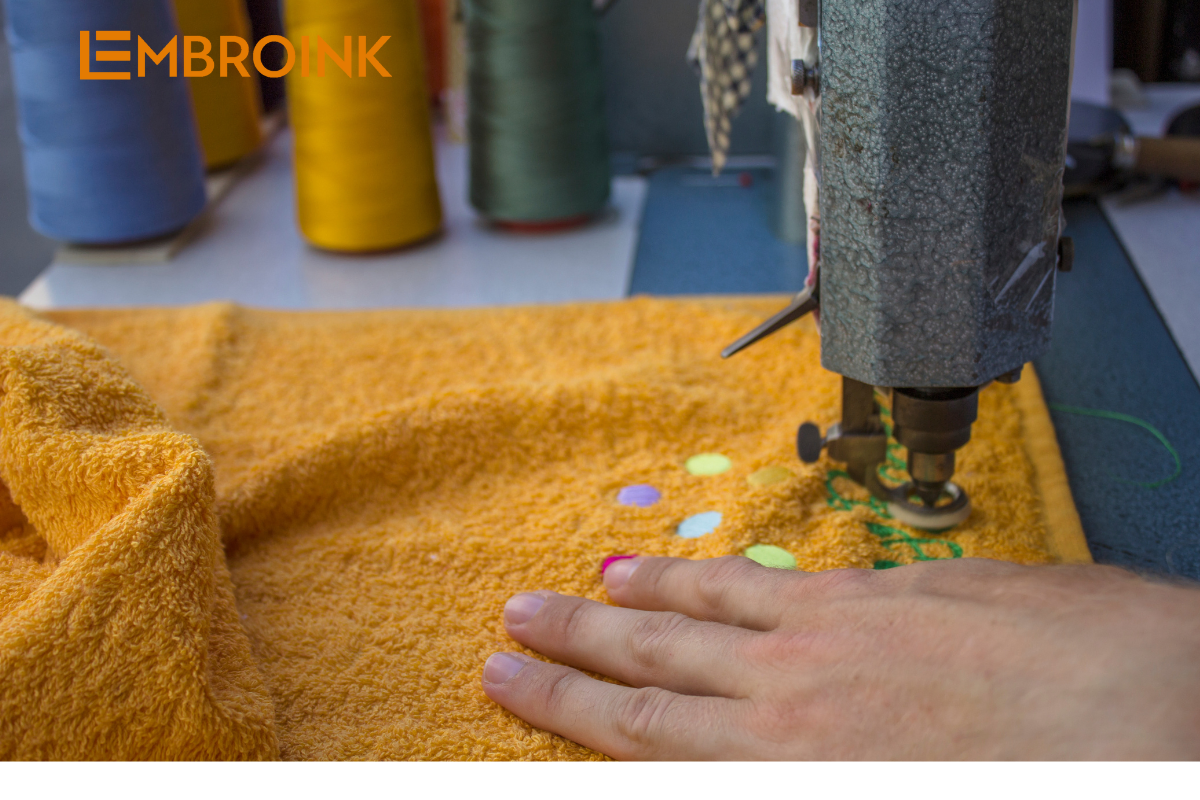
Set Up Your Fabric
Prepare your embroidery hoop by separating the inner and outer rings. Place your chosen fabric, such as felt or cotton, over the inner hoop. Ensure the fabric is smooth and flat. Then, place the outer hoop on top of the fabric, sandwiching it between the two rings. Tighten the screw on the outer hoop to secure the fabric, making sure it’s taut. A well-stretched fabric is essential for neat and even stitching.
Apply the Transfer
Carefully peel off the shiny backing from your transfer paper, revealing the adhesive side. Stick the transfer firmly to the fabric where you’ll be embroidering. Make sure to press down on the transfer to ensure there are no air bubbles or wrinkles, which could distort the design while stitching. If you’re using a water-soluble transfer, it will dissolve later during the process, making for a clean finish.
Start Embroidering
Begin stitching along the lines of your design using your preferred embroidery stitches. Common stitches for outlines include Back Stitch, Running Stitch, or even Split Stitch for added texture. If your fabric is prone to fraying, consider adding a Back Stitch around the edges of the design to secure it. This step isn’t required but can enhance the durability of your patch. While embroidering, make sure to tie off the ends of your threads securely to prevent them from unraveling over time.
Trim the Design
After completing your embroidery, carefully remove the fabric from the hoop. Using sharp scissors, cut around your embroidered design, leaving a small margin of about 0.5-1 cm from the stitching. This border adds stability and prevents the fabric from fraying. The transfer paper will help keep the patch stiff while cutting, giving you cleaner edges. If needed, you can refine the shape of the patch at this stage to fit your desired look.
Remove the Transfer Paper
Run the patch under lukewarm water, gently rubbing the stitching to dissolve the transfer paper. You’ll notice the paper start to break apart and wash away. Use your fingers or the blunt end of a needle to remove any stubborn bits of residue, making sure the fabric doesn’t get too rough. Once the transfer is fully removed, you’ll have a clean, crisp design with no visible lines from the transfer paper.
Dry the Patch
Leave the patch to air dry naturally, or if you’re in a hurry, use a hairdryer on a low setting to speed up the process. Make sure the patch is completely dry before moving to the next step, as dampness can make the fabric stretch or wrinkle.
Position the Patch
Lay the clothing or accessory you want to attach the patch to on a flat surface. Find the perfect spot where you’d like the patch to be placed. If you’re attaching the patch to clothing, make sure it’s positioned in an area that gets enough visibility, such as the chest or sleeve. Adjust the placement until you’re satisfied with how it looks.
Tack the Patch in Place
Use large, rough Running Stitches to temporarily hold the patch in place. These stitches should go through both the patch and the item you’re attaching it to. Don’t worry about neatness here, as these stitches will be removed later. Tacking the patch helps prevent it from shifting while you’re sewing it permanently.
Sew the Patch
Now it’s time to sew the patch on. Use a Whipped Stitch to go around the edges of the patch, sewing it onto your item securely. Choose a thread color that complements or contrasts with the patch, depending on the look you want. Keep your stitches close together to make sure the patch is well anchored and won’t come loose over time. You can also experiment with other stitches like Blanket Stitch or Zigzag Stitch for a decorative finish.
Finish Up
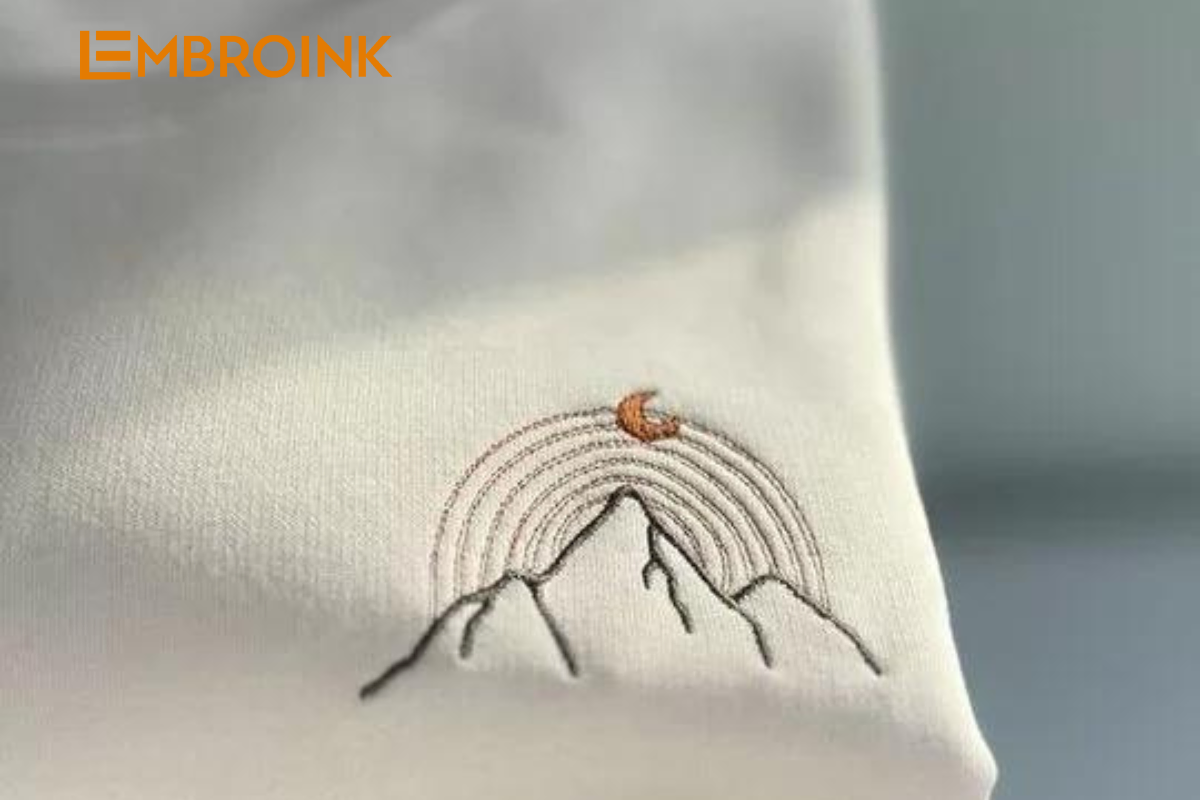
Once the patch is securely sewn on, carefully remove the rough Running Stitches you used to tack it in place. Give the patch a quick check to ensure it’s fully attached and that the stitches are even and tight. Now, your handmade embroidered patch is ready to be shown off! Whether it’s on a jacket, bag, or hat, your new patch adds a unique and personal touch to any item.
Conclusion
Making your own embroidered patch opens up endless possibilities for creativity and personalization. It’s a craft that allows you to experiment with colors, patterns, and techniques, turning simple materials into something truly unique. By embracing your creativity, you can transform a basic patch into a statement piece, adding character and meaning to any item.
As you explore this craft, don’t be afraid to try different techniques such as layering fabrics, using various stitching styles, or incorporating beads and sequins for added texture. Each method brings its own flair, enabling you to create patches that are as simple or as intricate as you like. Whether you’re making a bold, eye-catching patch or a subtle, delicate one, the key is to have fun and let your imagination guide you.

