The embroidery position on T-shirts, shirts, jackets, scarves, and ties
You have a few beautiful embroidery patterns but are unsure where to embroider on clothes and accessories to achieve a neat and attractive look. Randomly embroidering on fabric is easy, but embroidering on clothing is a different matter. Here, EmbroInk shares some basic hand or machine embroidery positions on clothes and accessories for your reference.
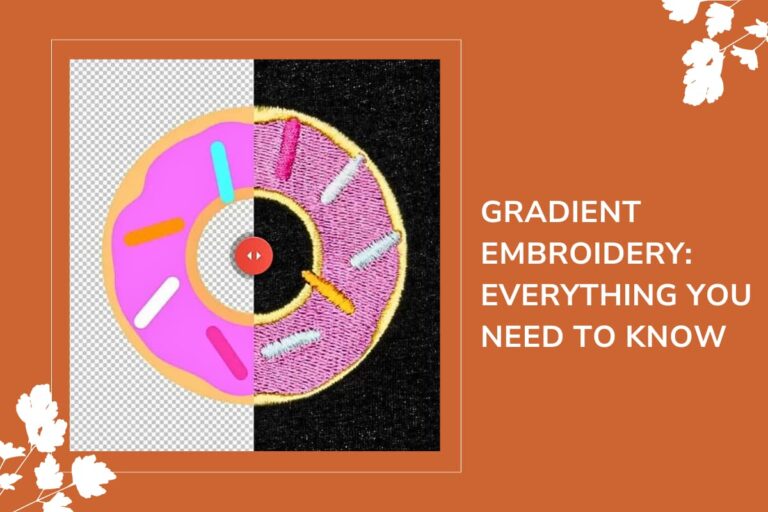
Overview of embroidery
What is embroidery? – Embroidery is the craft of decorating fabric or other materials using a needle to apply thread or yarn. It has a long history, with roots tracing back to ancient civilizations, and has evolved into a popular art form and decorative craft worldwide.
Types of embroidery
Hand embroidery
-
- Cross-Stitch: Uses X-shaped stitches to form a pattern.
- Satin stitch: Creates smooth, shiny areas of embroidery.
- Chain stitch: Forms a chain-like pattern on the fabric.
- French knots: Creates small, raised knots.
- Backstitch: Often used for outlines and lettering.
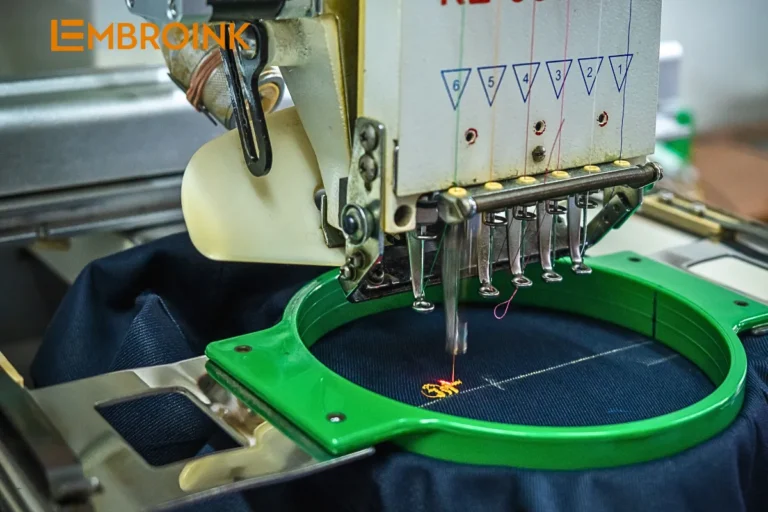
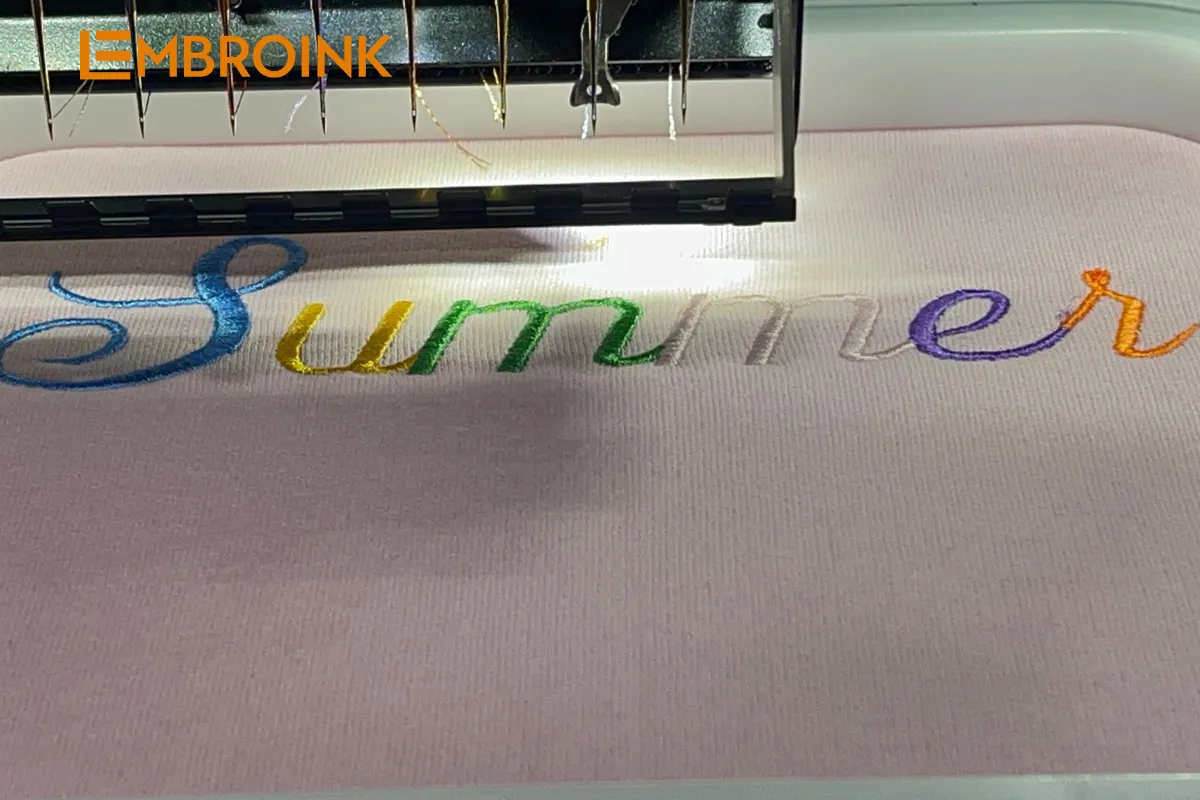
Machine embroidery
-
- Free-Motion embroidery: Done with a sewing machine but manually controlled by the operator.
- Computerized embroidery: Uses an embroidery machine or sewing/embroidery machine with automated patterns.
Basic embroidery supplies
- Needles: Specialized embroidery needles with sharp tips and larger eyes.
- Hoops: Keep fabric taut and stable while stitching.
- Threads: Available in various materials like cotton, silk, and wool.
- Fabric: Can be anything from linen and cotton to more complex textiles.
Tips for successful embroidery
- Choose the right fabric: Ensure the fabric you select can support the weight of the embroidery.
- Stabilize your fabric: Use stabilizers to prevent fabric distortion.
- Plan your design: Draw your design on the fabric or use tracing paper to plan out your stitches.
- Practice: Practice on scrap fabric before working on your final piece to ensure your stitches are even and your design looks as expected.
Embroidery can transform ordinary items into personalized, unique pieces. Whether done by hand or machine, understanding the basics and knowing the best positions for different types of clothing and accessories can significantly enhance the quality and appearance of your work.
The embroidery position on products
Choosing the right position for embroidery on clothing and accessories is crucial for a polished and professional look. Here are some common positions:
The embroidery positions on T-shirts
- Left chest: Popular for logos and small designs.
- Center chest: Often used for slogans or larger designs.
- Sleeves: Suitable for small motifs or text.
If you want to embroider a design on the front of a T-shirt, place the embroidery pattern 5 – 10 cm down from the neckline and ensure it lies on the sleeve seam.
For a small embroidery design on the front of the T-shirt, place it on the left chest area. This is the midpoint between the neckline and the side seam, with the top of the embroidery pattern positioned approximately 5-6 cm down from the neckline.
When embroidering on the back of a T-shirt, position the embroidery design approximately 10 – 13 cm down from the neckline. Another method is to draw a straight line connecting the shoulder and armpit seams, with the center of the embroidery design along this line.
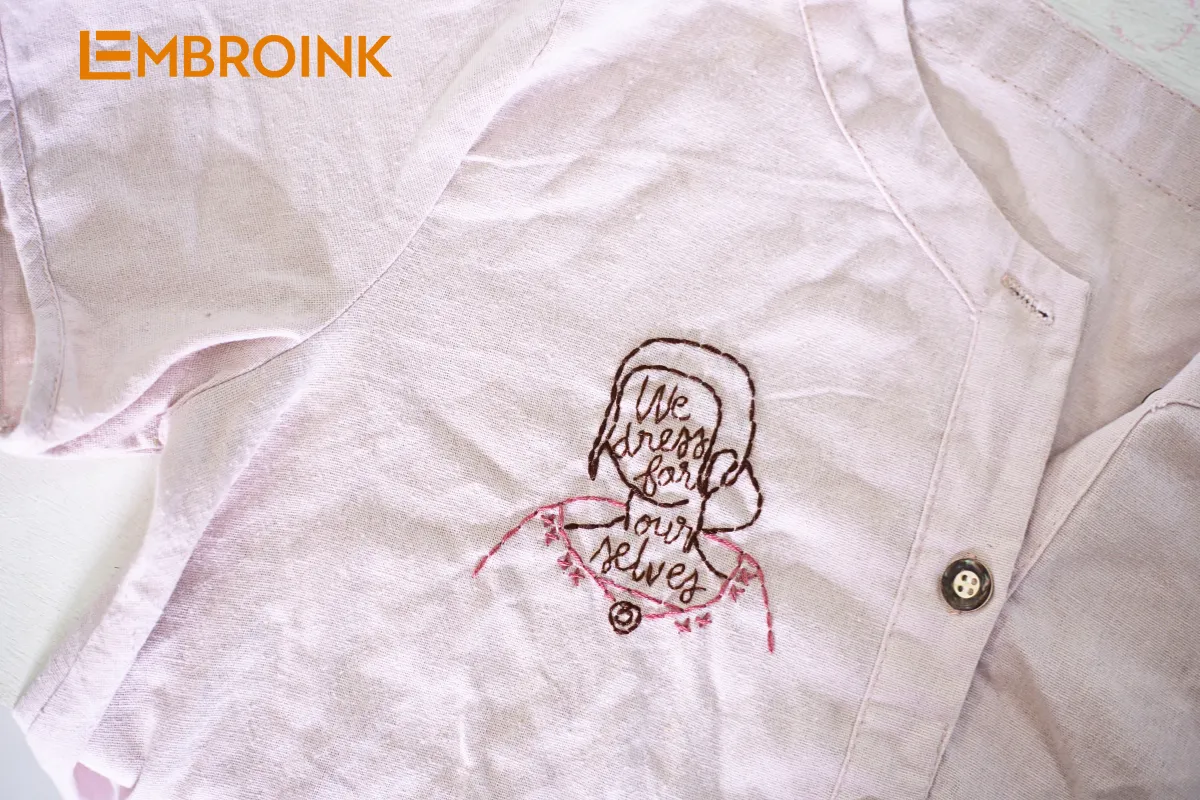
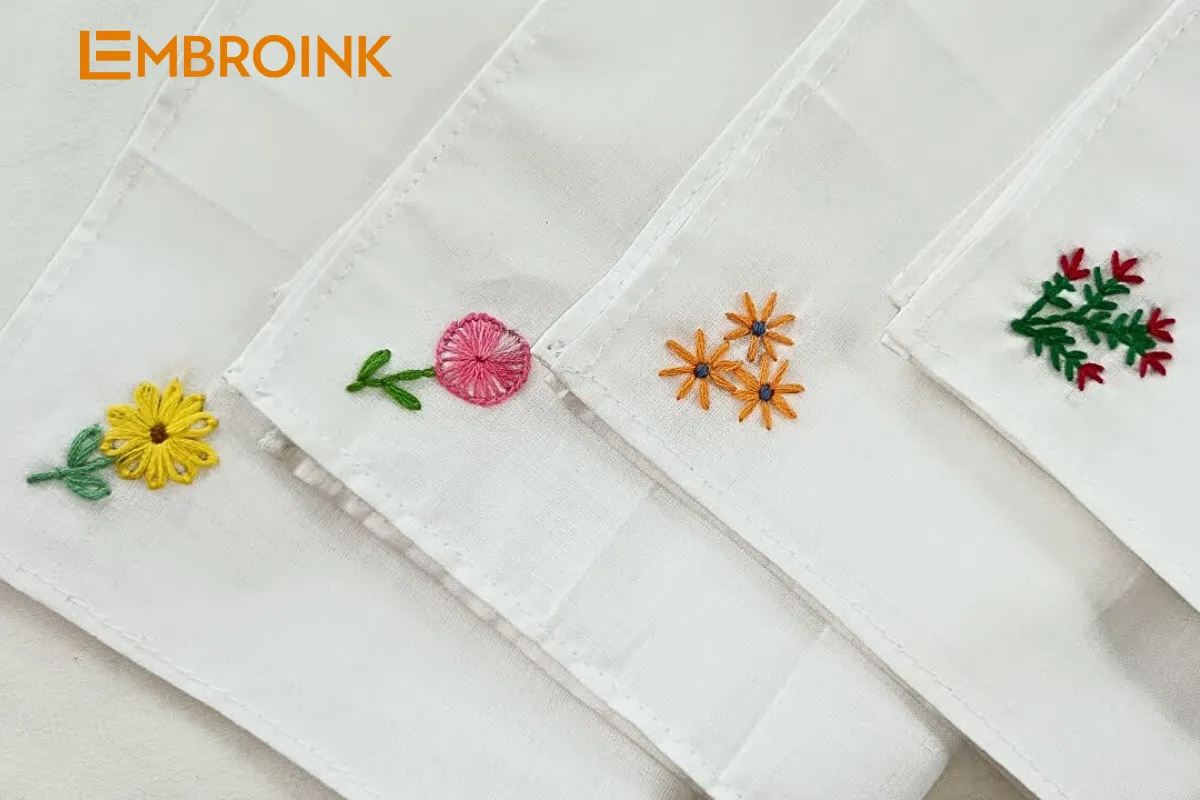
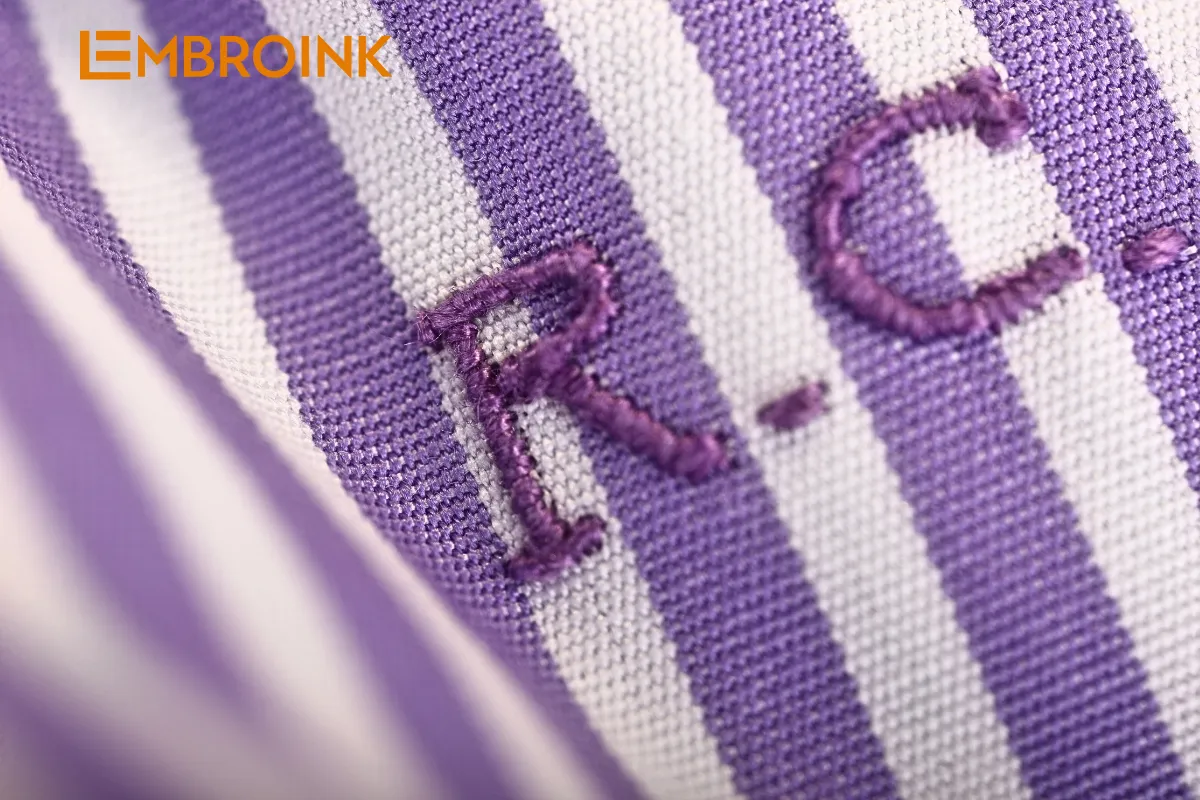
The embroidery positions on shirts
- Cuffs: Adds a subtle, elegant touch.
- Collars: Great for initials or small symbols.
- Pocket Area: Ideal for logos and small decorations.
For shirts, you can embroider small-sized designs on the pocket, left chest, cuffs, collar, shirt hem, and back.
If the shirts has a pocket, embroider the logo 1cm away from the pocket edge or directly on the pocket. When embroidering on the pocket, it should be done before the pocket is sewn onto the shirt. If you’re embroidering on a pre-made shirts, place the embroidery pattern approximately 1 cm above the pocket edge and centered over the pocket.
For shirts without pockets, it’s advisable to embroider on the left chest area. Position the logo between the top button and the side seam, approximately 18 – 22 cm down from the shoulder seam. Another method is to align the logo horizontally with the second button from the top.
When embroidering on the back of shirts, place the embroidery design approximately 10 – 13 cm down from the collar. Another method is to draw a straight line connecting the shoulder and armpit seams, with the center of the embroidery design along this line.
For embroidery on the collar of shirts, position the logo so that the bottom edge of the logo is 0.5 cm above the buttonhole on the collar point.
On short-sleeve shirts, embroider the logo at least 1.5 cm above the sleeve hem stitching.
For long-sleeve shirts, fold the cuff in half and mark the center of the fold. Measure 3.5 – 4 cm from the center of the buttonhole for the logo’s center. Mark 0.5 cm up from the fold for the logo’s bottom edge.

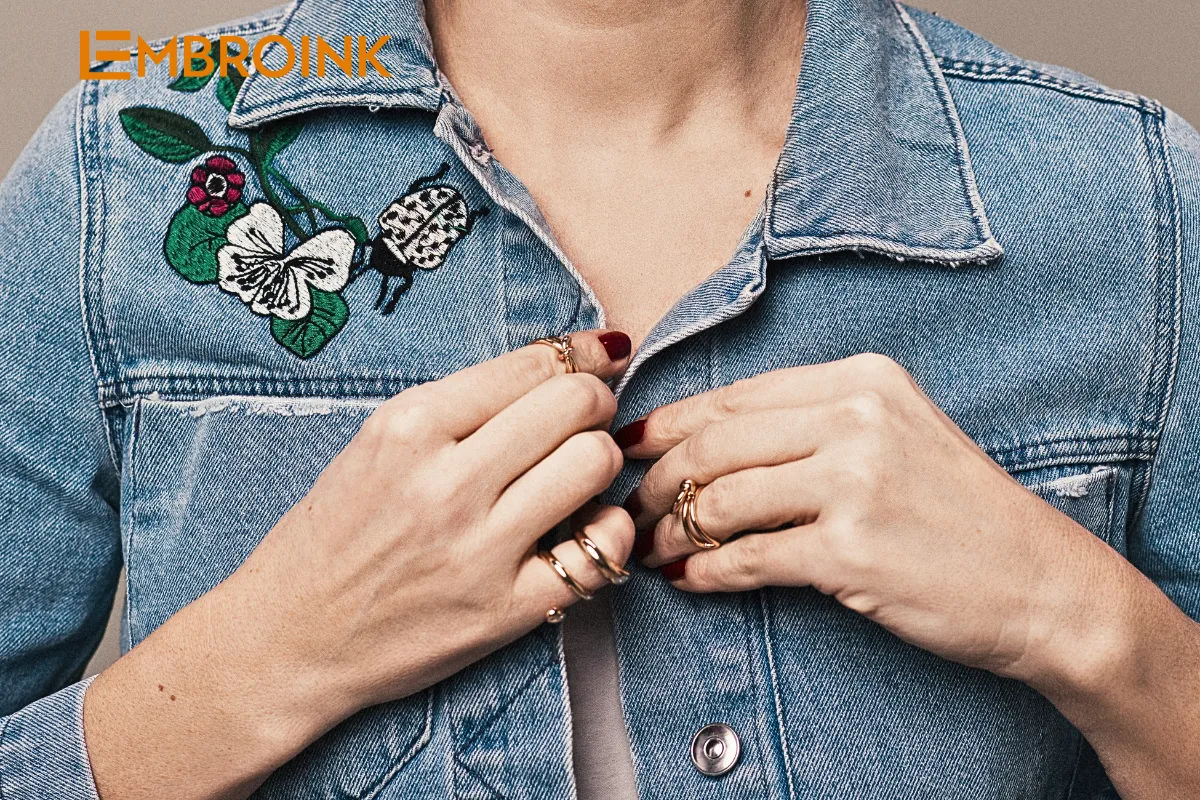
The embroidery positions on jackets
- Back: Perfect for large, intricate designs.
- Front (Above the Pocket): Common for names and logos.
- Sleeves: Suitable for text or small motifs.
For embroidering on the front of a jackets, mark the center of the embroidery design at the midpoint between the chest and the side seam of the coat. Place it parallel to the second button of the coat and on the left side of the chest.
For embroidering on the back of jackets, you can place the embroidery designs according to your preference, typically between 5 to 20 cm down from the collar seam.
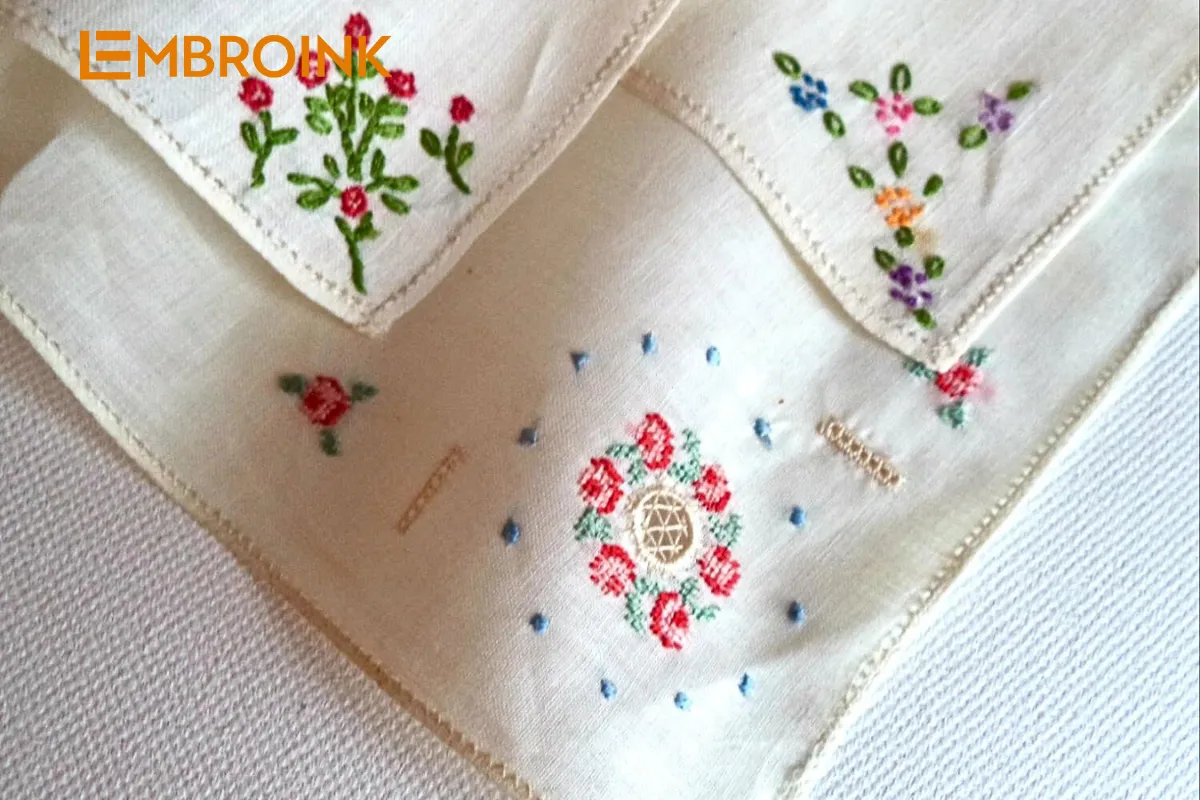
The embroidery positions on scarves
- Ends: Embroidery near the ends of the scarf is a classic choice.
- Edges: A border of embroidery along the edges can look very elegant.
If you have a scarf with embroidered borders, place the design so that the bottom edge of the embroidery is 4 cm above the border line. For scarves without borders, position the design 5 cm away from the edge for regular scarves, and increase to 10 cm for larger scarves. Place the design directly opposite the fixed label.
When embroidering on a handkerchief, position the embroidered design 4 cm from the corner of the handkerchief at a 45-degree angle.
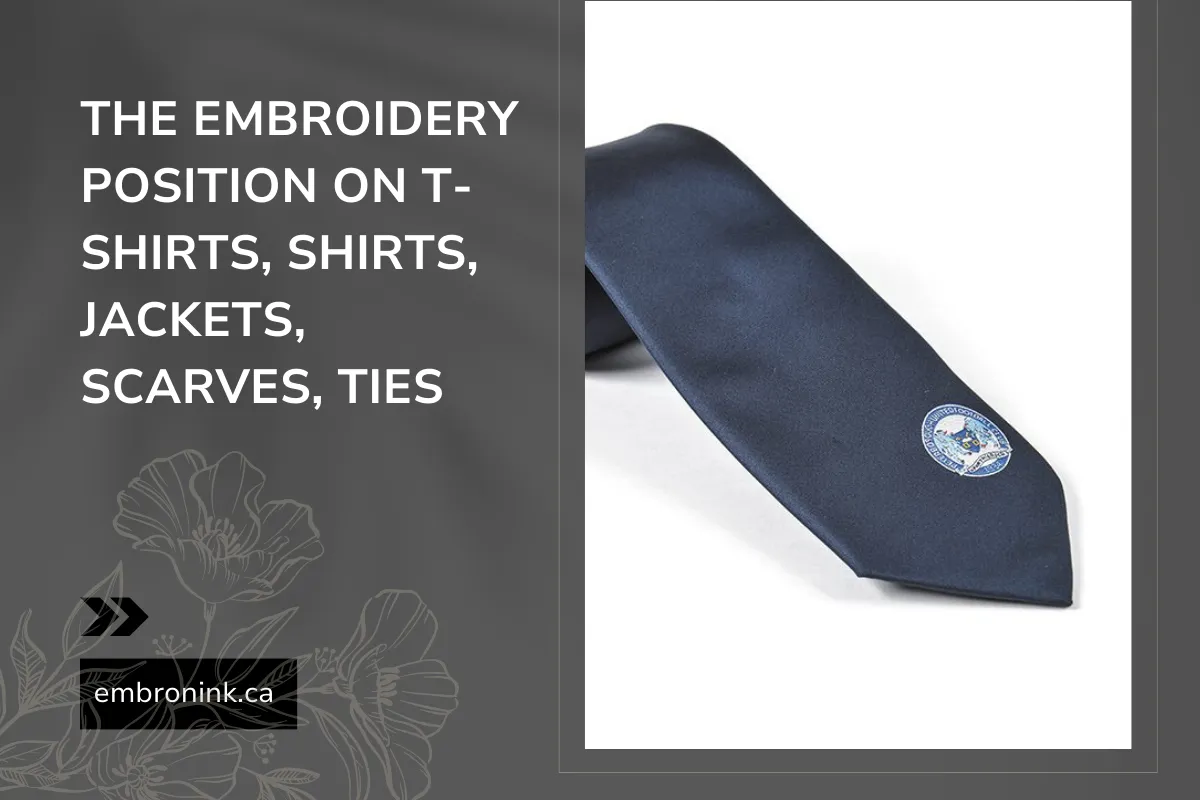
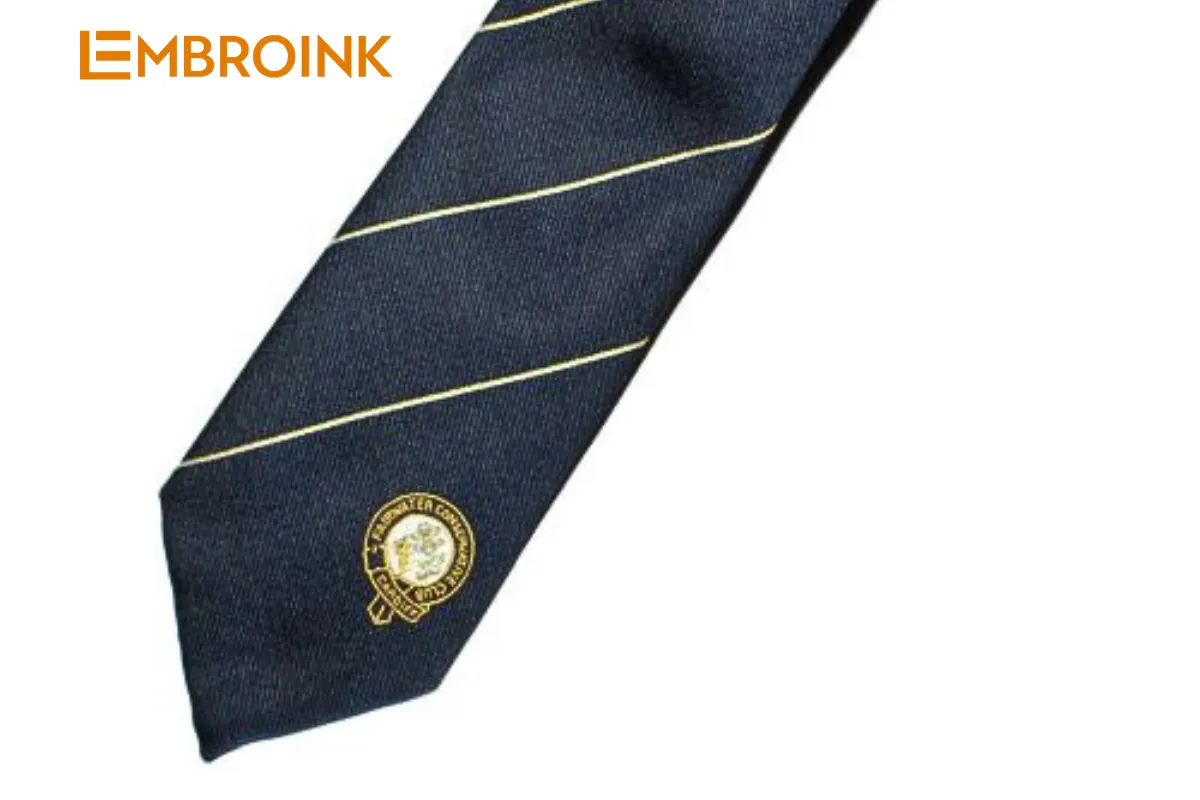
The embroidery positions on ties
- Tip: Small designs at the tip of the tie.
- Back: Hidden initials or symbols on the reverse side.
When embroidering on a tie, place the embroidered logo approximately 7.5 cm up from the bottom point of the tie. If you prefer to embroider it in the center of the tie, you can place it at a position that is 15 cm up from the bottom point.
Embroidery services at Embroink
Embroink is a reputable provider specializing in high-quality embroidery services, catering to a wide range of customer needs. The embroidery services at Embroink include:
Custom embroidery services
- Exclusive designs: Embroink creates unique embroidery designs based on customer requests. You can submit your ideas or images, and the design team will transform them into distinctive embroidery patterns.
- Personalized products: Customers can request personalized embroidery, such as names, initials, or personal symbols, to create unique and customized items. This is an ideal option for special gifts like group t-shirts, scarves, or household items.
Types of products Embroink embroiders
- Apparel: Shirts, t-shirts, dresses, skirts, children’s clothing, company uniforms.
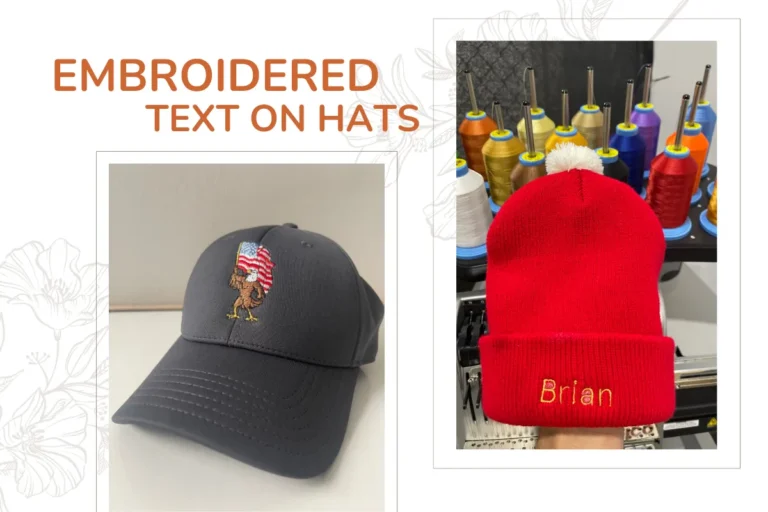
- Accessories: Handbags, shoes, hats, caps, scarves.
- Household items: Tablecloths, pillows, curtains, towels, washcloths.
- Gifts and decorations: Embroidered paintings, embroidered cards, souvenirs.
With its wide range of services and commitment to quality, Embroink is not just a provider of embroidered products but a reliable partner in creating items that reflect your personal style and preferences.
Custom embroidery ordering process at EmbroInk
Here are the steps for updating orders according to the provided Google Sheet:
Step 1: Fill in the order information in the designated Google Sheet.
Step 2: Contact support to push the order, or after 1 hour of filling out the form, the order will be synchronized to EmbroInk’s system and sent to production (it will be in On Hold status waiting for Payment in the internal system).
Step 3: After support or the system automatically updates the Price to the Google Sheet (you can check after 1 hour of filling out the form on this Google Sheet).
Step 4: Proceed to pay for orders that need to be paid through the provided payment channels. To avoid errors, fixed information will be provided in a Google Sheet (View Only). Use the following syntax for payment:
- For single orders: Customer Code – Order Code (e.g., EI111-E458168, where EI111 is the customer code and E458168 is the order code to be paid).
- For payment of multiple orders at the same time: Customer Code – Order Quantity – Date (dd/mm/yy) (e.g., EI111-5-010124, where 5 is the order number paid on day 010124).
- For multiple payments on the same day for multiple orders: Customer Code – Order Quantity – Date (dd/mm/yy) – Time (hhmm) (e.g., EI111-3-010124-1830, where 3 is the order number paid on day 010124 at 18:30).
Step 5: Video or photo production will be added to the order information in the Google Sheet. The tracking number will be updated to the corresponding Google Sheet within 1-2 working days.
Step 6: Take care of any related issues after shipping, such as common shipping errors or necessary changes related to payment or design.