How to customize clothes with hand embroidery
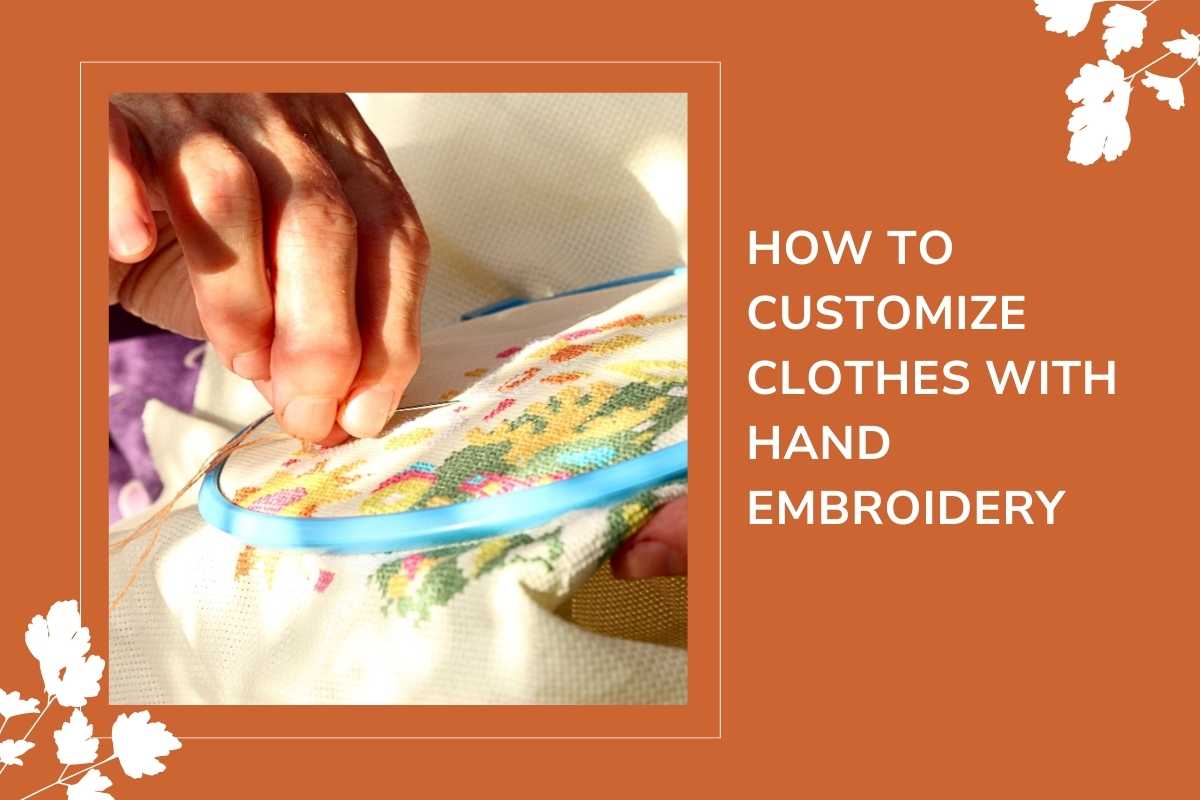
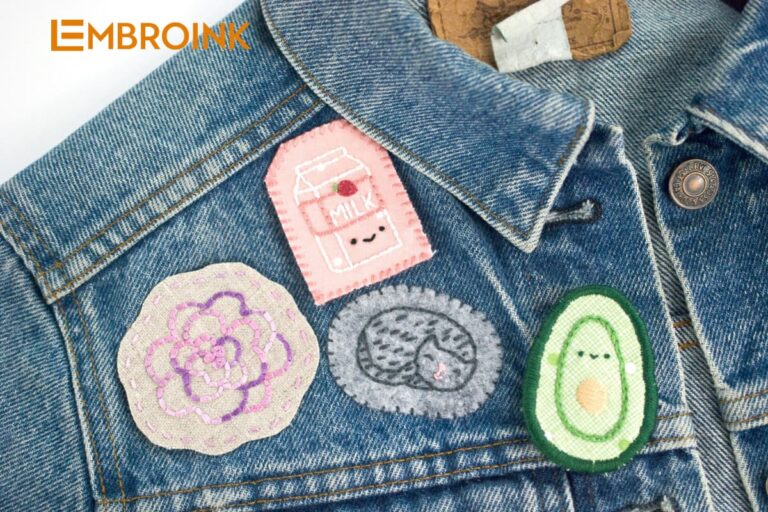
Hand embroidery is a timeless craft that allows you to transform ordinary clothing into unique, personalized pieces. With just a needle, thread, and a bit of creativity, you can add intricate designs, vibrant patterns, or even meaningful symbols to your favorite garments. Whether you’re looking to refresh an old shirt or create a one-of-a-kind gift, hand embroidery offers endless possibilities for customization. Let’s explore with EmbroInk the steps to bring your creative ideas to life through this beautiful art form.
What equipment need to embroider onto clothes?
- A Piece of clothing: Choose any item from your wardrobe that you want to personalize. Denim or thick cotton shirts are perfect options as they provide a sturdy base for hand embroidery. Pick something that will look fabulous with some added detail!
- A pattern: A pre-made pattern will help guide your design. Printing patterns onto water-soluble, adhesive paper is ideal—it sticks to the fabric, making it easy to stitch and washes away once you’re done.
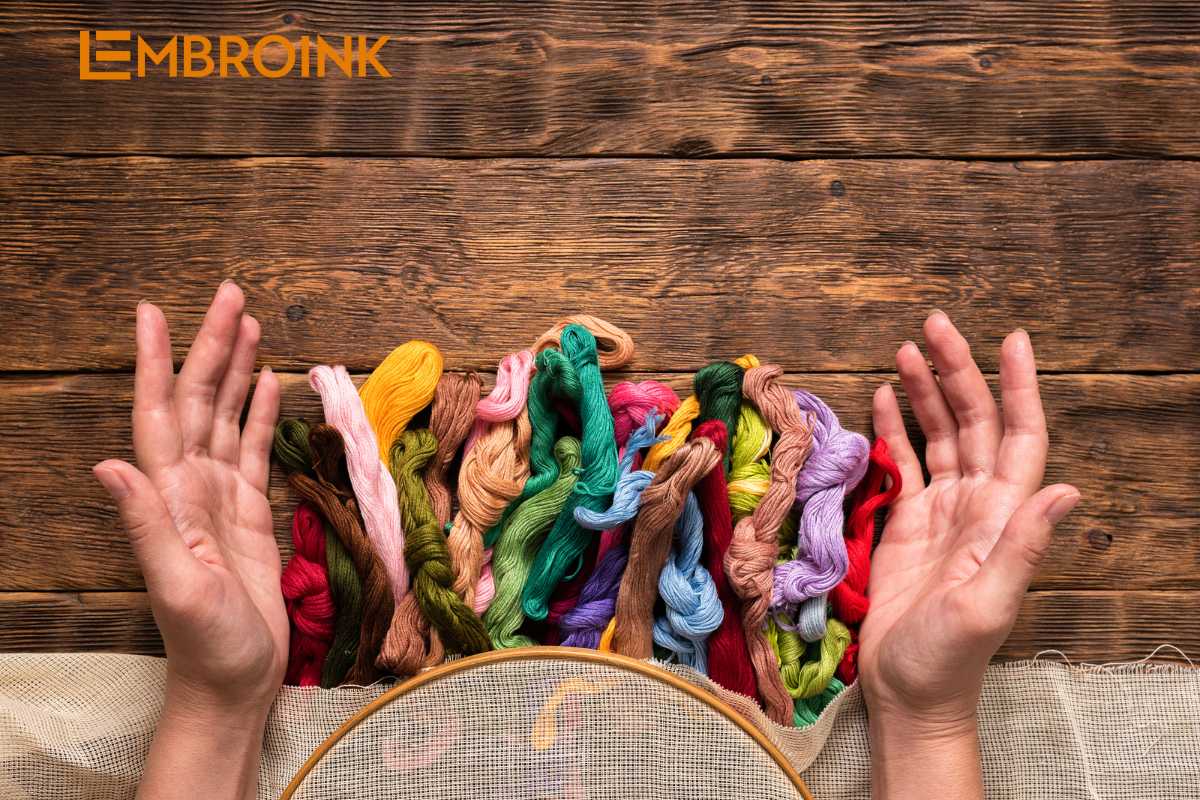
- Thread: DMC stranded cotton is a popular choice for embroidery, but be sure your thread is color-safe. If you’re concerned about colors bleeding, especially on light fabrics, run the threads through the washing machine inside a delicates bag to remove any excess dye.
- Needle: You’ll need a needle that suits your fabric and thread. Look for hand embroidery needles that have a large enough eye for the thread to pass through comfortably.
- Embroidery hoop (Optional): While helpful for keeping the fabric taut, an hand embroidery hoop may not be suitable for all items, such as denim jeans or caps. In these cases, using a water-soluble transfer paper will help keep the fabric firm, even without a hoop.
For an easy start, you can try out customizable kits that include mini designs printed on water-soluble paper, along with beautiful threads. These kits are perfect for beginners looking to upcycle their clothes with embroidery!
Which fabrics and clothes can embroider on?
You can embroider on almost any fabric, as long as you handle it properly! Here are a few key tips:
Pre-Washing
Always wash your fabric before stitching to prevent shrinkage, stretching, or color bleeding later. This ensures your design holds up well after the first wash.
Stitching methods
There are two main ways to embroider clothes:
- Directly on the fabric: This works best for medium to heavy-weight fabrics like denim or thick cotton that can support the weight of embroidery.
- On a patch: For more delicate fabrics or tricky areas, you can stitch the design on a patch and attach it later. This is especially useful for stretchy fabrics.
Best fabrics for embroidery
-
- Denim and thick cotton: These fabrics have minimal stretch and can support detailed designs. You can use 3 to 6 strands of thread depending on the look you want.
- Thin or delicate fabrics: If you’re working with lighter fabrics, use fewer strands of thread (1 or 2) and opt for simpler, less dense stitches, like outlining instead of filling in shapes.
- Stretchy fabrics (like T-shirts): Stretchy fabrics are more challenging but can be embroidered with the right preparation. Make sure the fabric isn’t stretched when applying the adhesive transfer or hooping it, as the embroidery may warp once the fabric returns to its normal shape. Use lighter stitches, avoid pulling them too tight, and consider using a patch for larger, solid-color designs.
By treating each fabric according to its properties, you can customize a wide range of clothes with hand embroidery!
How to hand embroider onto clothes?
Here’s a simple way to add beautiful hand embroidery to your clothes:
Prepare pattern and fabric
Take your printed transfer and cut out the design you want to stitch.
Lay your chosen piece of clothing flat, ironing it if necessary to remove wrinkles.
Decide where you want to place the design.
Apply the transfer
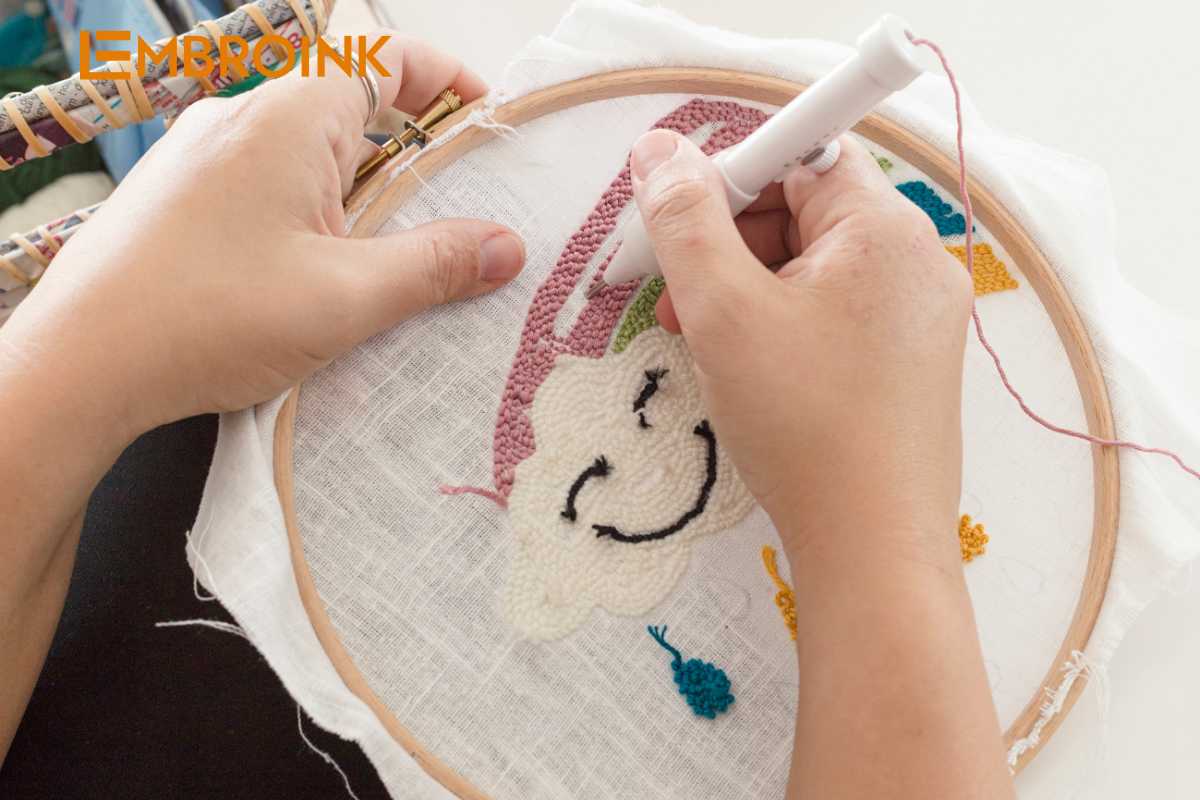
Peel off the shiny backing from the transfer paper, revealing the adhesive side. Carefully position the transfer onto the fabric in your desired location for the embroidery, ensuring it lies flat and adheres fully to the fabric surface. If you’re using an embroidery hoop, now is the perfect time to place your fabric into the hoop, making sure to keep it taut for a smooth stitching experience. This setup will help you achieve clean and precise embroidery results.
Start stitching
Begin stitching your design, allowing your creativity to flow as you experiment with different colors and textures to achieve a unique and eye-catching look. If you’re new to embroidery, consider referring to beginner-friendly stitch guides for helpful tips and techniques to get started.
As you work, be sure to secure your stitches by tying off the ends properly; this will ensure that your embroidery remains intact and doesn’t unravel when worn or washed. Taking these steps will help you create a beautiful piece that you can proudly wear or showcase.’
Remove the transfer
Once you’ve completed the stitching, it’s time to remove the transfer paper. If you’re using water-soluble transfer paper, simply run the fabric under lukewarm water and watch as the paper dissolves away. To ensure all remnants are removed, gently rub the fabric to help break up any remaining bits of paper.
For any stubborn pieces that refuse to come off, you can use the blunt end of your needle to carefully dislodge them. This step will reveal your beautiful embroidery design, leaving you with a polished and finished piece.
Dry the fabric
Leave the fabric to air dry, or use a hairdryer if you’re in a hurry.
Which stitches are best for customizing clothes by hand embroidery?
Customizing clothes with embroidery offers endless opportunities to play with color and texture. While the choice of stitches is entirely up to you, here are some of my favorite stitches and tips for using them effectively:
Outlines
When hand embroidery on thin or stretchy fabric, stitching only the outline can help prevent the fabric from warping or wrinkling.
- Back Stitch: This basic stitch is perfect for creating continuous lines. It’s simple and versatile, and you can smooth out the line further by turning it into a Whipped Back Stitch by wrapping a second thread around the initial stitches. I usually use 2 strands of thread for this.
- Chain Stitch: Ideal for chunky, textured lines, the Chain Stitch can also be layered closely to fill in areas. It’s a fun way to add bold texture. I used it for the whale’s belly in my projects, and I generally use 2 strands of thread.
- Split Stitch: This is my go-to stitch for creating textured outlines that aren’t as heavy as a Chain Stitch. It adds subtle texture while remaining durable for everyday wear.
Filler Stitches
For filling in larger areas or adding depth and color to your designs, these stitches are excellent choices:
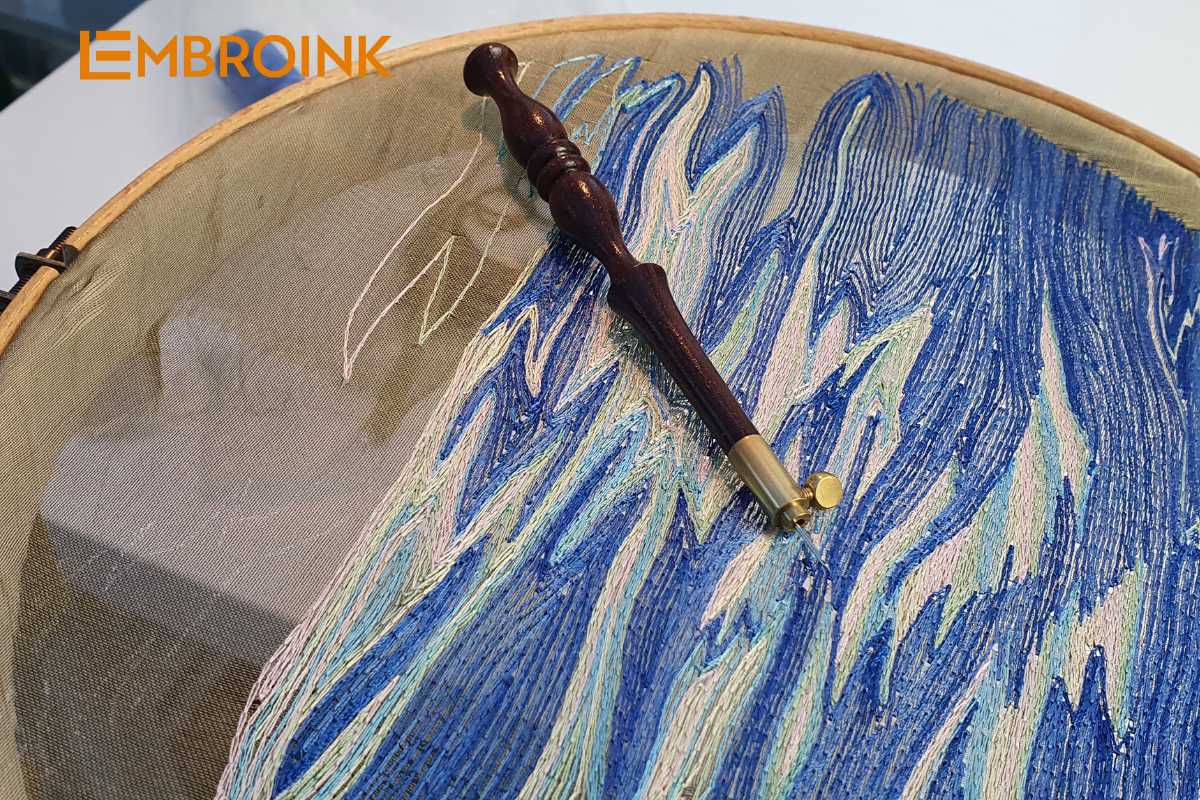
- Long and Short Stitch: Also known as Brick Stitch, this method is perfect for blending colors and creating durable, well-anchored designs. It’s often used in needle painting to blend shades smoothly. I recommend using 1 to 3 strands of thread to prevent chunkiness.
- Satin Stitch: Another popular filler stitch, but be cautious—long Satin Stitches can wrinkle or lose their sheen when using water-soluble stabilizers. For best results, keep your Satin Stitch areas small, around 1cm wide. You can experiment with extra fabric and transfer paper to perfect the look before applying it to your clothing.
Other Stitches
If you’re looking for something more adventurous, try filling spaces with playful stitches like Lazy Daisies or textured French Knots. For a lighter touch, Seed Stitch is an easy way to fill areas with a scattering of tiny stitches.
Each of these stitches can help you create beautiful, long-lasting embroidery on your clothes, so don’t hesitate to experiment and find what works best for your project!
How to care for hand embroidered clothes
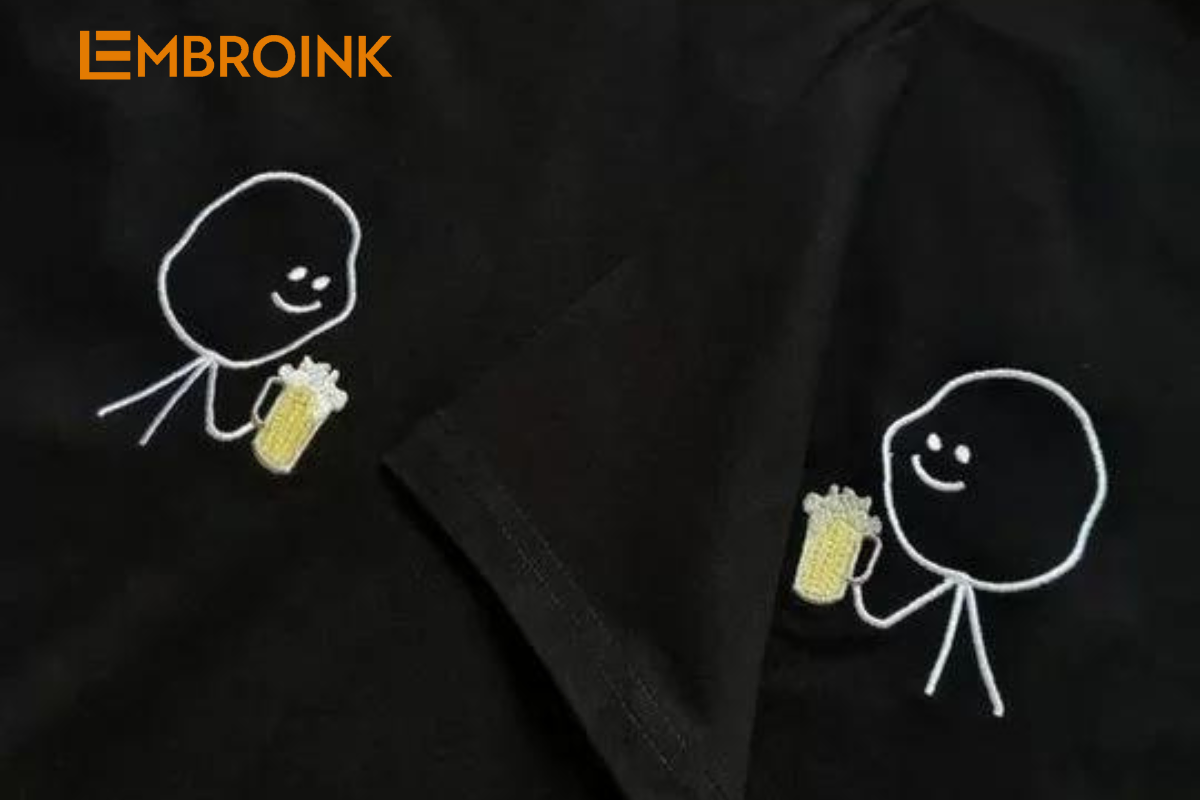
Taking proper care of hand-embroidered clothes is essential to maintaining both the fabric’s quality and the intricate stitching that makes each piece unique. For the first wash, it’s recommended to handwash the embroidered item in cool water using a mild detergent. Even though most hand embroidery threads, like DMC threads, are color-safe, handwashing minimizes any risk of the colors bleeding or fading. When it comes to future washes, a gentle or delicates cycle on your washing machine is the safest option.
To further protect the embroidery, place the item in a small laundry washing bag to prevent the stitches from snagging on other clothes, especially for delicate or frequently used items like tote bags or cotton shirts. Additionally, if the hand embroidery item is one that will endure heavy use, such as a tote bag or a frequently worn shirt, it’s a good idea to iron on fusible interfacing to the back of the embroidery.
This not only strengthens the fabric and secures the stitches, but it also prevents wear and tear over time. Moreover, interfacing provides an extra layer of protection for your skin, especially if the back of the embroidery comes into direct contact. This added layer reduces the roughness of the stitches, making the item more comfortable to wear while ensuring the embroidery remains intact for years to come.

