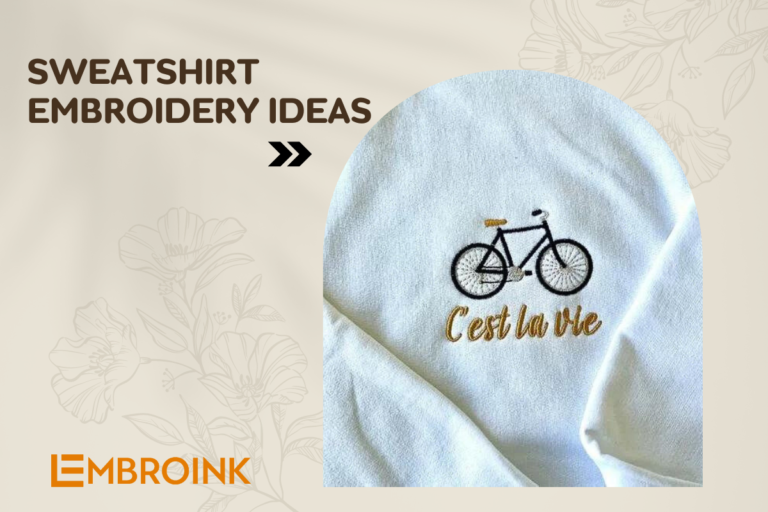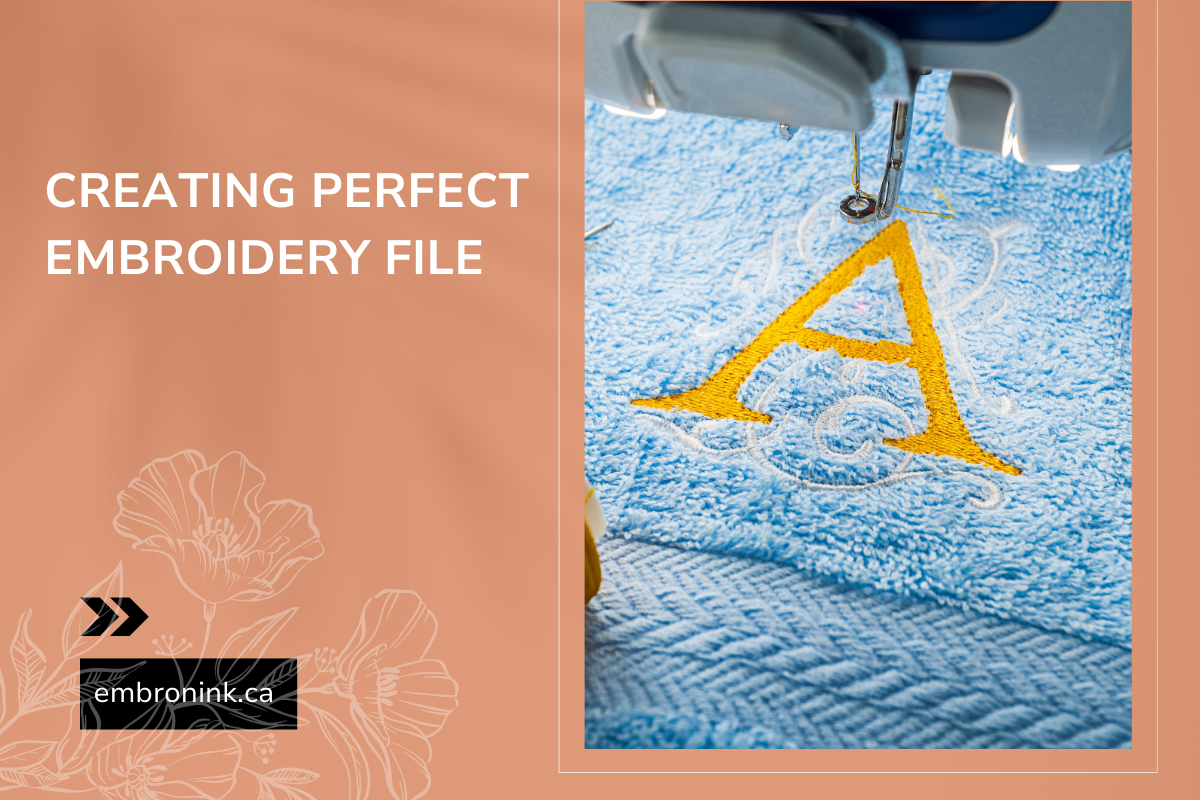
A basic guide to creating the perfect embroidery file
Machine embroidery is an excellent method to enhance fabric and other materials with unique designs. Unlike printed patterns, machine embroidery offers the ability to produce intricate and delicate designs that are durable, long-lasting, and exude a premium texture and appearance. However, before you can begin embroidering, you must create an embroidery file that contains your design.
Embroidery isn’t as straightforward as simply loading a design and pressing start. It requires creating an embroidery file that translates into a beautiful and professional-looking outcome when stitched. If you’re eager to learn how to create the perfect embroidery file, continue reading with EmbroInk!
What is embroidery digitization?
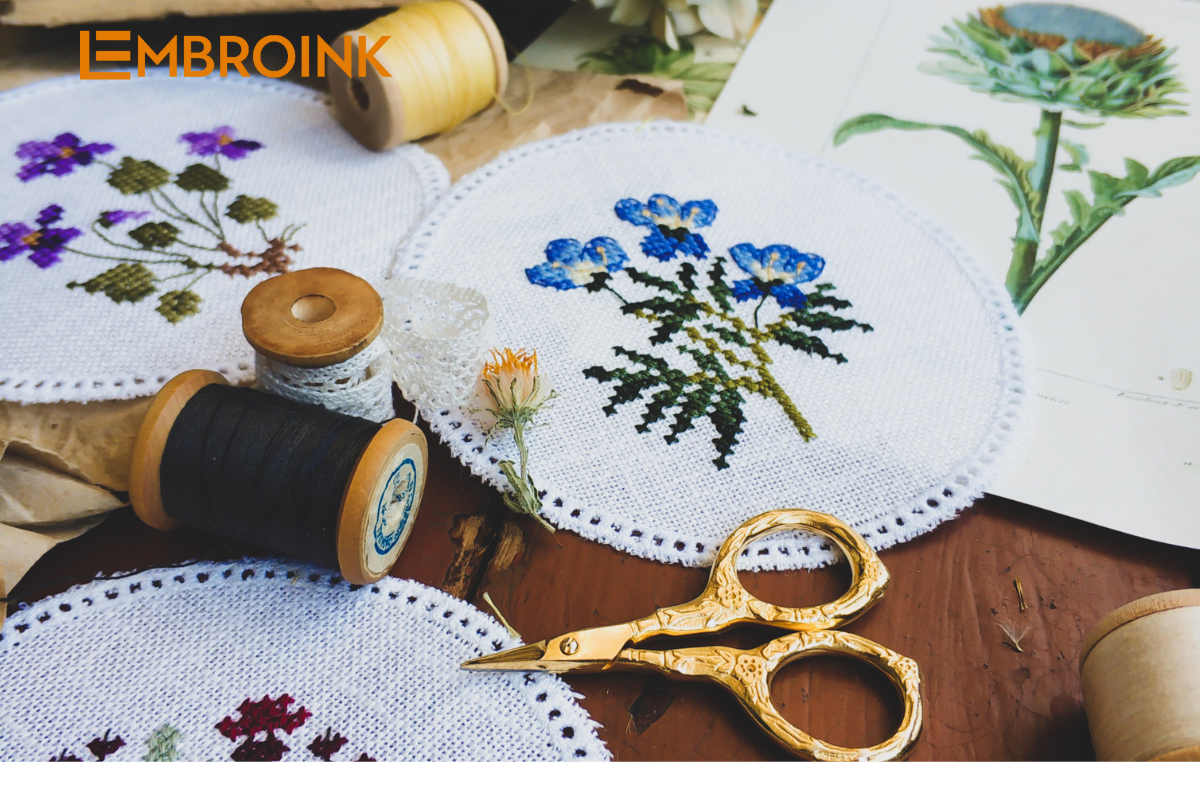
Embroidery digitization is the process of converting artwork or designs into a format that an embroidery machine can read and understand. While hand embroidery involves manually stitching threads to create various patterns or images, machine embroidery uses an embroidery machine and requires a different approach.
Hand embroidery is a labor-intensive, skillful art form where the design is often transferred onto the fabric using a stamped or printed template, and the embroiderer follows the outline. In contrast, machine embroidery requires the design to be turned into a digitized file that the machine can interpret.
This digitized file contains all the necessary information for the machine to accurately stitch out the design, including color codes, thread type and density, and other crucial details. Here’s a step-by-step overview of how embroidery digitization typically works:
- Artwork preparation: The initial design or artwork is created or selected.
- Digitization software: The design is imported into embroidery digitization software.
- Stitch type selection: The appropriate stitch types (e.g., satin, fill, or running stitches) are chosen based on the design elements.
- Pathing: The sequence in which the machine will stitch the design is determined to ensure efficiency and minimize thread breaks.
- Settings adjustment: Parameters like stitch density, pull compensation, and underlay are adjusted to achieve the desired outcome.
- Preview and testing: The digitized file is previewed and tested to ensure it meets the required standards before being used for actual embroidery.
Step 1: Design creation
Initially, you create your artwork in a digital format, such as a JPEG or PNG. While these formats are perfect for other types of printing, embroidery machines can’t read them. We recommend uploading a PNG design with a transparent background to ensure only your design is embroidered, not the background.
Step 2: Design upload
Next, you upload your artwork to the product you’ve selected. At this stage, Gelato will provide an initial mockup of the design. This is a draft preview and doesn’t show a perfectly accurate stitch-level view. Once you place an order, your design will be sent for digitization.
Step 3: Manual digitization
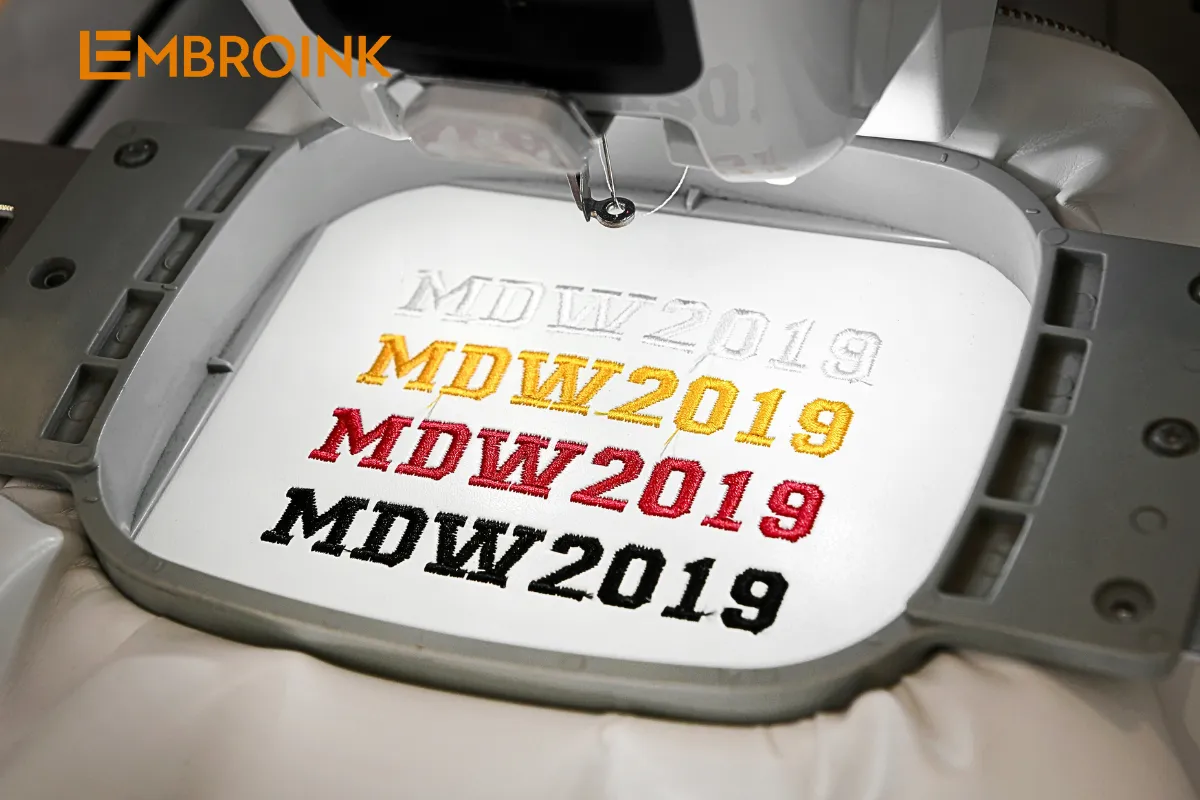
A skilled digitizer then works their magic on the design. They manually determine the stitch types, directions, stitch density, and the sequence the machine should follow. The digitizer considers the fabric type and the specifics of your design while making these decisions. This process typically takes around 24 hours to complete.
Step 4: File conversion
After setting all the parameters, the software converts your graphic design into an embroidery file. This file acts as a roadmap of stitches that the embroidery machine can understand and execute. Each embroidery technique uses its unique set of stitch patterns. Therefore, a file digitized for flat embroidery won’t work for 3D puff embroidery, and vice versa. Every design and embroidery technique requires its own individual digitized file.
Step 5: Reuse & recreate
Once your design is digitized, you can reuse this file for future orders of the same type of embroidery. You only need to go through the digitization process once per design per embroidery type. This can be a significant time-saver, especially if you plan to use the same design repeatedly.
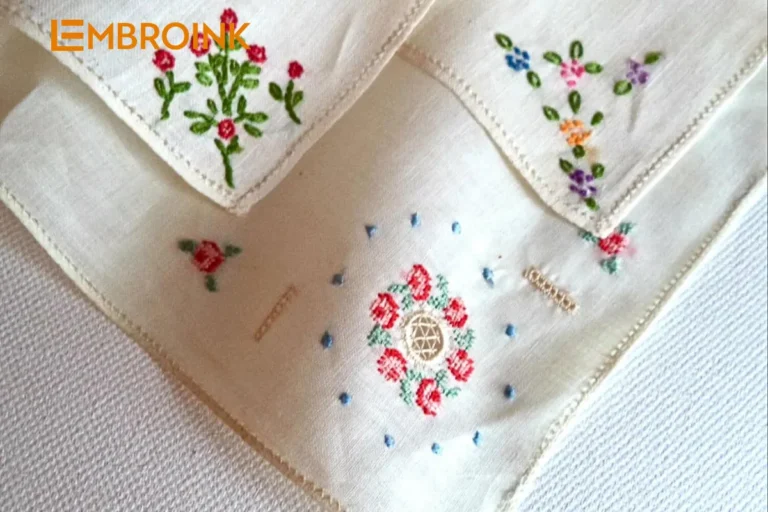
What are the different types of machine embroidery?
Embroidery stitches can make a significant difference to your designs by impacting the texture, complexity, and overall look of your products. Here’s a quick overview of the different types of embroidery styles to consider:
Types of embroidery styles
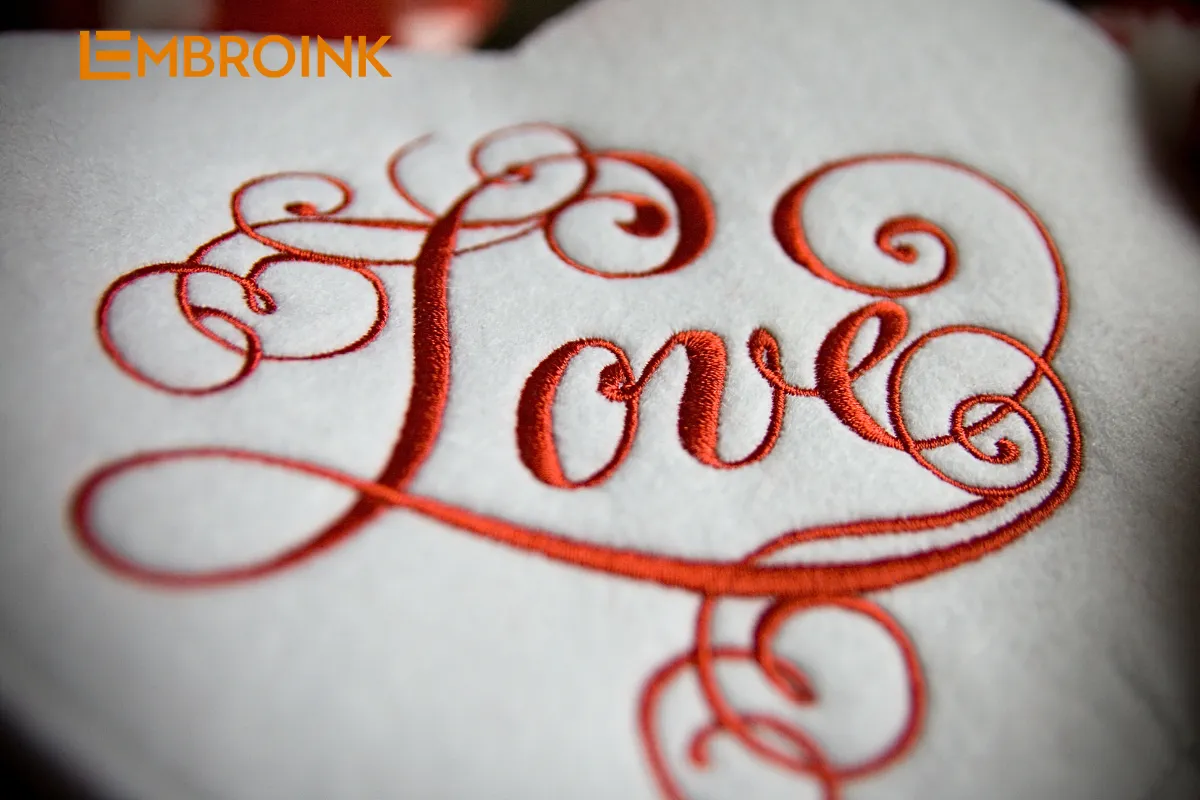
- Flat embroidery: This is a traditional technique where the design is stitched directly onto the fabric, resulting in a flat, smooth, and highly detailed finish.
- 3D puff embroidery: This type of embroidery utilizes a foam underlay to elevate the stitches, creating a three-dimensional effect that adds depth and dimension to the design.
Popular stitch types
- Tatami fill: Characterized by its tight, interlocking patterns that give a textured and durable finish, tatami fill is used to cover large areas of a design.
- Satin stitch outline: Perfect for outlining designs or creating elements with a slight sheen, this type of embroidery stitch creates smooth, glossy lines.
- Run stitch: A simple, straight embroidery stitch often used for outlining designs, creating fine details, or stitching lettering or small motifs.
Do and Don’t for creating embroidery file
When designing your own embroidery, it’s crucial to ensure your artwork is compatible with an embroidery machine. If your digital artwork isn’t appropriate, your final result likely won’t turn out as expected. Here are some tips to remember when creating an embroidery file.
Do
Follow design guidelines
Adhere to the guidelines provided by your embroidery service regarding design dimensions, permissible stitch types, and color schemes. This will help you avoid issues during the digitization and embroidery process.
Utilize embroidery templates
Use embroidery templates to keep your design within the permissible limits of the embroidery area, maintaining the aspect ratio and ensuring the entire design is embroidered.
Mind the design dimensions
Pay particular attention to the dimensions when translating your digital design to embroidery. Keep text at least 0.25 inches in height and lines at least 0.05 inches thick to ensure clear and crisp rendering in stitches.
Keep designs simple
Intricate designs may look appealing on digital screens but can be challenging to reproduce with embroidery. Simplify your design elements to achieve better results, avoiding gradients, negative space objects, or distressed graphics.
Optimize color selection
Choose colors that stand out on the fabric and complement each other. Use lighter-colored threads for darker fabrics and vice versa. Limit thread colors to no more than 6 per design to ensure quality stitching.
Make sure text is large
Ensure the font size of your text is at least 0.25 inches to avoid illegible embroidery. Small text can be difficult to read when embroidered.
Don’t
Don’t use overly thin lines
Thin lines are difficult to reproduce in stitches and can cause problems. Ensure all lines and letters are well above 0.05 inches thick. Redraw designs with thicker lines if there are many fine details.
Don’t use negative space
Negative space designs can be challenging to reproduce in embroidery as small areas may be filled with thread, altering the design. Use positive space elements whenever possible.
Don’t use color gradients
Gradients and shading effects cannot be reproduced in embroidery. Stick with flat, solid colors to ensure your design turns out as expected.
Don’t use photographic images
Photographic images are too complex and varied in color for digitization. Use simpler, vector-based images for embroidery.
Don’t neglect viewing distance
Consider how your design will be viewed – up close or from a distance – and adjust your design elements accordingly to ensure visibility.
Now that you’re equipped with the knowledge to create your perfect embroidery file, why not start offering your customers unique embroidered designs? At Gelato, we’re excited to announce our new print-on-demand embroidery option. This exciting addition to our platform gives you the freedom to create high-quality, professionally embroidered products. We can’t wait to see the incredible embroidery designs you will create!