9 Methods for beginners to embroider letters by hand and machine
Embroidering letters onto your clothing adds a personal touch, allowing you to express yourself in a beautiful way. What could be more enchanting than the art of embroidery? Let’s find out 9 Methods for beginners to embroider letters by hand and machine with EmbroInk.
Embroidered letters and initials also serve as helpful identification marks for items that tend to get lost, like your child’s pencil pouch or gym towels, making them the perfect customization option for your wardrobe. It’s important to note that stitching letters is distinct from monogramming. While monogramming typically features just initials, both techniques share a fundamental essence.
Designing Embroidered Letters and Monograms
Creating personalized letters or monograms for your embroidery projects can be a delightful experience. You can choose to design them in all capital letters, all lowercase, or a mix with only the first letter capitalized, making it slightly larger than the rest. Monograms often feature overlapping letters and artistic flourishes, adding a unique touch.
In my home, adding letters to accessories and clothing is a common practice, especially with kids around. Painted, embroidered, and appliquéd letters serve multiple purposes—primarily for identification and decoration. Beautiful monograms can add a special distinction to any item. All of these embroider letters start as a design, so let’s explore how you can create your own.
Key Considerations for Designing Letters
- Uniform Size: Ensure all letters are of the same height.
- Consistent Direction: Keep all letters slanted or curved in the same direction.
- Cohesive Style: Choose a single font style to avoid a mismatched appearance.
For smaller projects, I often prefer to freehand the letters, especially when using running stitch and back stitch. Alternatively, you can print beautiful fonts using software like Microsoft Word or Canva. Trace the printed letters onto your fabric using various embroidery transfer methods.
For counted embroidery techniques, such as cross-stitch or blackwork, following a systematic approach is beneficial for achieving neat and precise results. This is especially important when creating a gift, where letter alignment and sizing should be impeccable.
Design Process
- Inspiration: Check out a Pinterest board dedicated to monograms for style inspiration. Decide on whether you want capital or lowercase letters and measure the area where you’ll be embroidering to determine the letter size.
- Visualizing Letters: Open MS Paint on your computer, type the word in your chosen font, and reduce the font size until the letters are pixelated, resembling a cross-stitch design. Take a screenshot, paste it into a new file, and print it out.
- Grid Paper Method: Print grid paper to match your intended embroidery area dimensions. Shade the relevant grids to copy your finalized design.
- Freehand Drawing: Draw the design directly on the fabric, allowing your child to write their initials for personal items like purses or handkerchiefs. Establish baselines to maintain consistent letter sizes and even spacing.
- Using Stencils: Create your own stencils for a low-margin error approach. You can find tutorials online to guide you in making these.
- PowerPoint Creations: Use PowerPoint to design simple fonts by exploring the ‘Text Effects’ option, which can even accommodate curved letters. Create a stencil or trace the letters onto your fabric.
- Printed Letters: Print the designed letters in your desired size and either trace them onto tracing paper or transfer them directly to fabric using carbon paper.
- Embroider Over Paper: An easy method involves placing the printed paper over the fabric and embroidering directly on it. Although this may limit visibility while stitching, it simplifies the process.
While Roman letters are straightforward to embroider letters, gothic styles with intricate swirls can be more challenging for beginners.
Transferring Letters to Fabric
The most popular method for transferring your designs is using dressmaker’s carbon paper. Ensure that the center of your letter design aligns with the center of the area on your fabric. If you have a printout of the design, fold it to find its center and position it accurately for tracing.
With these tips and techniques, you’ll be well on your way to creating beautiful embroider letters and monograms that reflect your personal style!
How to Hand Embroider Letters onto Fabric
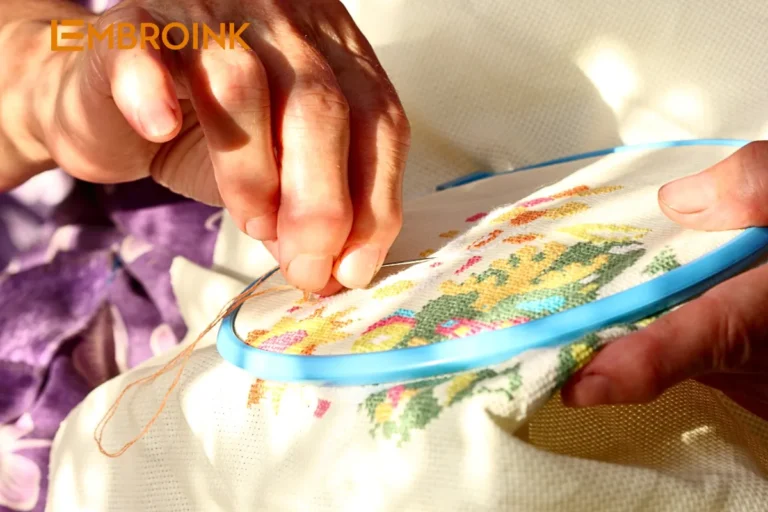
Hand embroidering letters can add a personal touch to your projects. Here are several techniques you can use to create beautiful letter designs:
Cross-Stitch
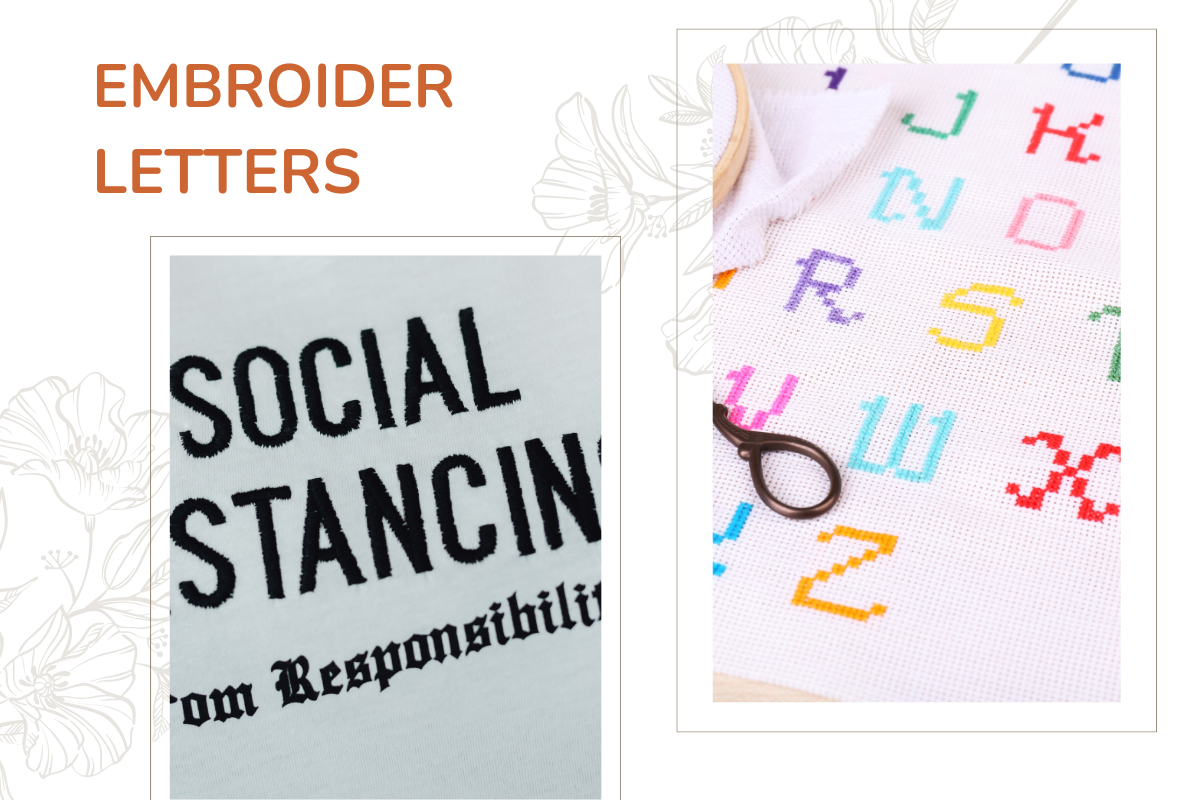
Cross-stitch is a classic choice for lettering, providing a subtle yet striking effect. There are numerous variations of the simple cross-stitch, so explore different styles to find what suits your project. Easy patterns for cross-stitch letters can be found online or in embroidery books.
Chain Stitch
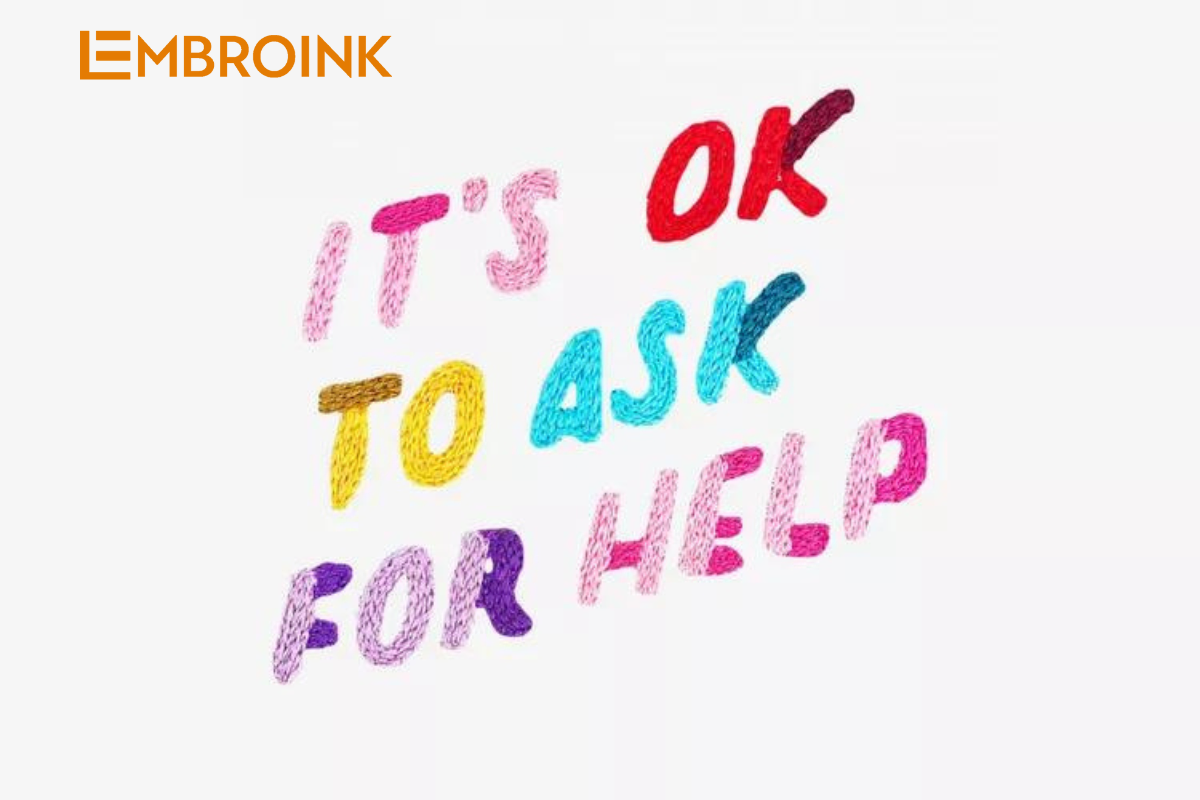
Chain stitch has many variations—check out posts that showcase 20+ types of chain stitch to find inspiration. This technique can be used to create letters with a lovely, textured look. For example, the double chain stitch creates thicker outlines for your letters.
Satin Stitch
Padded satin stitch is a popular method for achieving dimensional letters. Here’s how to do it:
- Start by outlining the letter with a back stitch.
- Next, closely pack small straight stitches (satin stitches) over the back stitch line. This technique gives the letters a padded, three-dimensional appearance.
- For thicker letters, outline with a back stitch, fill in with chain stitches, and then add the satin stitch on top. Be careful not to use too thick of a thread for the initial filling; otherwise, you may struggle with fine details.
- When working around corners, use very small back stitches to maintain sharp edges.
- To make your padded satin stitch pop, create double lines and fill the design completely with straight stitches before adding the padded stitches.
Herringbone Stitch
The herringbone stitch can be used to fill in letters effectively. You can also work the herringbone stitch on the reverse side of the fabric for a beautiful shadow work effect. Explore tutorials that demonstrate this stitch and its variations.
Outline Stitches
Outline stitches such as stem stitch, outline stitch, back stitch, or split stitch can define the letters. You can use a single or double row to outline the font or fill in the outline for a bolder appearance.
With these techniques, you can beautifully hand embroider letters onto fabric, making your projects unique and personalized!
Machine Embroidering Letters with a Zigzag Sewing Machine
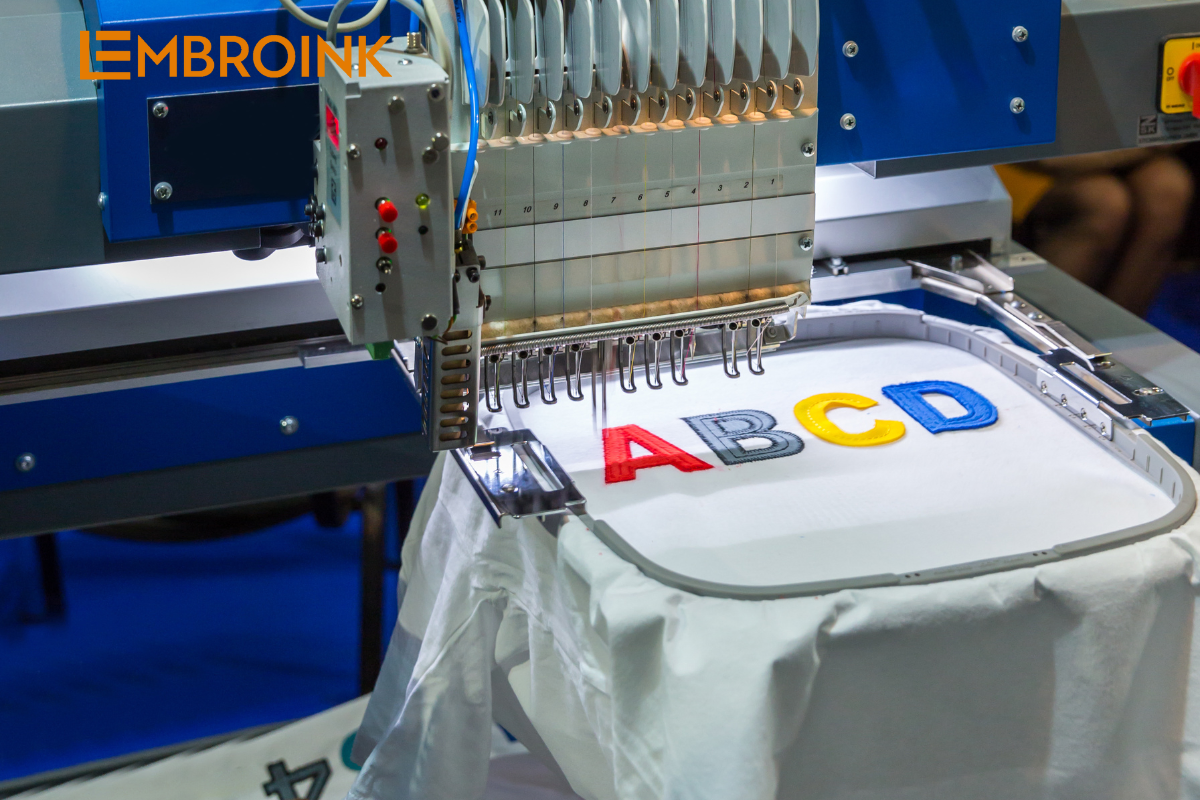
Machine embroidering letters can add a professional touch to your projects. Here’s a step-by-step guide to help you create beautifully embroidered letters using a zigzag sewing machine.
Prepare the Fabric
- Interfacing: Start by placing a piece of sew-in interfacing on the back of the fabric to provide support. Baste it in place with hand stitches or use machine embroidery stitches with a stitch length of 4.
- Hooping: Place the fabric in a hoop to keep it stretched. Note that for machine embroidery, you’ll need to insert the fabric into the hoop in the opposite direction compared to hand embroidery.
Set Up the Sewing Machine
- Stitch Selection: Set your sewing machine to a zigzag stitch. For guidance on free-motion sewing machine embroidery, check out beginner’s resources for detailed instructions on embroidering larger letters.
- Adjust Stitch Width: Modify the stitch width according to the size of the letters you’re planning to create. Smaller letters will require a narrower stitch, while larger letters will need a wider stitch.
Practice Your Technique
Before working on your garment, practice the zigzag stitch on spare fabric to ensure you’re comfortable with the technique. Make sure the zigzag stitch is closely packed for a neat finish.
Applique Letters
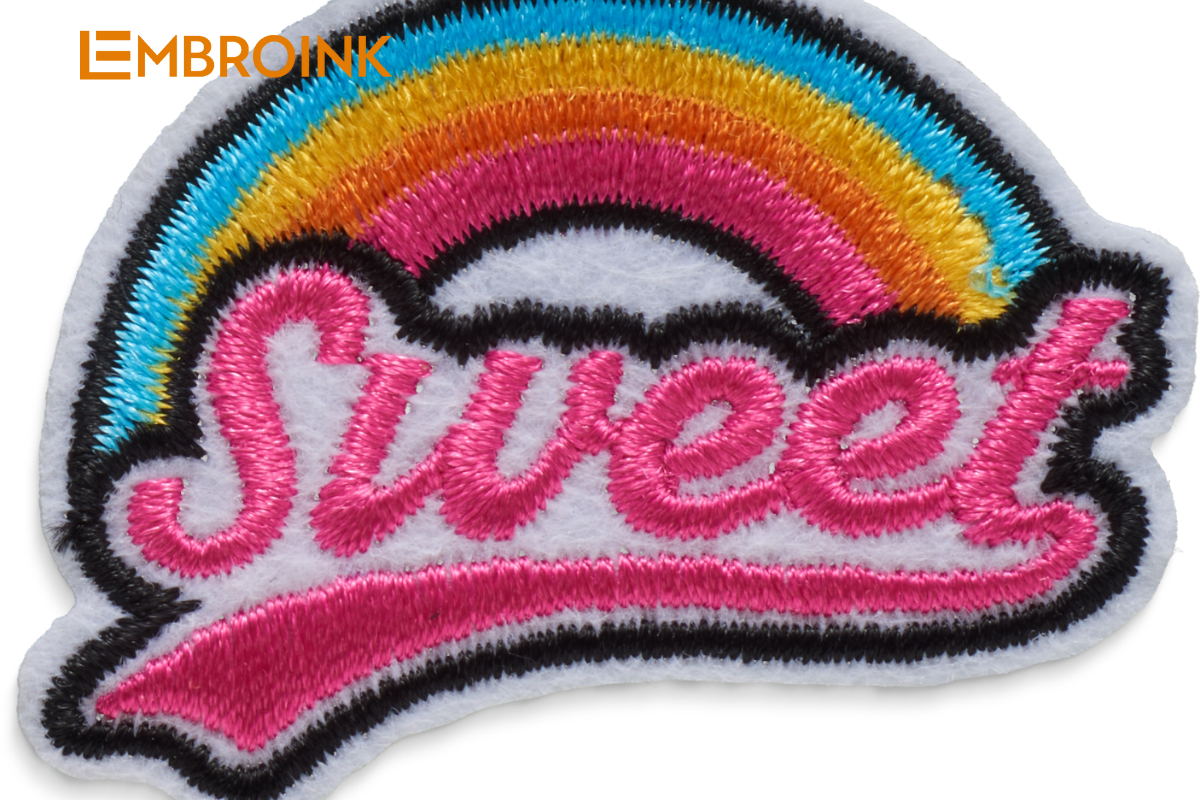
Appliqué letters are an excellent choice for creating large, personalized letters. They can be made in any size and with any fabric, making them easy to sew.
Making Applique Letters
For detailed instructions, check out resources on how to make appliqué letters, where you can explore the three best techniques for achieving perfect results.
Reverse Appliqué
If you want to create a unique reverse appliqué effect, follow these steps:
- Print and Position: Print out the letters you want to reverse appliqué and place them on the fabric. Ensure you leave at least 1 inch of width around the letters for a clean finish.
- Trace: Trace around the letters to mark their position. Remove the printout after tracing.
- Cut the Design: Use small, sharp scissors to cut out the design.
- Prepare Under Fabric: Choose the fabric you will use under the main fabric. Place the letter on it, mark 2.5 inches around the letter, and cut it out. Finish the edges with a zigzag stitch or pinking shears.
- Pinning: Pin the under fabric underneath the main fabric, spacing the pins every 2 inches to prevent shifting.
- Stitching: Adjust your sewing machine’s stitch length to 2.5 – 3. From the top fabric, stitch around the edges of the letter, approximately 1/16 inch from the inside edge. If you prefer not to have the fabric fray inside the stitching line, turn under the edges carefully before stitching, or use a hand-stitched blanket stitch.

