How to remove machine embroidery threads: The most detailed guide
Machine embroidery, although one of the methods that ensures durability and almost absolute accuracy, can sometimes produce embroidery that does not meet the required standards. In such cases, we need to remove the embroidery threads from the product to make corrections or change the design. Removing embroidery threads is quite challenging for those without experience. Therefore, in this article, EmbroInk will provide the most detailed guide on how to remove machine embroidery threads so you can handle this task more easily. Let’s take a look.
When to remove machine embroidery threads
Here are the situations in which you need to remove the threads from an embroidery design immediately:
- Changing embroidery colors: If you want to change the thread color or design on a garment, you need to remove the old embroidery threads and re-embroider with the new color or design.
- Repairs & adjustments: During the embroidery process, it’s common to encounter errors in the final product, either in the entire design or specific details. To correct these errors, you need to remove the threads to fix the mistakes.
- Reusing materials: In some cases, you might want to reuse materials from an old embroidered garment to create a new design. To do this, you need to remove the threads from the old embroidery and apply a new design to the material.
- Changing thread type: If you want to switch from one type of thread to another, you need to remove the old threads from the finished product and then embroider the new design with the different thread type.
- Reusing finished products: Some old embroidery designs need to be removed to replace them with new ones, allowing the user to reuse the garment and save on materials.
Preparations before removing machine embroidery threads
Before diving into the detailed process of removing machine embroidery threads, let’s go over the preparations needed for this task:
Turn off the machine & disconnect power: Ensure you disconnect the embroidery machine from the power source before removing the embroidered product. This step is crucial for safety during the subsequent steps.
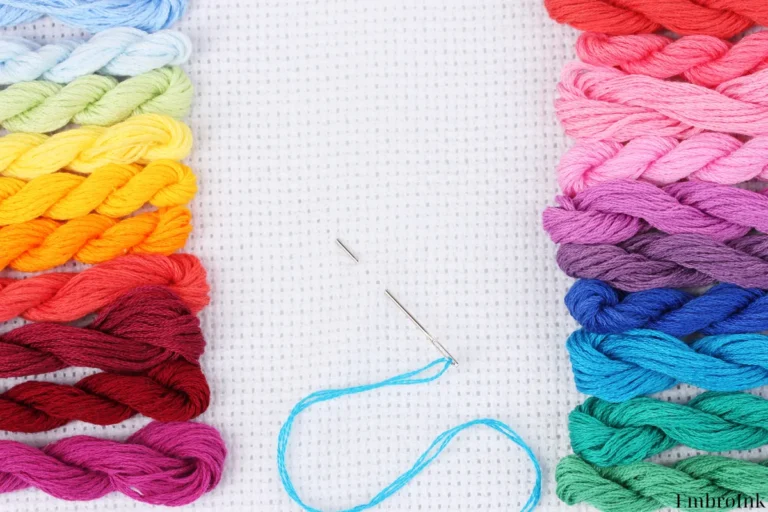
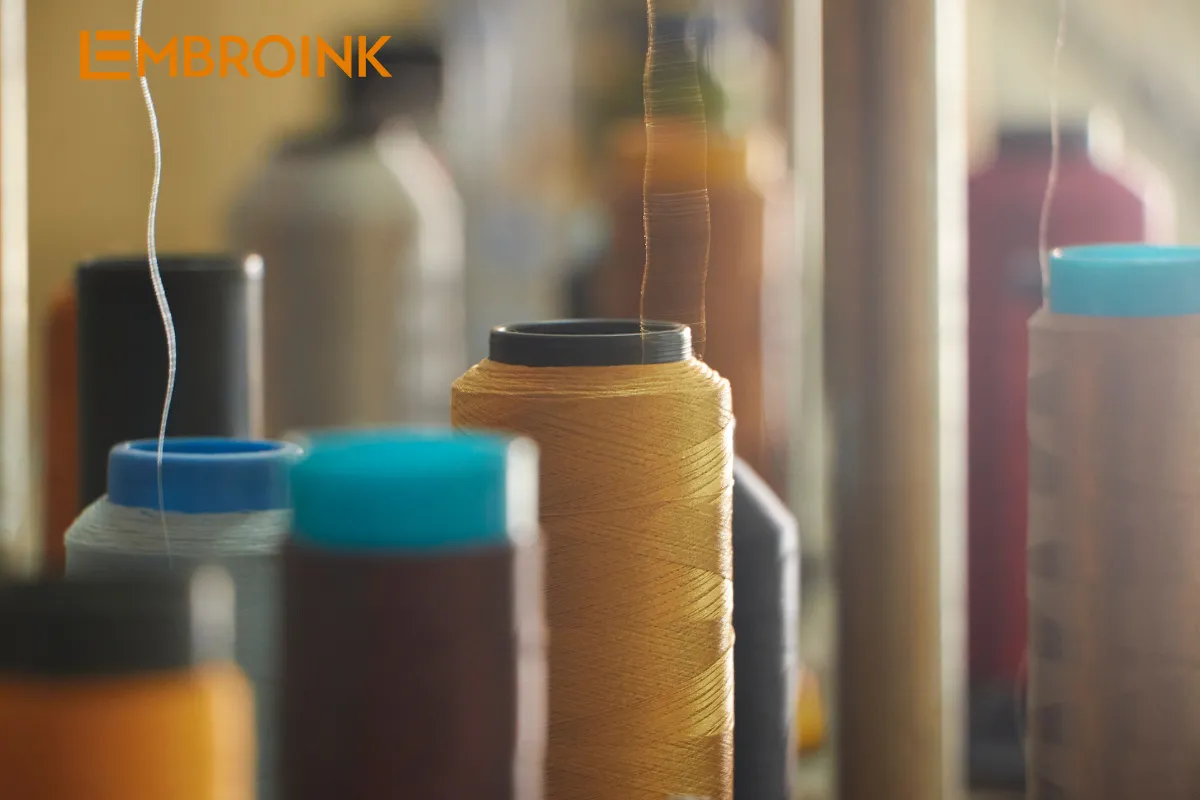
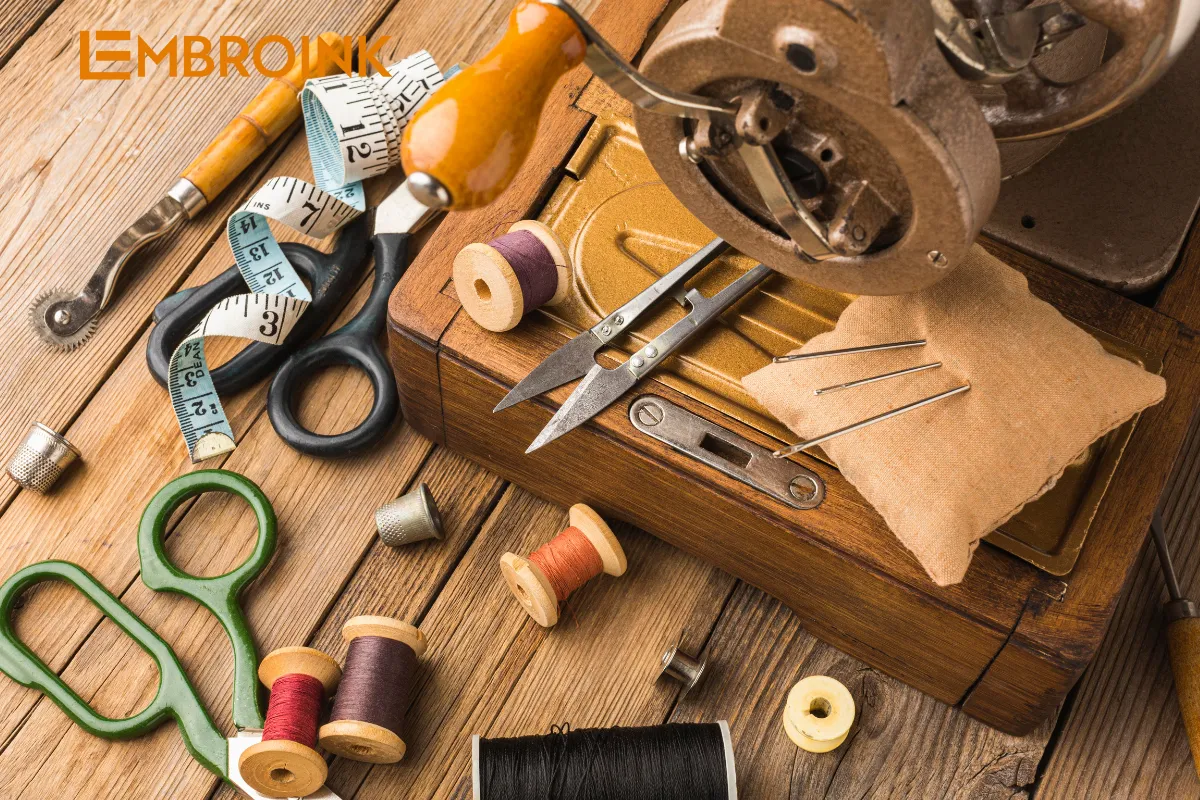
Gather necessary tools: Prepare the following essential tools:
-
- Thread Clippers: Used for cutting and removing threads.
- Iron: Used to smooth out the fabric after thread removal.
- Seam Ripper: Used to carefully cut and remove stitches.
- Pins: Used to secure the loose ends of the threads.
- Tape: Used to hold the fabric in place on the working surface.
- Cotton Balls: Used to clean the areas after thread removal or to clean the tools.
By having these preparations in place, you can ensure a smooth and safe process for removing machine embroidery threads.
Simple guide to removing machine embroidery threads from a faulty product
To remove and handle faulty embroidery threads, follow these six basic steps shared by EmbroInk:
Step 1: Locate the starting point of the embroidery thread
First, identify the starting point of the embroidery thread on the fabric. Usually, the thread begins at a corner or specific point on the fabric. If you are unsure of the starting point, refer to the design pattern or ask the person who did the embroidery.
Step 2: Insert a needle into the embroidery thread
Once you’ve identified the starting point, insert an embroidery needle into the thread. You can use a needle inserter or manually hold the needle and insert it into the thread’s end.
Step 3: Remove the thread from the back of the fabric
To remove the embroidery thread, place an iron or a hard wooden board behind the fabric where the thread needs to be removed. Then, use thread clippers to cut each thread line by line. Be careful and precise to avoid tearing the fabric.
Step 4: Clean the machine and internal parts
After removing all the embroidery threads, use cotton balls to clean the machine and its internal parts. This step helps eliminate any dust and remaining thread pieces inside the machine.
Step 5: Replace the embroidery needle (If Needed)
If you need to change the embroidery needle, do so before starting to embroider again. Replacing the needle can prevent further embroidery errors, saving you time and effort.
Step 6: Re-embroider the fabric with the new design
Once you have successfully removed the machine embroidery threads, you can re-embroider the fabric according to a new design or correct errors in the old design. Remember to work from the back of the fabric to ensure the embroidery thread is securely attached.
By following these steps, you can efficiently remove faulty embroidery threads and prepare your fabric for a new design.
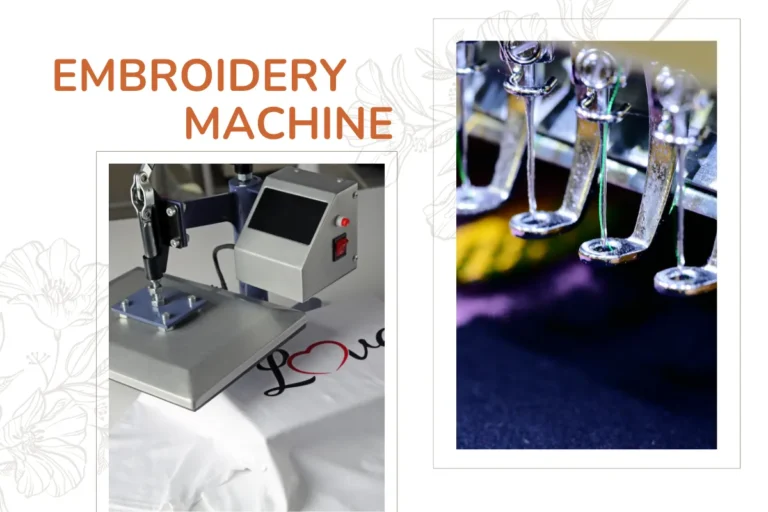
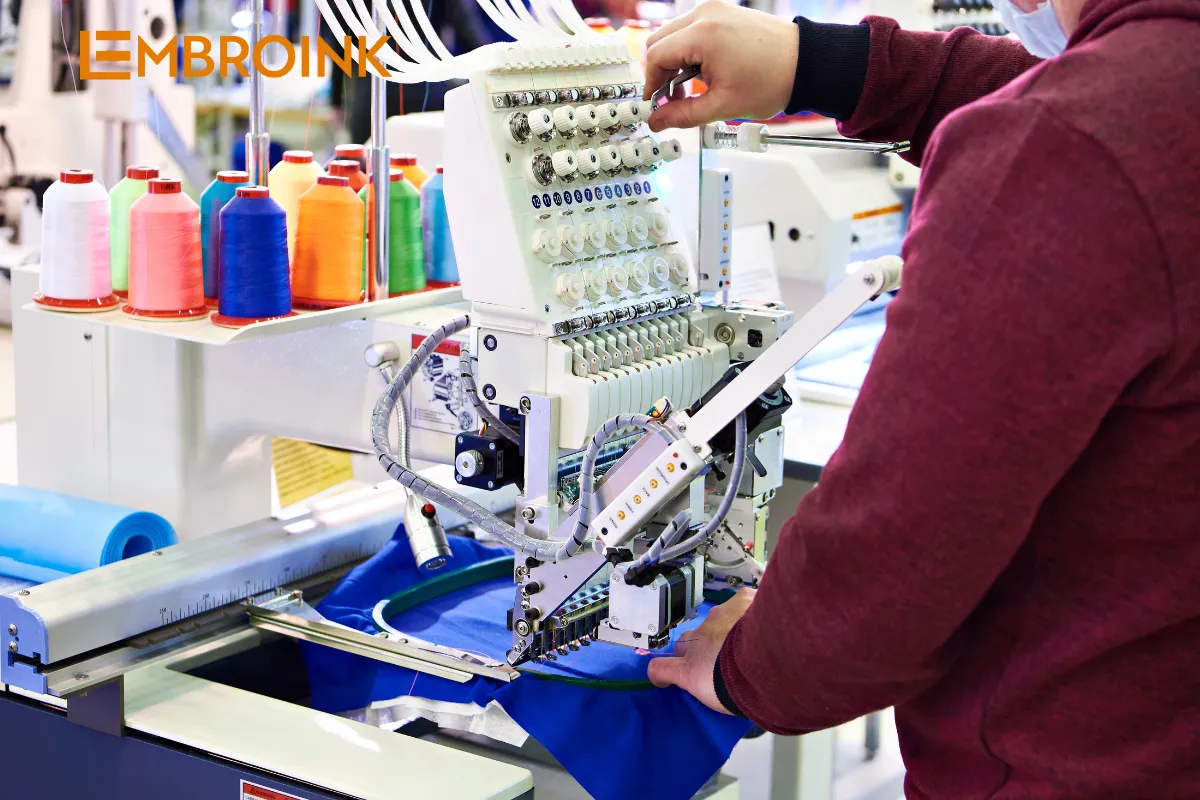
Guide to removing embroidery thread from an embroidery machine
In addition to removing embroidery threads from finished products, removing threads directly from the embroidery machine is also a common concern. Follow these steps to remove the thread from the machine:
Step 1: Stop the machine and cut the thread
If the embroidery machine is running, stop it. Then, cut the thread near the needle and hold the end of the thread to prevent it from tangling.
Step 2: Raise the needle foot
If your machine has a button or lever to raise the needle foot, do this to reduce the pressure on the thread.
Step 3: Remove the thread spool
For automatic embroidery machines, each type of thread typically has a specific spool holder. Open the holder of the thread type you are using.
Step 4: Remove the thread from the needle
Once the spool holder is open, remove the thread from the needle. Some machines have a button or mechanism to hold the thread in place; check if you need to press this button before removing the thread.
Step 5: Change the thread color or type
If you want to change the thread color or type, simply replace the old thread with the new one following the threading instructions provided in the machine’s manual.
By following these steps, you can efficiently remove the thread from your embroidery machine and prepare it for the next threading operation.
Important considerations when removing machine embroidery threads
Besides using the correct technique to remove machine embroidery threads, here are some key points to keep in mind when removing threads from fabric:
- Seek help if needed: If you are not confident or skillful enough to remove the threads, consider seeking help from experienced individuals.
- Use sharp scissors: Employ scissors with sharp blades to cut the threads cleanly in one go.
- Choose the right scissors: For thicker or more difficult threads, use long and thin-bladed scissors to make the process easier.
- Save the design: Ensure you have saved the design or have a copy before removing the threads to avoid losing any important data.
- Check machine parts: After removing the embroidery threads, carefully inspect the internal parts of the machine to ensure no thread pieces are left behind.
- Secure the fabric: Use tape to fix the fabric in place on an ironing board or wooden surface to make cutting the threads more convenient.
- Be careful and precise: Remove the threads carefully and meticulously to ensure accuracy with each cut and to avoid tearing the fabric during the process.
By following these tips, you can effectively and safely remove machine embroidery threads, maintaining the integrity of your fabric and preparing it for further use.

Common questions about removing machine embroidery threads
Can regular scissors be used to remove threads?
No, you should use specialized thread-cutting scissors with sharp blades for removing machine embroidery threads. Regular scissors have larger blades, making it difficult to get between the threads and may tear the fabric.
Can threads be removed while the machine is running?
No, threads cannot be removed while the machine is running. You must disconnect the power and stop the machine before proceeding with thread removal. This ensures safety and minimizes unnecessary risks.
Removing threads while the machine is operational can lead to several hazards:
- Personal Injury: The moving parts of the embroidery machine can cause serious injury if you attempt to remove threads while it is running.
- Machine Damage: Interrupting the embroidery process abruptly can damage the machine’s internal components, leading to costly repairs.
- Thread Tangles and Breakage: The running machine can cause threads to tangle or break, complicating the removal process and potentially damaging the fabric.
- Electrical Hazards: Handling the machine without disconnecting the power increases the risk of electrical shocks, especially if you are using metal tools.
Always prioritize safety by stopping the machine and disconnecting it from the power source before removing any threads. This precaution not only protects you but also ensures the longevity and proper functioning of your embroidery machine.
Removing machine embroidery threads can be challenging for beginners. However, with the detailed steps and helpful tips provided in this article, you can perform this task with ease. We hope that EmbroInk’s guidance will be useful to you.